
A low battery or a poor connection inside the charging case is why powerbeats pro one side not working is the most common issue users encounter. You can usually fix this by cleaning the metal contacts or resetting the earbuds. If the hardware itself is damaged, the device won’t respond to these simple steps. Always check the official documentation or the Apple Support guide for Powerbeats to verify your specific model’s status lights and reset procedures.
Why one Powerbeats side stops working
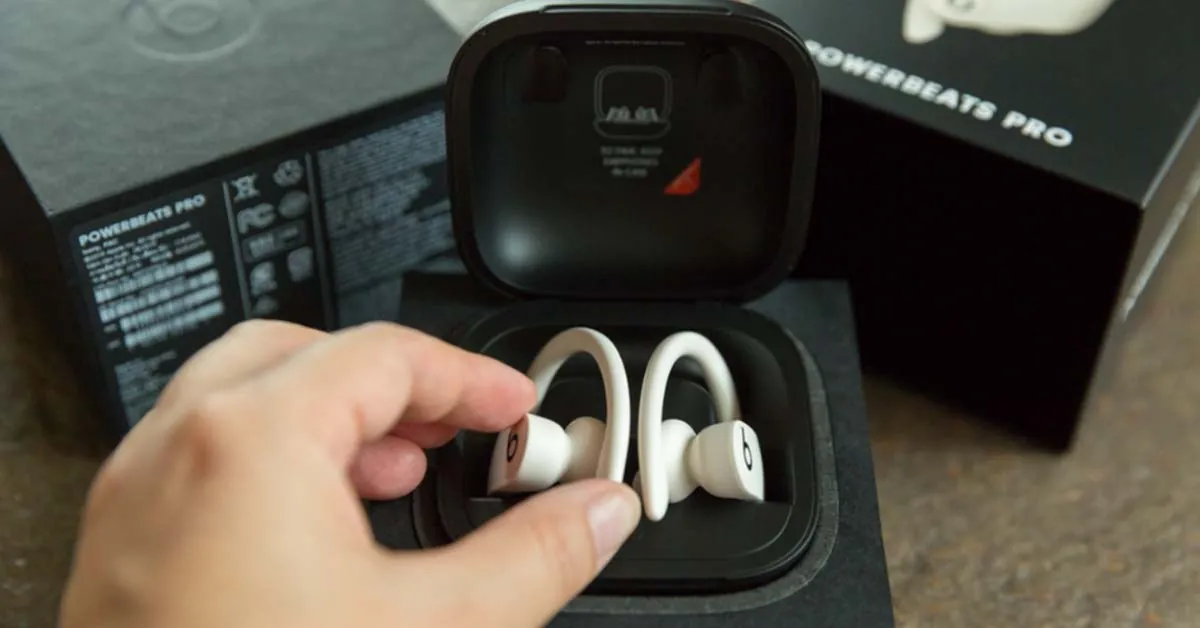
Most of the time, the problem is related to power transfer rather than a total hardware failure. The table below ranks the most frequent causes and how you can identify them quickly.
| Cause | How common | How to confirm it | Fix it yourself? |
|---|---|---|---|
| Dirty charging contacts | Extremely common | Visible debris or dust | Yes |
| Unseated earbud | Very common | LED doesn’t light | Yes |
| Software sync error | Common | Device shows as offline | Yes |
| Battery depletion | Occasional | No light when docked | Yes |
| Firmware mismatch | Rare | App shows update error | Yes |
| Hardware damage | Rare | Physical cracks or dents | No |
If your earbuds fail to charge, inspect the gold pins inside the case for oxidation. A thin film of skin oil or lint often acts as an insulator. Use a dry cotton swab to gently buff these contacts. Never use liquid cleaners, as moisture can corrode the internal circuitry.
Many users assume a lack of sound means a dead battery. If the LED indicator flashes amber or red while docked, the case itself may be drained. Plug the case into a wall outlet for at least thirty minutes before testing the buds again.
If the earbuds connect to your phone but produce no audio, check the Bluetooth settings menu. If the device appears as “paired” but not “connected,” toggle your phone’s Bluetooth off and on. This forces a handshake refresh that clears temporary sync errors. If the issue persists, perform a factory reset by holding the case button for ten seconds.
Cleaning the charging contacts
Debris often blocks the tiny metal pins inside the case, preventing the earbud from receiving a charge. When the gold-colored pins are covered in skin oils or lint, the electrical circuit can’t complete. This is why one side may seem dead while the other works perfectly. If your earbuds have been in a pocket or bag, this is the most likely culprit for a sudden loss of function.
To test this, look closely at the charging pins inside the case and the metal rings on the earbud. If you see any dark spots or buildup, you need to clean them. Use a dry, soft-bristled brush or a clean cotton swab to gently wipe the contacts. Don’t use liquid cleaners or metal tools, as these can scratch the plating or cause a short circuit.
If the earbud still doesn’t charge after cleaning, the battery might be fully drained. Leave it in the case for at least 30 minutes to see if the status LED finally illuminates. If the light stays dark after this time, the internal battery may have reached the end of its life.
Resetting the bluetooth connection
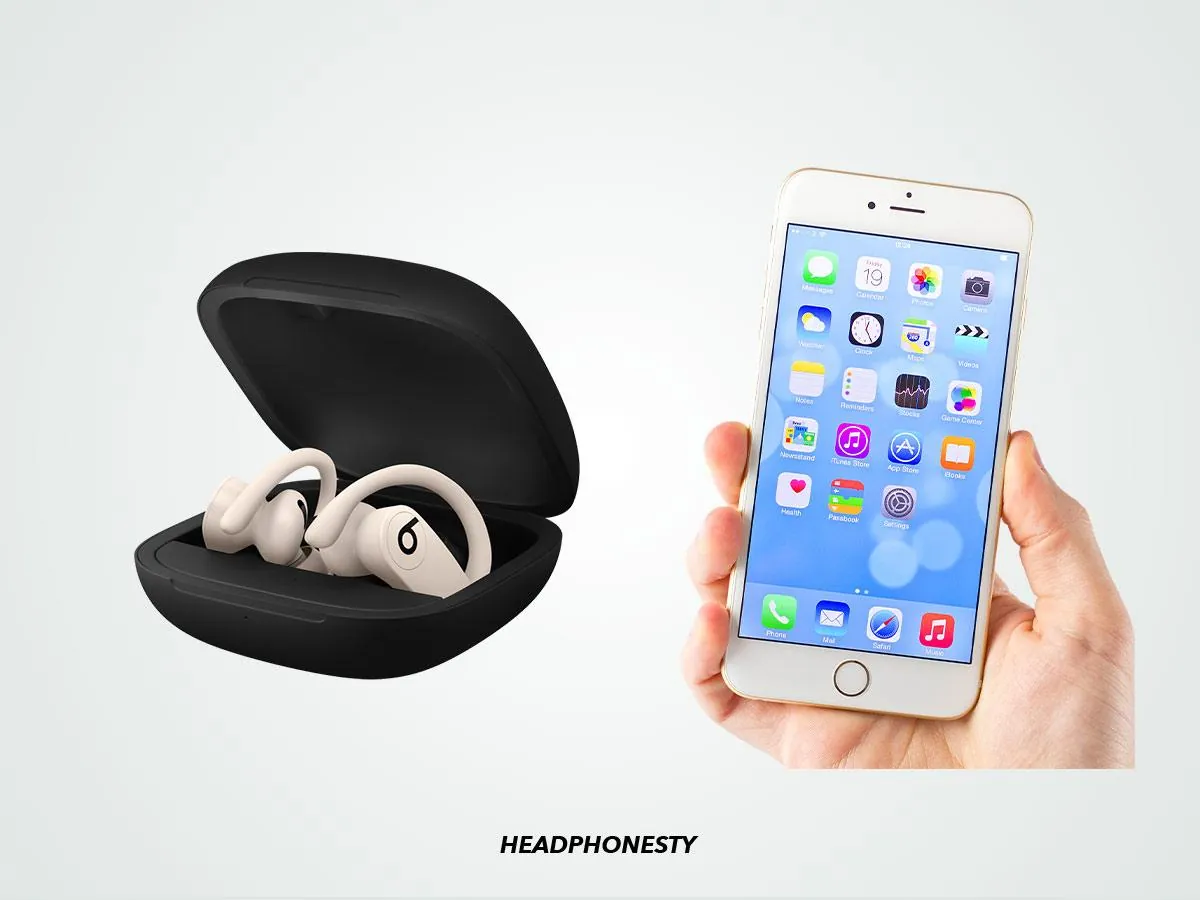
A software sync error happens when the case and the earbuds stop communicating correctly. This usually occurs after a recent phone update or if you switch between devices frequently. You can tell if this is the issue because your phone might still show the left or right earbud as connected, but no sound plays through it.
Place both earbuds into the charging case and leave the lid open. Press and hold the system button on the case for 15 seconds or until the LED indicator flashes red and white. Once the light stops flashing, the reset is complete and the case is ready to pair again.
If you see only a white light, the reset didn’t trigger. You must wait until the red light appears to confirm the process worked. This takes approximately 15 seconds of steady pressure. If you release the button the moment you see white, the device merely restarts without clearing the cache.
Most users fail here by holding the button for only five or ten seconds. This incomplete cycle leaves corrupted pairing data intact, forcing you to repeat the entire sequence.
If the earbud still fails to pair after a successful reset, the issue is likely internal hardware rather than a software glitch. In that case, check the charging pins for debris or oxidation. If the pins are clean but the light remains dead, the battery in the earbud has likely reached the end of its functional life.
Addressing battery and firmware issues
Sometimes an earbud fails because its firmware is stuck or the battery has entered a deep discharge state. If the earbud was left out of the case for several weeks, it may take longer than usual to wake up. Check your charging case battery level by looking at the LED indicator when you open the lid. If the light is red, the case itself doesn’t have enough power to charge the earbuds.
Connect the case to a power source using a Lightning cable for at least one hour. If you notice one earbud feels warmer than the other while charging, remove it immediately as this indicates an electrical fault.
Most users mistakenly assume the charging process is instant. If the LED doesn’t blink upon docking, leave the buds in the case for at least 30 minutes before checking again. A battery that has sat below 5% for more than a month often requires this extended trickle charge to trigger the internal logic board.
If the earbud remains unresponsive after a full charge and a reset, you have reached the limit of what you can do at home. Attempting to force the unit open will void your warranty and risks damaging the delicate internal components. If the device is out of warranty, don’t attempt a DIY battery swap, as the lithium-ion cells are glued directly to the motherboard. Professional repair is the only safe path forward.
Rare causes for audio failure
Liquid damage often hides behind a functioning exterior. If you notice a faint crackling sound before total silence, moisture has likely bridged a circuit on the logic board. Even if the device dries out, the resulting mineral deposits continue to corrode the copper traces over time.
A drop on a hard surface can dislodge internal connections that aren’t user-serviceable. If the audio cuts out only when you tilt your head, a solder joint has likely fractured. Don’t attempt to pry the casing open; the acoustic seal is calibrated to the millimeter. Breaking that seal permanently ruins the noise-canceling performance.
Leaving the device in a hot car can shut down the battery protection circuit. If the unit refuses to charge even after cooling, the thermal fuse has tripped. This is a permanent safety lockout.
Internal chip malfunctions are rare but require professional diagnostics. If the device pairs via Bluetooth but remains silent, the internal speaker driver or connection may have failed. If you suspect internal damage, contact an authorized service provider. They confirm whether the part has failed and determine if the unit can be salvaged or if the hardware is beyond repair.
Requirements for a successful repair
Fixing these earbuds requires patience and a clean environment. Most issues are solved with a simple cleaning or a software reset, which costs nothing but a few minutes of your time.
Use a dry, lint-free swab to clear debris from the mesh. If the audio remains muffled after this, the blockage is likely internal and requires professional disassembly.
If you need a replacement part, such as a single earbud or a new case, the cost depends on your warranty status. You can check your coverage by entering your serial number on the manufacturer’s support portal. If your device is under one year old, most hardware failures are covered at no cost.
If you decide to seek professional help, ask for a diagnostic report before agreeing to any paid service. Repairs for internal hardware are often not cost-effective compared to buying a new unit, especially if your device is several years old.
A common mistake is paying for a battery replacement on an out-of-warranty unit. This often costs 70% of a new pair’s price while leaving the aging Bluetooth antenna and drivers untouched. Always compare the price of a single replacement earbud against the cost of a brand-new set before making your final decision. If the repair quote exceeds half the cost of a new model, skip the service and upgrade instead.
Related guides
- Best Camping Cot for Side Sleepers in 2026
- 10 Best Camping Hammocks for Side Sleepers in 2026
- Oven Alternative to Grilling: How to Broil Like a Pro in 2026
Frequently asked questions
How long does a full charge take?
A full charge takes 90 minutes when the earbuds are placed in a case connected to a power source. If the case isn’t plugged into an outlet, it will take longer to reach a full charge, depending on the current battery level of the case itself. Always ensure the gold contacts are clean to allow for the fastest charging speed possible.
Is it safe to use a third-party cable?
It’s safe to use a third-party cable, provided it’s certified for use with your specific power adapter. Always check that the cable isn’t frayed or damaged before plugging it into your charging case. If the case feels hot to the touch while charging, unplug the cable immediately and wait for the device to cool down completely.
What happens if I lose one earbud?
You can buy a single replacement earbud if you lose one, but you’ll need to re-pair it with your existing case. You must visit the manufacturer’s support page to purchase the specific left or right replacement unit. Once you receive the new part, follow the manual’s instructions to sync it with your current charging case and your mobile device.
Does it matter if my case is low on power?
It matters because the case must have a charge to initiate the pairing process and to charge the earbuds. If the case LED doesn’t light up when you open the lid, the case battery is likely empty. Connect the case to a power source for at least 30 minutes before you try to reset or pair your earbuds again.
Why does the LED flash red and white?
The LED flashes red and white when the device is in pairing mode or performing a factory reset. This light pattern indicates that the earbuds are ready to be discovered by your phone or computer. If the light stays on this pattern for more than a few minutes, restart your phone’s Bluetooth settings to clear any old connections.
Conclusion
If these troubleshooting tips don’t resolve your audio trouble, it’s time to reach out to Apple for professional help. You shouldn’t try to open the earbuds yourself, as that’ll likely void your warranty. Contact their support team online to see if you’re eligible for a repair or a quick replacement.
