
Finding a puddle on your kitchen floor is a stressful experience, especially when you discover your Kenmore dishwasher leaking from the bottom. This issue is rarely catastrophic if caught early, but it requires systematic investigation to prevent water damage to your cabinetry and subflooring. Whether the leak is a slow drip or a sudden flow, identifying the source is the first step toward a dry kitchen. Most DIY repairs for these leaks cost between $25 and $175 for parts, while professional appliance repair services typically charge between $150 and $450 for labor and diagnostic fees.
Key Takeaways
- Always disconnect the power supply at the circuit breaker before removing any panels or touching internal components.
- Inspect the door gasket first, as it’s the most common point of failure for leaks appearing at the front bottom edge.
- Check your detergent usage, as using too much soap causes oversudsing that forces water out of the door seal.
- Examine the water inlet valve for signs of corrosion or mineral buildup that might compromise the seal.
- Clear the drain hose and filter assembly to prevent backflow and pressure buildup within the wash tub.
Why Is My Dishwasher Leaking?
A leak at the bottom of a dishwasher usually stems from a compromised seal, a damaged hose, or a mechanical component failure. Because Kenmore dishwashers are often manufactured by Whirlpool or Bosch, many parts share common design traits. If the water appears only during the wash cycle, it’s likely a seal issue. If water pools while the unit is off, the water inlet valve is the prime suspect.
The Door Gasket and Seals
The door gasket is a rubber or silicone strip that runs along the perimeter of the dishwasher tub. Over time, this material can crack, harden, or accumulate food debris, preventing a watertight seal.
If you notice water seeping from the bottom corners of the door, the gasket is likely the culprit. You can often clean the gasket with warm, soapy water and a soft brush to see if it resolves the issue. If the rubber is brittle or torn, replacement is necessary.
Water Inlet Valve Failures
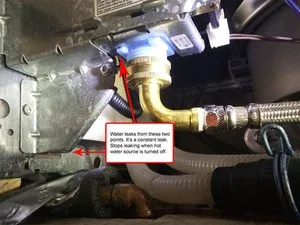
The water inlet valve is located behind the lower kickplate. It connects your home’s water supply line to the dishwasher. If this valve fails to close properly, it can leak from the solenoid or the connection points. You should check for visible moisture or mineral deposits around the valve housing. If the valve is damaged, it must be replaced as a unit.
How to Troubleshoot a Kenmore Dishwasher Leaking From the Bottom
When you start your repair, ensure you have a flashlight, a flathead screwdriver, and a set of pliers. Begin by removing the bottom access panel, also known as the kickplate, by unscrewing the fasteners at the bottom front. Once this is removed, you can observe the internal components while the unit is running.
| Component | Symptom | Likely Cause |
|---|---|---|
| Door Gasket | Water at front edge | Brittle or dirty seal |
| Inlet Valve | Water near supply line | Failed solenoid or seal |
| Drain Hose | Water under pump | Cracked or loose clamp |
| Float Switch | Water overflow | Stuck float assembly |
| Circulation Pump | Water under motor | Worn shaft seal |
Addressing the Float Switch
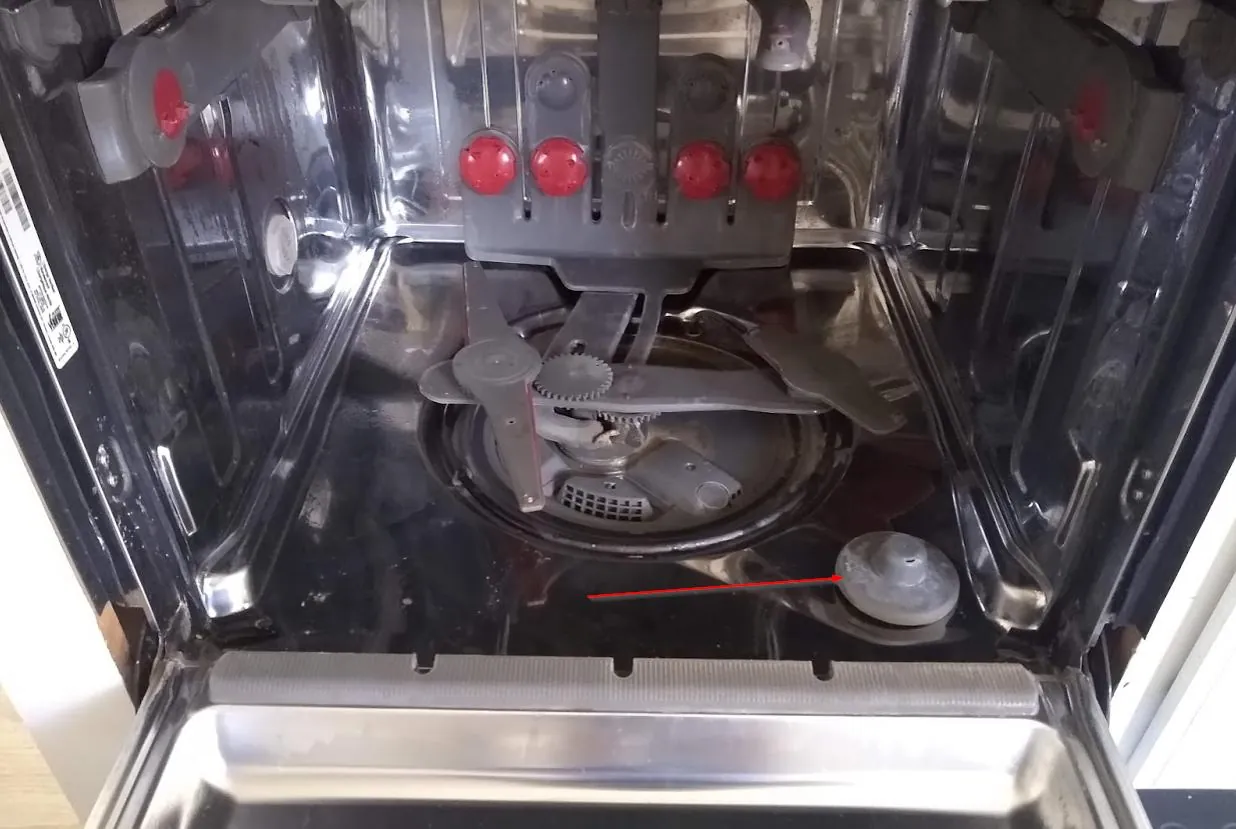
The float switch is a safety device designed to prevent the dishwasher from overfilling. If the float gets stuck in the “down” position due to soap scum or debris, the dishwasher will continue to fill until water spills over the bottom of the door. Check the float assembly inside the tub to ensure it moves freely. If it feels stuck, clean around the base of the float with a damp cloth or a small brush.
When to Inspect Drain Hoses
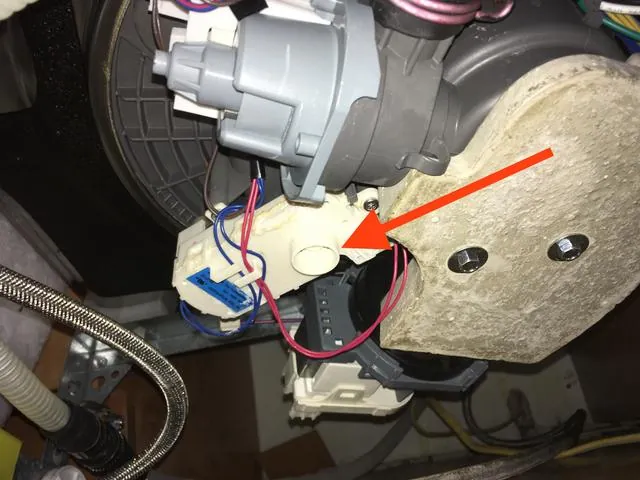
The drain hose carries waste water from the pump to your sink’s plumbing. If the hose develops a crack or if the hose clamp loosens, water will drip into the base of the machine. Inspect the entire length of the hose for kinks, punctures, or signs of dry rot. Ensure the hose clamps are tight and that the hose is properly elevated to prevent backflow from the sink drain.
Is It the Pump Seal?
The circulation pump is the heart of your dishwasher. It utilizes a shaft seal to keep water contained within the pump housing. If this seal wears out, water will leak directly from the bottom of the pump motor. You’ll usually see a steady drip or a puddle directly beneath the center of the machine. Replacing a pump seal is a more involved repair that may require removing the pump assembly from the bottom of the tub.
Common Cleaning and Maintenance Steps
Regular maintenance can prevent many leaks before they start. Food particles can prevent the door from latching correctly or interfere with the pump’s efficiency.
- Clean the filter screen at the bottom of the tub at least once a month.
- Wipe down the door frame and the sides of the tub to remove detergent buildup.
- Check the spray arms for clogs, as blocked holes can redirect water toward the door seal.
- Run an empty cycle with a dishwasher cleaner to dissolve mineral deposits.
Preventing Future Water Leaks
Proper usage is just as important as mechanical maintenance. Overloading the dishwasher can prevent the door from sealing flush against the frame, leading to leaks. Additionally, using excessive amounts of liquid or powder detergent creates excess suds.
Comparing Repair Options
When deciding between DIY and professional repair, consider the complexity of the part and your comfort level with electrical systems.
| Repair Type | Estimated Cost Range | Difficulty Level |
|---|---|---|
| Gasket Replacement | $30 – $90 | Low |
| Inlet Valve Swap | $40 – $120 | Moderate |
| Drain Hose Repair | $25 – $70 | Low |
| Pump Seal Repair | $80 – $200 | High |
Professional vs. DIY Repair
If you’re comfortable using basic hand tools, many Kenmore dishwasher leaks are easily manageable. However, if the leak involves complex electronic control boards or requires specialized tools to remove the pump, hiring a technician is often safer. A professional can also perform a pressure test to ensure no other leaks exist after the primary issue is resolved. Always verify the manufacturer’s warranty status before attempting a major repair, as DIY work could potentially void your coverage.
Related guides
- Best Affordable Dishwasher in 2026
- Best Countertop Dishwasher Under 400 in 2026
- Brand New Hot Tub Leaking: Find and Fix the Leak Fast in 2026
Frequently Asked Questions
Is it safe to run the dishwasher with a small leak?
No, you should avoid running the machine if you identify a leak. Water can cause significant damage to your flooring, subfloor, and cabinetry. Additionally, water leaking onto electrical components poses a serious fire and shock hazard. Always shut off the water supply to the unit and disconnect the electricity until you have identified and resolved the cause of the leak.
How do I know if my detergent is causing the leak?
If you see thick, bubbly suds escaping from the bottom of the door, you’re likely using too much detergent or the wrong type of soap. Dishwashers require low-sudsing, specialized detergents. If you have been using regular dish soap, stop immediately. Run a cycle with a dishwasher cleaner or a cup of white vinegar to clear the existing suds and residue from the pump system.
Can a clogged drain cause a bottom leak?
Yes, a clogged drain hose or filter can cause water to back up into the tub. When the water level rises higher than intended, it can reach the door seal, which isn’t designed to hold standing water. If your dishwasher isn’t draining properly, clear the filter and inspect the drain hose for blockages before assuming a major component has failed.
How long do dishwasher seals typically last?
Most dishwasher door gaskets and internal seals will last between 5 and 10 years, depending on the frequency of use and the hardness of your water. Hard water can cause mineral buildup that accelerates the degradation of rubber seals. Regularly cleaning the gasket with mild soap and keeping the interior free of debris will help extend the lifespan of these critical components.
Should I replace the dishwasher or repair it?
If your dishwasher is less than 5 years old and the repair cost is under $200, it’s usually worth fixing. However, if the machine is over 8-10 years old and requires expensive components like a circulation pump or control board, the cost of repair may approach the price of a new unit. Evaluate the total cost of parts and labor against the remaining expected life of the appliance.
Conclusion
Taking the time to inspect these common areas will help you determine whether a simple cleaning or a part replacement is necessary. Start by checking the door gasket and the detergent usage, as these are the most frequent culprits. If those check out, move on to the internal hoses and valves. If you feel overwhelmed by the process, contact a qualified technician to prevent further property damage.
