
You need a light source that fits your pool’s shape and power needs, because Pentair Globrite alternatives include LED fixtures from Jandy and Hayward that match the original size. Most pools use a 120V or 240V system, so you must check your voltage before buying any replacement. This guide covers how to measure your old unit, compare new models by brightness and cost, and install them safely without breaking your warranty.
What a pool light actually does
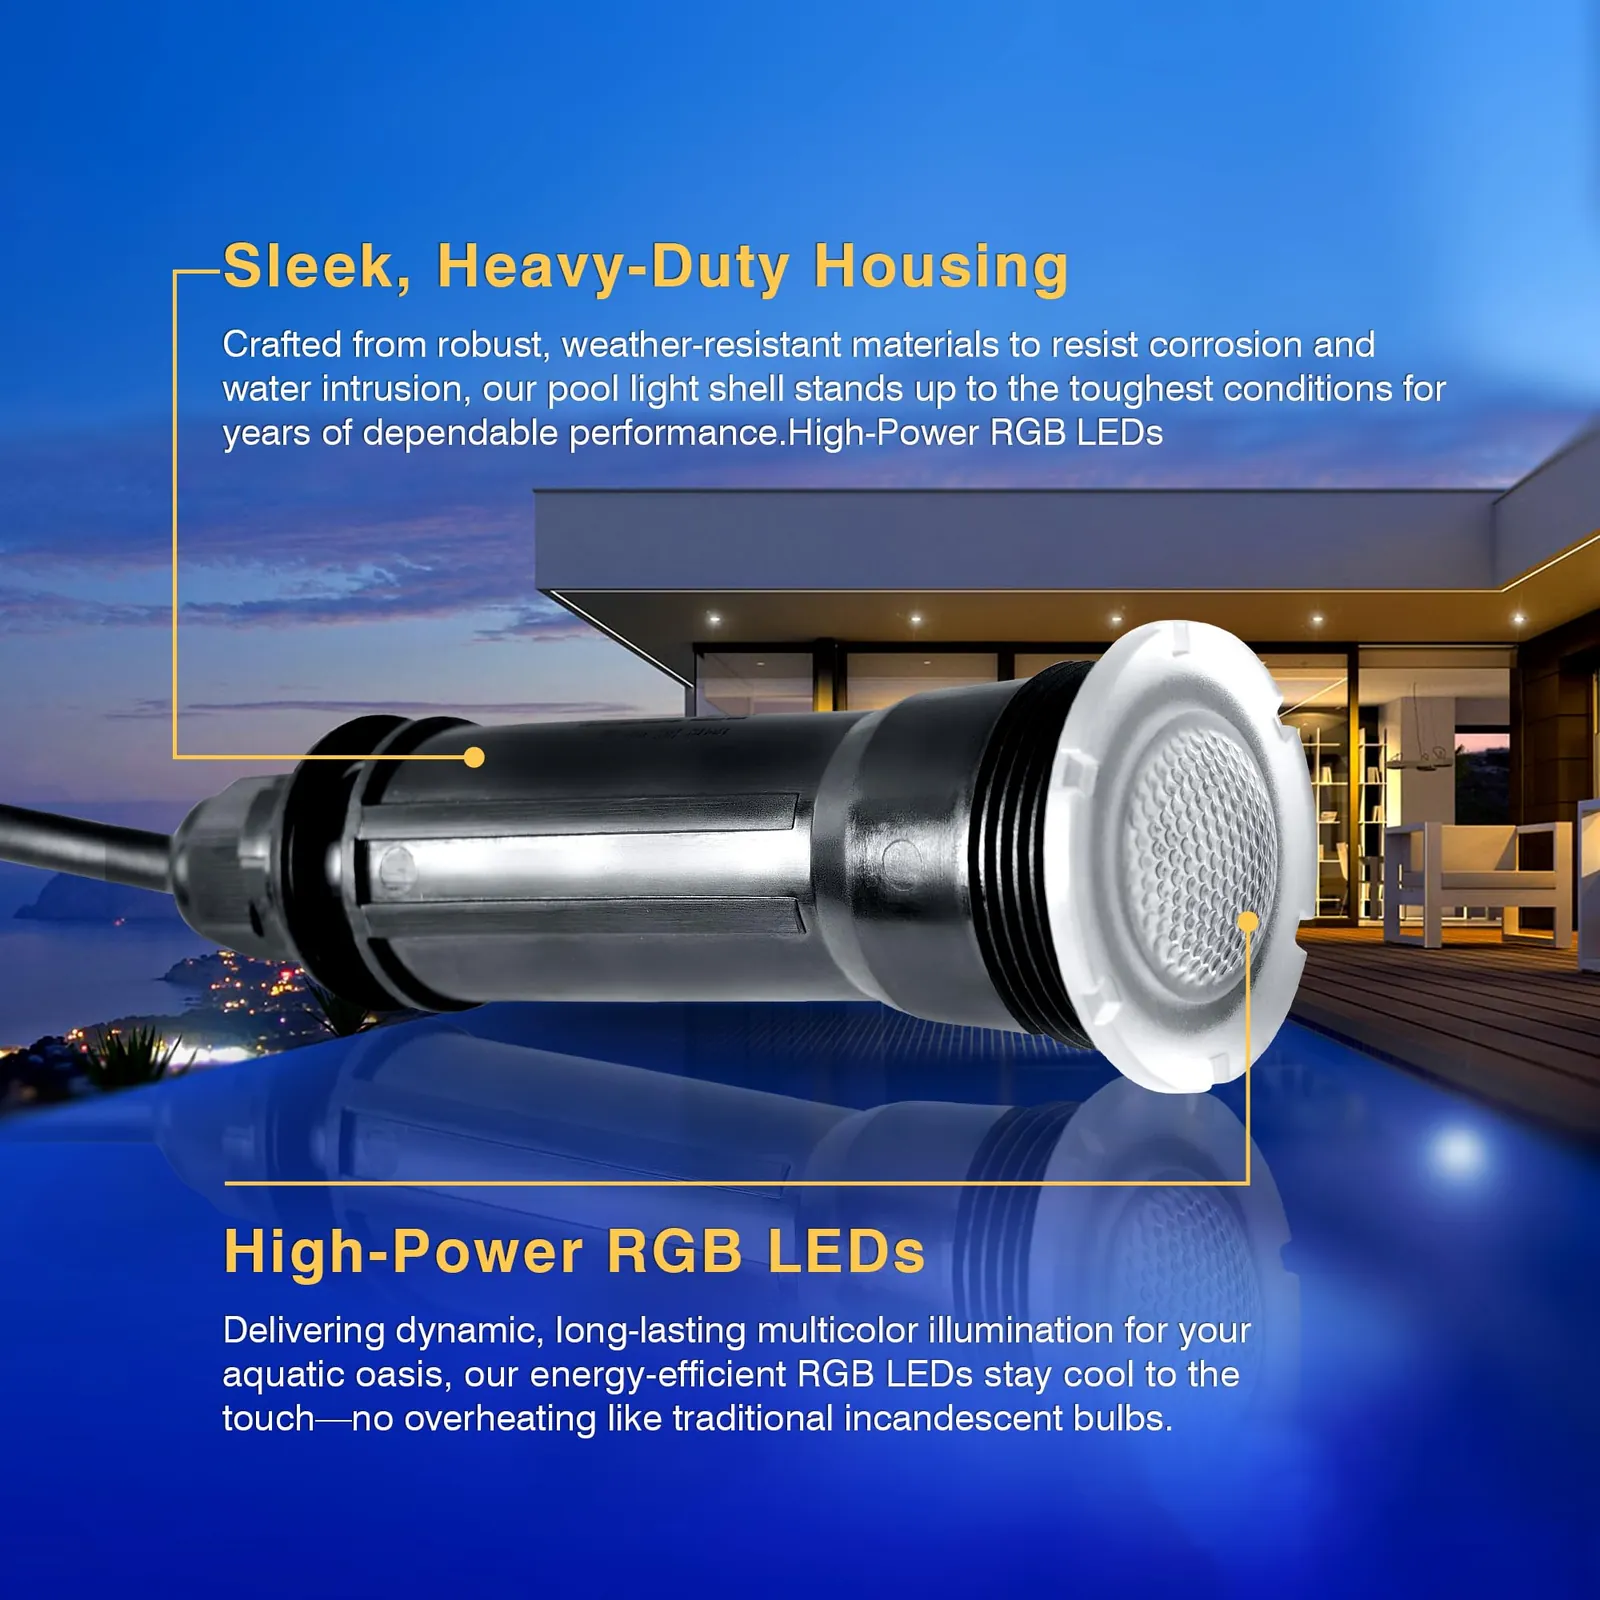
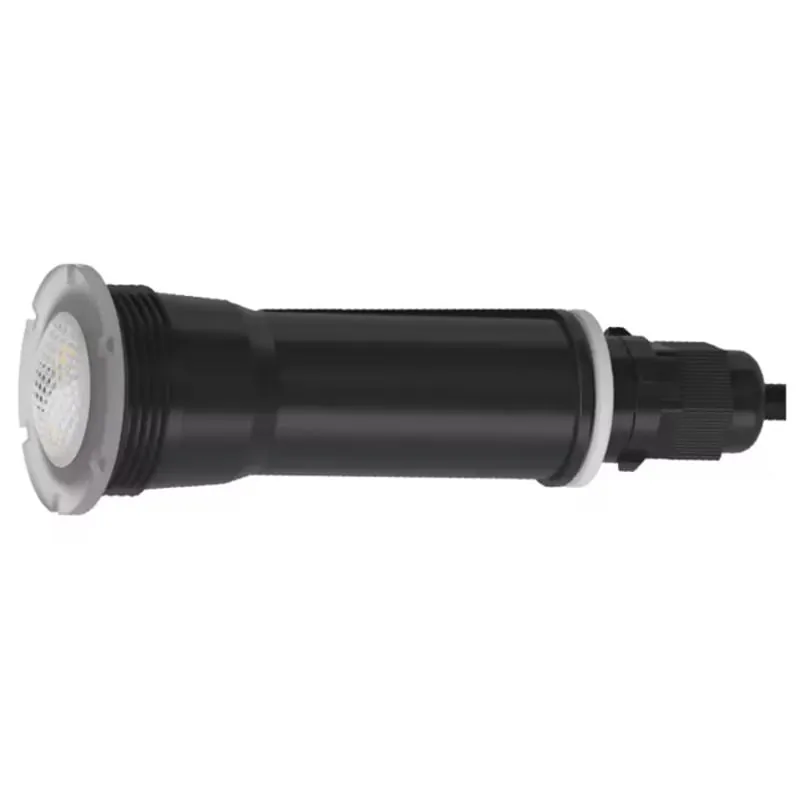
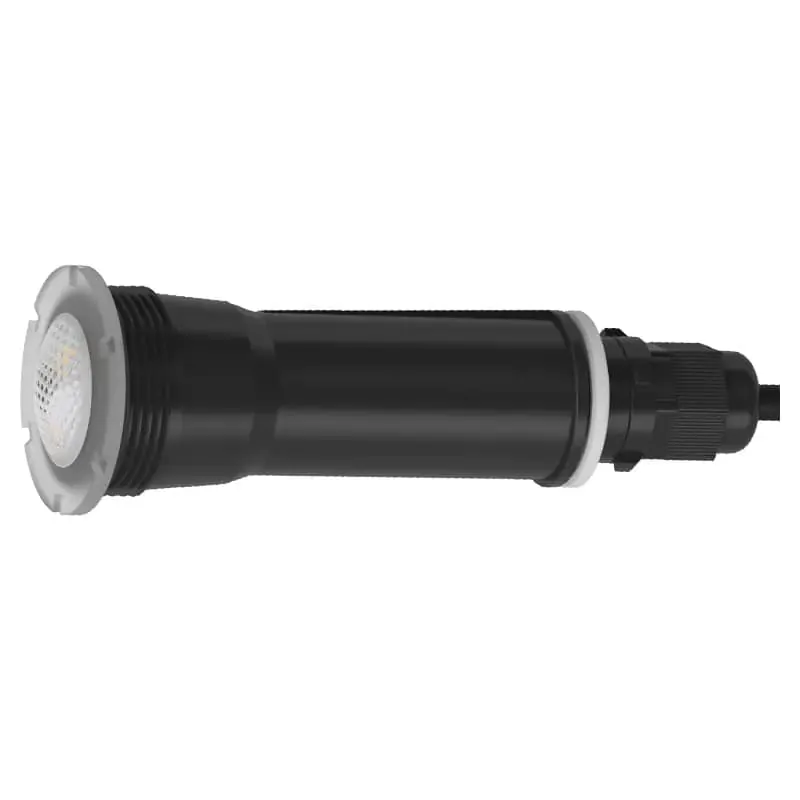
A pool light is an electrical fixture that sits inside a niche in your pool wall to let you see underwater at night. It’s used by homeowners who want to swim after dark or enjoy their backyard in the evening. The main job of this device is to push bright light through water while staying safe around electricity.
Many people think all lights fit every pool, but that isn’t true. Each brand uses a different shape for its glass lens and housing. If you pick the wrong one, it won’t seal properly and water will leak into the electrical box. This leak often destroys the transformer before you even notice the light flickering.
The glass must face outward to push light into the water, and the back connects to a waterproof cable. Safety rules say these lights must be on a ground fault circuit interrupter to stop shocks. Without this protection, a crack in the lens can allow electricity to enter the water, creating a shock hazard.
Never guess the size; measure the old unit first. A 6-inch round opening requires a specific flange, while a square niche needs a completely different gasket.
If your current light is quite old, the rubber seal has likely hardened and failed. Replacing just the bulb won’t fix this; you must replace the entire housing to ensure a watertight bond. LED units also run cooler than old incandescent bulbs, which means they last longer and use less power.
When installing a new unit, always test the GFCI button before filling the niche with water. If the breaker trips immediately, stop and check your wiring connections. A loose wire inside the junction box is the most common cause of failure during installation.
How to swap out your old light
First, turn off the power at the main breaker panel and lock it so nobody turns it back on. Next, remove the cover plate on the pool deck near the light niche. Then, disconnect the wires inside the junction box using wire nuts. Pull the old light out of the niche carefully by holding the body, not the cord. Clean the niche with a soft cloth to remove algae or dirt.
Check the gasket on the new light to make sure it’s smooth and clean. Slide the new light into the niche until it clicks or seats fully. Push the wires back into the junction box and connect them with new wire nuts. Tighten the conduit fitting to stop water from entering. Turn the power back on only after the cover is screwed down tight. Finally, test the light to ensure it shines bright and steady.
The single choice that makes or breaks this job is matching the electrical specifications and plug type exactly. If your old light ran on low voltage, you must buy a low-voltage replacement fixture; a standard 120V household model won’t work even if you change the transformer. A mistake here costs you a ruined light or a dangerous shock hazard.
Some older pools have a special connector that newer lights don’t accept, so you may need an adapter. If you aren’t comfortable working with electricity near water, hire a licensed electrician who knows pool codes. They have the tools to test for leaks and verify safety before you swim again.
Key numbers and settings at a glance
| Situation | What to use | How long | What to watch for |
|---|---|---|---|
| Standard 120V pool | Hayward ColorLogic or Jandy AquaLink | 50,000 hours | Voltage mismatch causes instant failure |
| Small above-ground pool | Intex 12V LED kit | 30,000 hours | Transformer heat buildup in summer |
| Large in-ground pool | Pentair Intellicolor LED | 60,000 hours | Wire corrosion in salty water areas |
| Retro-fit with old wiring | Generic 120V LED retrofit | 40,000 hours | Loose conduit connections leak water |
| Saltwater pool system | Corrosion-resistant stainless housing | 50,000 hours | Glass etching from high salt levels |
| Budget replacement | Basic white LED fixture | 35,000 hours | Dimming over time due to heat |
Always check the label on your old light for the wattage and voltage before you shop. A 120V light will blow up if you plug it into a 12V transformer. The hours listed are typical lifespans based on manufacturer data, but real life varies with how often you run the light. Heat inside the niche shortens life faster than normal use. Keep the area around the light clear of leaves and debris to help it cool down.
What separates good results from bad ones
Experienced installers always clean the niche surface before sliding in the new light. A thin layer of algae or calcium stops the gasket from sealing tight, which leads to slow leaks. They also check the wire length before cutting anything too short. If the wires are too tight, they pull on the connection and break later.
Good work means testing the light underwater before closing the cover. This catches any fogging or flickering while you can still fix it. Beginners often skip the voltage check and buy the cheapest option available. That saves money now but costs more when the light burns out in a week.
Another common error is forgetting to tighten the conduit nut. Water follows the path of least resistance, and a loose nut lets moisture crawl into the junction box. Always use silicone grease on the gasket to keep it flexible and watertight. Leave the light running for a few minutes to verify it operates steadily before declaring the job done.
Watch the wire connections
Water loves to travel along wires if there’s even a tiny gap. Use fresh wire nuts and twist them clockwise to lock them in place. Wrap the whole bundle with electrical tape as a second barrier. Never reuse old wire nuts that look cracked or brittle.
Check the glass orientation
The glass lens must face the water, not the wall. If you install it backward, the light hits the concrete and bounces back weakly. Also, the glass should sit flush against the niche opening. Any tilt creates a shadow and significantly reduces effective brightness.
Common problems and quick fixes
| What you notice | What it usually means | What to do first |
|---|---|---|
| Light flickers on and off | Loose wire connection | Turn off power and re-tighten wire nuts |
| Light stays dark | Blown fuse or tripped GFCI | Reset the GFCI outlet and check the breaker |
| Water inside the niche | Failed gasket or cracked housing | Replace the gasket or the whole light unit |
| Dimmer than before | Wrong voltage or dirty lens | Verify voltage matches and clean the glass |
| Foggy glass | Moisture trapped during install | Remove and dry the unit, then reseal |
| Buzzing sound | Bad transformer or loose part | Swap the transformer or tighten fittings |
If you see water inside the niche, stop using the light immediately. Electricity and water together create a deadly shock risk. Don’t try to dry it with a hair dryer while it’s plugged in. Unplug everything first, then take the light out to inspect the seal. If the glass is cracked, throw it away and get a new one. A small crack grows fast under water pressure.
When a light buzzes, don’t assume the bulb is at fault if you have already swapped it. The noise often comes from a failing magnetic transformer that can’t handle the load of modern LED drivers. These old units hum loudly when they overheat or age beyond their ten-year lifespan.
If the sound stops when you disconnect the fixture but returns as soon as you plug it back in, the transformer is the culprit. Replacing just the bulb will cost you money without fixing the noise. You must swap the entire transformer for a digital model rated for your specific wattage.
Foggy glass looks like condensation but acts differently than surface moisture. If wiping the outside doesn’t clear the view, water vapor has sealed inside the housing during installation. This happens when the silicone bead was applied too thin or the gasket sat twisted. Heat from the bulb expands this trapped air, creating a permanent haze that blocks light output.
Cleaning the exterior will never fix this internal failure. You must remove the unit, let it sit in a warm, dry room for forty-eight hours, and then apply fresh silicone before reinstalling. Skipping the drying time traps more moisture and guarantees the fog will return within days.
A dimming light often signals a voltage drop caused by running too many fixtures on a single circuit. If the lights are bright at dusk but fade as you add more devices, the wiring gauge is likely too small for the distance. Adding another bulb to the same line will make them all darker, not brighter.
Check the total wattage against the transformer’s maximum rating; exceeding it by even twenty percent causes rapid dimming. If the numbers match, the issue is dirty lenses. Algae and mineral deposits build up slowly underwater, blocking a significant portion of the light. Scrubbing the glass with vinegar restores full brightness instantly.
Rules for safe installation
Your local building code sets the rules for pool lighting. In the US, the National Electrical Code requires a ground fault circuit interrupter for all pool lights. This device cuts power in milliseconds if it senses a leak. You must follow these rules to avoid fines or accidents.
Some states have extra rules about how deep the light sits or how far it’s from the edge. Always check with your city or county office before starting work. If you aren’t licensed to handle electrical work, call a pro. Working on pool wiring without training voids your home insurance in many cases. The risk of electrocution is real, and the law takes it seriously. Never bypass safety devices to save time or money.
A common mistake is assuming that standard household GFCI outlets provide enough protection for underwater fixtures. They do not. Pool lights require a dedicated GFCI protected circuit installed at the main panel, not just an outlet near the deck. If you install a generic outlet instead, the system may fail to trip during a subtle current leak, turning the water into a live conductor.
Another critical detail involves the seal on the fixture itself. Most modern LED units use a silicone gasket that must be perfectly aligned before tightening the housing. If the gasket is pinched even slightly by the mounting flange, water will eventually seep in through capillary action. This often happens months after installation when the first heavy rain occurs. Once moisture enters the lens, the internal electronics corrode, creating a short circuit that can shock anyone touching the water.
If your existing light is older than ten years, replace the entire unit rather than trying to patch the seal. Older glass lenses and rubber gaskets degrade over time, losing their elasticity.
No amount of new silicone caulk can restore the original factory compression needed to keep water out. When in doubt, hire an electrician who specializes in aquatic systems. They carry pressure-testing equipment to verify the seal holds under simulated depth conditions before you ever turn the power back on.
Keeping it working afterwards
Clean the glass lens regularly with a soft cloth and mild soap. Hard water leaves spots that block light and make the bulb work harder. If you live in an area with very hard water, skip the soap and use a vinegar solution instead to prevent mineral buildup from returning quickly. Check the gasket periodically for cracks or hardening.
Replace it if it feels stiff or looks dry. A common mistake is stretching the old gasket back into place; this creates microscopic gaps that allow moisture to seep in during winter freezes. Test the GFCI button frequently to make sure it trips correctly. Press it until the reset button pops out, then wait briefly before resetting it to ensure the internal mechanism has fully disengaged.
Record the date you installed the light and when you last cleaned it. This helps you spot patterns if problems come back. If the light dims slowly over time, it’s time to replace the whole unit. Don’t wait until it dies completely. A failing light can leak current into the water before it goes dark.
Keep spare parts like gaskets and wire nuts in a dry box near the pool. Label the box with the specific model number of your fixture. This saves you a trip to the store when something breaks late at night, as generic gaskets often fail to seal properly on older models.
When to use a different approach
This method works for standard in-ground pools with built-in niches. If you have an above-ground pool with no niche, you can’t install a recessed light. Instead, use a floating LED light that sits on the water surface. These are cheaper and safer for temporary setups.
If your pool has a very small niche, some large LED models won’t fit. Measure the opening before buying; if it’s less than four inches wide, skip the standard 6-inch units and look for compact versions made for tight spaces.
A common mistake is forcing a bulb into a gap that’s too small, which cracks the seal and causes leaks. For saltwater pools, regular lights corrode fast within two years. Choose models with titanium or stainless steel parts rated for salt to avoid this failure.
If your wiring is old and frayed, don’t try to patch it. Call an electrician to replace the whole line. Trying to fix bad wiring risks fire or shock, especially when moisture is present. Sometimes the best choice is to leave the old light alone and add external floodlights instead. This avoids digging into the pool wall and keeps costs low.
You should also check your local electrical requirements before starting. Most residential pools run on standard household voltage, but older systems might use higher voltage. Installing a lower-voltage fixture on a high-voltage line will destroy the unit instantly. If you’re unsure, have a technician test the output first.
Another scenario involves pools with heavy algae buildup. In these cases, cleaning the water first is essential because dirty water blocks the light beam entirely. Don’t install new fixtures until the water is clear, or you’ll waste money on a product that can’t perform.
Related guides
- Oven Alternative to Grilling: How to Broil Like a Pro in 2026
- 10 Best Brondell L60 EB LumaWarm Alternatives and Reviews in 2026
- 10 Best Bemis 1100E2 Kennan Elongated Toilet Seat Alternatives in 2026
Frequently asked questions
Can I use a regular light bulb in my pool?
No, you can’t use a regular household bulb in a pool. Pool lights need special sealed housings that keep water out and prevent shocks. Regular bulbs will shatter or cause an electrical fire if water touches them. Only use lights made specifically for underwater use.
Why is my pool light flickering?
Flickering usually means a loose wire connection or a failing transformer. First, turn off the power and check the wire nuts inside the junction box. Tighten any loose connections and wrap them with fresh tape. If the problem continues, the transformer may be dying and needs replacement.
How long do LED pool lights last?
Most LED pool lights offer a long operational life. The exact duration depends on how hot the niche gets and how often you run the light. High heat shortens life faster than normal use.
Is it safe to change a pool light myself?
It’s safe only if you know how to work with electricity and follow all local codes. You must turn off the power at the breaker and use proper tools. If you’re unsure, hire a licensed electrician. Mistakes can lead to serious injury or death.
What happens if I put the wrong voltage in?
Putting the wrong voltage in destroys the light instantly. A 120V light on a 12V system won’t work, and a 12V light on 120V will burn out or explode. Always check the label on your old light before buying a new one.
Can I install a color-changing light in an old pool?
Yes, you can install a color-changing LED if the niche fits and the wiring supports it. Many modern LEDs replace old incandescent units directly. Just make sure the voltage matches and the connector fits your existing setup.
Conclusion
Once you’ve picked a fixture that fits your pool, grab the installation manual and read it before opening the box. You’ll save time if you line up your tools early. Don’t rush the wiring—taking an extra few minutes keeps everything safe and bright for years ahead.