
Building a diy foosball table is an inexpensive alternative to buying one, requiring basic woodworking skills and tools like a saw, drill, and square. The real work is in the alignment of the rods. If the bars are crooked, the game won’t feel right. This guide shows you exactly how to get it straight.
Gather materials for your foosball table
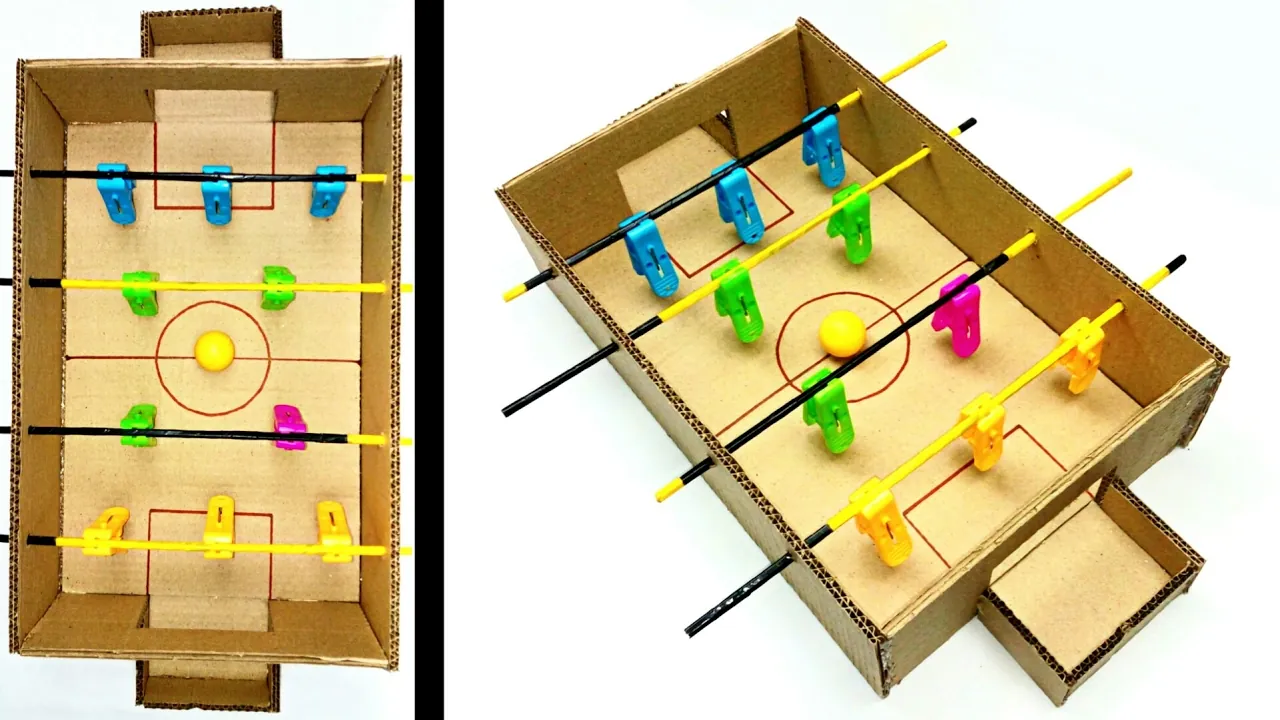
Start with eight feet of one-by-six pine. This is the standard width for a stable frame.
Wood dowels are too thin. They wobble during play. The metal provides the necessary rigidity. If you can’t find steel, use aluminum, but it will feel lighter and less substantial.
You need two sets of bearings or washers. These allow the rods to spin freely. Without them, the game becomes jerky. Don’t skip this step. Friction kills the experience. Cheap plastic bearings fail quickly. Use brass or steel. They last longer.
Get a box of one-and-a-half-inch screws. Nails pull out over time. Screws hold tight. This matters because the table vibrates during play. Loose joints ruin the alignment. Ensure your screws match the wood density. Harder wood needs sharper points.
One can of polyurethane finish protects against sweat. Paint traps moisture inside the wood. This causes swelling and warping. Polyurethane sits on top. It creates a barrier. Apply two thin coats. Let each dry completely. Sand lightly between coats.
Buy one set of player cutouts. Cardboard tears easily. Plastic or acrylic holds up better. Choose material that feels solid in hand. Weight matters for balance. Light pieces fly off when hit hard.
You need four table legs. Stacked blocks create an unstable base. Legs provide a fixed height. Ensure they’re level. Uneven legs cause the frame to twist. Check each leg before assembly. Stability comes from precision.
Before you start cutting
Check your space first. You need a 4-foot clear area. Move any fragile items away from the bench. Clear the floor of tripping hazards like cords.
- Measure twice. Mark every cut line with a pencil. Use a square for perfect 90-degree angles. One bad angle ruins the whole frame.
- Sand the edges. Smooth all rough spots before assembly. Splinters hurt hands during play. Dust off the pieces after sanding.
- Dry fit the frame. Put screws in loosely first. Check if the rectangle sits flat on the floor. Adjust as needed before tightening.
- Prepare the rods. Cut steel rods to exact length. File the ends smooth so they don’t scratch bearings. Test fit them in the holes now.
- Skip the stain test. Apply finish to scrap wood first. See how it looks on pine. Pine absorbs stain differently than oak. Plan your color choice early.
Stop here if you lack a drill press. Hand-drilling bearing holes often leads to misalignment. A professional shop can drill these for you. Safety comes first.
Step by step construction
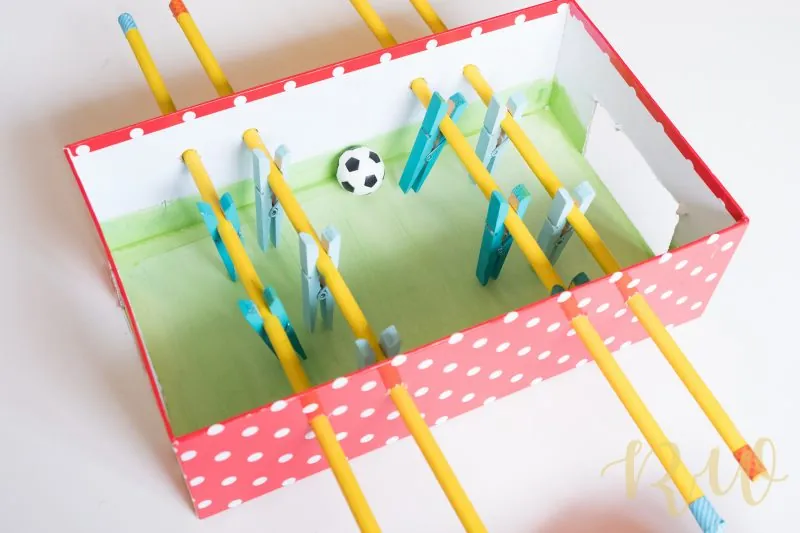
Follow these steps in order. Don’t skip any part. Precision matters more than speed. Take your time with each action.
- Cut the frame pieces. Cut four boards to 48 inches long. Cut two crossbars to 24 inches. These form the outer rectangle. Sand all surfaces lightly. Keep dust off the cuts.
- Drill rod holes. Mark positions for four rows of rods. Space them evenly along the length. Drill 3/8-inch holes through both side boards. Ensure holes are perfectly aligned vertically.
- Assemble the base. Join the side boards with the crossbars. Use screws at each corner. Check for squareness with a tape measure diagonals. Tighten all screws firmly.
- Install the bearings. Press bearings into the drilled holes. They should sit flush with the wood surface. Use a hammer gently if needed. Ensure they spin freely by hand.
- Insert the rods. Slide steel rods through the bearings. Add washers on each end. Secure them with nuts or glue. Check that each rod spins without touching the sides.
- Attach the players. Glue or screw player figures onto the rods. Position them evenly around each bar. Leave enough gap between figures. Ensure they rotate fully without hitting neighbors.
- Build the legs. Attach four legs to the bottom of the frame. Use metal brackets for strength. Ensure the table stands level. Adjust leg height if one side sags.
- Add the goal lines. Draw or glue thin strips for goals. Place them near each end of the table. Make sure they’re parallel to the short sides. This defines the scoring area clearly.
- Finish the surface. Apply polyurethane to all exposed wood. Let it dry completely between coats. Two coats provide good protection. Wipe off any drips immediately.
- Final check. Spin every rod again. Check for wobble or friction. Tighten any loose screws. Clean off fingerprints and dust. Your table is ready for play.
How to know it worked
Look for smooth rotation on every bar. Each rod should spin freely without sticking. Listen for a quiet hum, not a scrape. The table must stand still when pushed. Check that no screws poke through the top. Players shouldn’t hit each other when spinning. Measure the gap between rods; it should be consistent. If any bar drags, remove it and check the bearing hole. Misaligned holes cause most failures. Re-drill if necessary. A successful build feels solid and responsive.
Test the weight distribution by pressing down hard on one corner. The entire frame must resist twisting. If the legs wobble, tighten the cross-braces first. Loose joints often mimic misalignment issues. You can tell the difference by feeling for play in the wood itself versus resistance in the bearings. Tighten only until snug. Over-tightening strips threads or cracks the timber. This mistake costs hours of rework.
Inspect the finish under bright light. Look for missed spots where dust settled. These rough patches catch fingers during play. Sand them lightly with fine grit paper. Wipe away all residue before applying another coat. A glossy surface reduces friction significantly. Matte finishes feel slower but hide imperfections better. Choose based on your priority. Speed or forgiveness? Most players prefer speed once they master control. Forgiveness helps beginners avoid frustration. Decide early to save time later.
If something goes wrong
Fix common issues quickly. Don’t ignore small problems. They get worse over time. Use this table to troubleshoot.
Rods stick or bind because holes are misaligned. Re-drill them carefully with a slightly larger bit. Don’t force the rod. Forcing it cracks the wood and ruins the joint permanently.
Table wobbles on floor when legs are uneven. Trim the shorter leg slightly. Check stability by pressing down on opposite corners. If it still rocks, the floor is uneven, not the table. Place felt pads under the short leg instead.
Screws pull out if wood split during drilling. Pre-drill pilot holes next time. Choose a drill bit that matches the screw’s core diameter, not the outer threads. This prevents splitting while keeping grip strength high.
Players fall off if glue failed or was weak. Use epoxy instead of PVA. Epoxy fills gaps and resists moisture better. Apply it sparingly to avoid excess squeeze-out that slows assembly.
Surface feels rough if finish applied thinly. Add another coat of varnish. Sand lightly between coats with 220-grit paper. This removes dust nibs and ensures a smooth, durable surface that lasts for years.
How often to do this
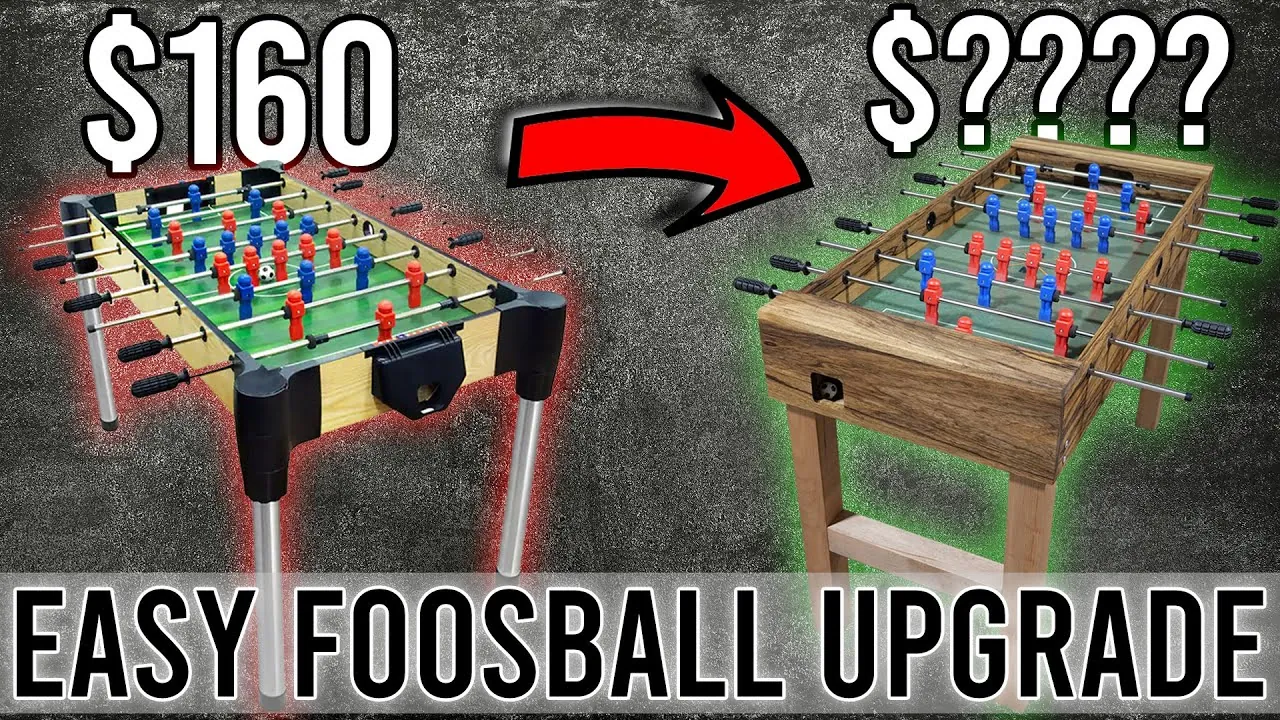
Build the frame once. The initial assembly sets the baseline for all future maintenance. If you skip leveling the legs now, every subsequent check becomes a guessing game. You’ll tighten screws that are already secure while ignoring the ones that actually hold weight. Don’t rush this step. Take an hour to ensure everything sits true.
Maintain the structure yearly. This isn’t about fixing what is broken. It’s about catching wear before it fails. Inspect the joints for any sign of movement. Look for dust buildup in the crevices where moisture loves to hide. A simple visual scan takes five minutes but saves hours of repair later.
Clean the surface after each use. Wipe away sweat and dirt immediately. Letting grime sit allows it to bond with the finish. Use a damp cloth, never a soaking wet one. Excess water seeps into seams and causes swelling. Dry it thoroughly with a clean towel. This habit prevents the dull, cloudy look that no polish can fix.
Oil the bearings based on use, with the owner’s manual being the authority. Friction generates heat. Heat degrades plastic components over time. Apply two drops of light machine oil to each pivot point. Work the joint back and forth until the oil penetrates. Don’t use WD-40 as a lubricant. It attracts dust and dries out quickly.
Check for loose screws quarterly. Vibration loosens fasteners. Tighten them gently. Over-tightening strips the threads. Heavy use accelerates this process. If the item shakes during normal operation, increase checks to monthly. Sunlight warps wood. Store indoors during winter. Dry air cracks pine.
Related guides
Frequently asked questions
Is it safe to build a diy foosball table?
Yes, it’s safe if you wear eye protection. Use a dust mask when sanding pine. Keep fingers away from the saw blade. Supervise children near power tools. The finished product has no sharp edges if sanded well. Always unplug tools when changing bits. Follow standard workshop safety rules.
Can I make a foosball table without a table saw?
You can use a circular saw or hand saw. A table saw gives cleaner cuts though. Hand saws require more effort and skill. Buy pre-cut lumber to save time. Home centers offer cut services for a fee. This reduces the need for expensive equipment. Just ensure cuts are straight and square.
How long does it take to finish?
Rushing leads to mistakes and rework. Take breaks to maintain focus and accuracy.
Does the type of wood matter?
Pine is cheap and easy to find. Oak is harder but lasts longer. MDF is cheap but swells with moisture. Avoid soft woods that dent easily. Hardwoods resist wear from frequent play. Pine works fine if sealed well. Choose based on your budget and skill level.
What happens if the rods are too loose?
Players will wobble and fall off. The game feels unstable and frustrating. Loose rods also make scoring inaccurate. Tighten nuts or use thread locker. Replace worn bearings if gaps appear. Proper tension ensures smooth, controlled movement. Check tightness regularly during play.
How do I clean the table?
Wipe with a damp cloth only. Never soak the wood in water. Dry it immediately with a towel. Use mild soap if stains appear. Avoid harsh chemicals or solvents. These damage the finish and wood. Regular cleaning prevents buildup of dirt. Store it in a dry room always.
Conclusion
Once the rods spin freely, give the whole frame a quick sanding and a coat of paint. It’s your turn to design the look now. Grab some friends, set up the game, and enjoy the match. You’ve built something real that’ll bring plenty of fun for years to come.