
The right in ground spa jet placement puts jets at 12 to 18 inches below the water line and spaces them every 10 to 14 inches along the seat back. This guide covers how to map your specific seating layout, balance pressure zones, and avoid common plumbing errors that ruin comfort or damage pumps. You’ll learn exactly where to drill for neck support versus lower back relief, how many jets a standard pump can handle, and what to do if your spa shape is irregular.
Understanding In-Ground Spa Jet Placement
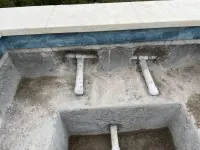
An in-ground spa jet layout is the strategic arrangement of water outlets to create a therapeutic massage without wasting energy. It’s used by homeowners and builders to ensure every seat gets proper coverage while maintaining strong water pressure.
The primary goal is to target major muscle groups like the calves, hamstrings, glutes, and lower back with directed streams of water. This setup works best when the jet type matches the body part it serves; for instance, rotary jets work well for large muscles, while targeted pinpoint jets suit smaller areas like the neck.
A common mistake people make is thinking more jets always mean a better massage. Adding too many outlets on a single pump splits the water flow, leaving you with weak, ineffective streams that feel like a gentle rinse rather than a deep tissue treatment.
The physics behind this is simple: your pump has a fixed amount of horsepower and gallons per minute (GPM). If you divide that power across twenty jets instead of ten, each jet loses half its force. A study by the Association of Pool & Spa Professionals notes that proper hydraulic design requires matching jet count to pump capacity to maintain effective pressure.
This approach is for anyone building a new spa or renovating an existing one who wants a professional-grade experience. It isn’t for those who plan to install a massive number of decorative jets on a small, low-power system. If you ignore the relationship between pump size and jet count, you’ll end up with a quiet but useless system.
The real value comes from placing fewer, stronger jets in the exact spots where your body needs relief. You must also consider the angle of entry; jets aimed straight back often miss the spine’s natural curve, while angled jets follow the body’s contours for deeper penetration.
Step-by-Step Installation Guide
- Map the seating zones: Measure the length of each seat and mark the center point for the upper back, mid-back, and lower back. Place the first marker at least 12 inches below the waterline for the neck and shoulder area, then space subsequent markers 10 to 12 inches apart down the seat. Ensure you leave at least 3 inches of clearance between any jet and the edge of the seat to prevent pinching skin.
- Select the correct jet type: Choose rotary jets for the calf and thigh areas where larger muscle groups need broad coverage. Use directional or pinpoint jets for the lumbar region and neck where focused pressure is required. Install foot jets separately at the bottom of the tub, aiming upward to target the arches and calves.
- Drill the shell openings: Using a hole saw sized for your chosen jet body, cut the holes at your marked locations. Keep the drill perpendicular to the shell surface to ensure the jet sits flush and doesn’t leak. Double-check that no rebar or internal plumbing lies behind your drill path before cutting through the acrylic or fiberglass.
- Connect the plumbing lines: Run individual PVC pipes from the pump manifold to each jet location, avoiding sharp 90-degree turns that restrict flow. Group jets into zones so you can control which ones turn on; a typical setup divides the spa into two or three independent circuits. Seal all pipe connections with solvent cement and let them cure for the full time recommended by the manufacturer before adding water.
- Install the jet bodies and faces: Screw the jet bodies into the drilled holes and tighten them firmly with a wrench, but don’t overtighten as this can crack the shell. Attach the adjustable faceplates and set them to a neutral position pointing slightly inward toward the center of the seat. Test the fit by running water through the system briefly to check for leaks around the gaskets.
- Balance the water flow: Open all valves fully and observe the spray pattern from each jet. Adjust the flow control valves on the manifold to equalize pressure, ensuring no single jet dominates the others. If one zone feels weak, check for kinks in the pipe or a clogged filter before assuming the pump is undersized.
- Finalize the angle and direction: Sit in the spa and have someone adjust each jet faceplate until the stream hits the intended muscle group comfortably. Lock the adjustment rings in place once the perfect angle is found. Verify that no jet aims directly at the face or eyes, even when the user leans back.
The single most important judgment call is deciding whether to group jets by body zone or by pump circuit. Grouping by body zone allows you to massage just your legs while relaxing your back, but it requires complex plumbing. Grouping by pump circuit is simpler and cheaper, but you lose the ability to target specific areas independently.
If your budget allows, always choose zoning for maximum flexibility. However, if you’re working with a smaller pump, stick to a single circuit to ensure every jet has enough power. Maintain appropriate spacing between the jet and the water line to prevent splashing and ensure the jet remains submerged during use.
Key Numbers and Settings at a Glance
| Situation | What to use | How long | What to watch for |
|---|---|---|---|
| Neck and Shoulder Zone | Pinpoint or small rotary jet | 12-14 inches below water | Avoid aiming directly at the spine; aim slightly off-center. |
| Lower Back (Lumbar) | Medium rotary jet | 14-16 inches below water | Ensure the jet is wide enough to cover the entire waist area. |
| Calf and Thigh Muscles | Large rotary or pulsating jet | 16-18 inches below water | Check that the jet doesn’t hit the knee joint directly. |
| Foot and Arch Relief | Upward-facing foot jet | Bottom of the tub floor | Angle must be 45 degrees; too steep hurts the sole. |
| Small Pump System (1 HP) | Max 8-10 total jets | N/A | Don’t exceed 10 jets or pressure will drop significantly. |
| Large Pump System (3+ HP) | 15-20 total jets | N/A | Balance flow carefully to prevent one zone from starving others. |
These numbers assume a standard residential spa with a water depth of 28 to 32 inches. Adjust jet positions based on the specific seating depth and water level to ensure they remain submerged and target the intended muscle groups effectively.
The jet spacing of 10 to 14 inches prevents overlapping streams that can feel chaotic rather than therapeutic. Always verify these measurements against your specific pump’s GPM rating before drilling any holes. A mismatch here leads to wasted money on extra jets that provide no benefit.
Details That Separate Good Results from Bad Ones
Experienced installers focus heavily on the angle of entry and the alignment of the jet relative to the human spine. They know that a jet aimed perfectly straight back will often miss the erector spinae muscles because the average person’s back curves inward.
Instead, they tilt the jet faces inward by 10 to 15 degrees so the stream follows the natural curve of the body. This small adjustment makes the difference between a surface-level tickle and a deep, satisfying massage. Beginners often skip this step, resulting in a spa that looks great but feels weak when you sit in it.
Another critical detail is the preparation of the plumbing runs before the shell is installed. Pros run pipes with a slight slope toward the pump to prevent air pockets from forming in the lines. Air pockets cause noise, vibration, and uneven water flow that can damage the pump over time.
They also use flexible piping near the jet connection points to absorb vibration, preventing cracks in the acrylic shell. If you use rigid PVC all the way to the jet, the constant vibration of the pump can eventually loosen the seal and cause a leak. Checking the flow balance partway through installation saves hours of troubleshooting later.
What experienced people leave alone is the temptation to add extra jets for visual appeal. They understand that a clean, uncluttered look with fewer, powerful jets is superior to a wall of weak outlets. They also avoid placing jets directly next to handrails or steps, as this creates a dangerous slipping hazard when the water is churning.
Finally, they never guess at the pump size; they calculate the total GPM requirement based on the number and type of jets selected. If the math doesn’t add up, they reduce the jet count rather than buying a larger, more expensive pump. This discipline ensures the system runs quietly and efficiently for years.
Common Problems and Quick Fixes
| What you notice | What it usually means | What to do first |
|---|---|---|
| Weak spray from all jets | Pump is undersized for the jet count | Reduce the number of active jets or upgrade the pump. |
| One jet is silent while others work | Air lock or blockage in that specific line | Turn off the pump, bleed the air from the line, and check for kinks. |
| Water splashes out of the spa | Jets are too close to the water surface | Raise the jet height or lower the water level slightly. |
| Loud humming or vibrating sound | Air in the pump or loose mounting bolts | Prime the pump properly and tighten all motor mounts. |
| Uneven pressure between zones | Flow control valves aren’t balanced | Adjust the manifold valves until all zones feel equal. |
If you see water leaking around the jet face, the gasket might be damaged or the jet was overtightened during installation. Stop using the spa immediately and replace the gasket, ensuring the jet body is seated flat against the shell.
Never try to fix a leak by tightening a cracked jet body further, as this will only make the crack worse. For persistent air locks, installing an automatic air release valve on the return line can solve the problem permanently. These fixes address the root cause rather than just treating the symptom, ensuring your spa stays reliable.
The Rules That Apply
Local building codes dictate the minimum safety distances for electrical components near water, which affects where you can place pumps and controls. In the United States, the National Electrical Code (NEC) requires all spa equipment to be grounded and protected by a Ground Fault Circuit Interrupter (GFCI). This rule applies regardless of how you arrange your jets, but it limits where you can run the plumbing if it contains metal fittings.
You must also follow the manufacturer’s guidelines for jet installation, as deviating from them can void your warranty. If your local code requires a permit for spa installation, you must submit your jet layout plan for approval before starting work.
Local building codes dictate safety distances for electrical components and structural requirements, which affect where pumps and controls can be placed. These regulations vary by city and state, so you must check with your local building department. If you’re installing a commercial spa, the rules are much stricter regarding jet pressure and accessibility.
For residential units, the main concern is ensuring that no jet can cause injury if a child sits too close. Always install a master shut-off valve that cuts power to the pump instantly in an emergency. If you’re unsure about any electrical or plumbing code, hire a licensed professional to review your plans.
Keeping It Working Afterwards
Once the spa is filled and operational, you must maintain a consistent water chemistry balance to protect the jet internals. High chlorine levels can degrade the rubber seals inside the jets, causing them to crack and leak over time. Check the pH and sanitizer levels weekly, keeping the pH between 7.2 and 7.6 to prevent scale buildup.
Scale buildup is the enemy of jet performance; it narrows the nozzle opening and reduces water flow. If you notice a decrease in pressure, clean the jet nozzles with a soft brush and a mild acid solution designed for spas.
Filter maintenance is crucial for keeping jets functioning correctly. Clean your cartridge regularly during heavy use and replace it annually, but always follow your owner’s manual for specific schedules based on usage.
When to Use a Different Approach
This standard jet placement method isn’t suitable for swim spas designed primarily for exercise. Swim spas require a different configuration with a dedicated current generator at one end and minimal massage jets to avoid disrupting the swimming lane. If your goal is hydrotherapy for medical conditions like severe arthritis, you may need specialized low-pressure jets that don’t fit the standard sizing. In these cases, consult a medical professional or a specialist installer who understands therapeutic requirements beyond general relaxation.
Additionally, if you’re retrofitting an old spa with a new, much larger pump, simply adding more jets in the original pattern won’t work. The increased flow rate can cause cavitation and damage the old plumbing if the jet sizes aren’t upgraded to match.
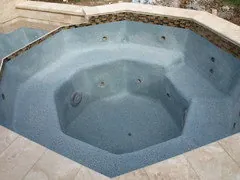
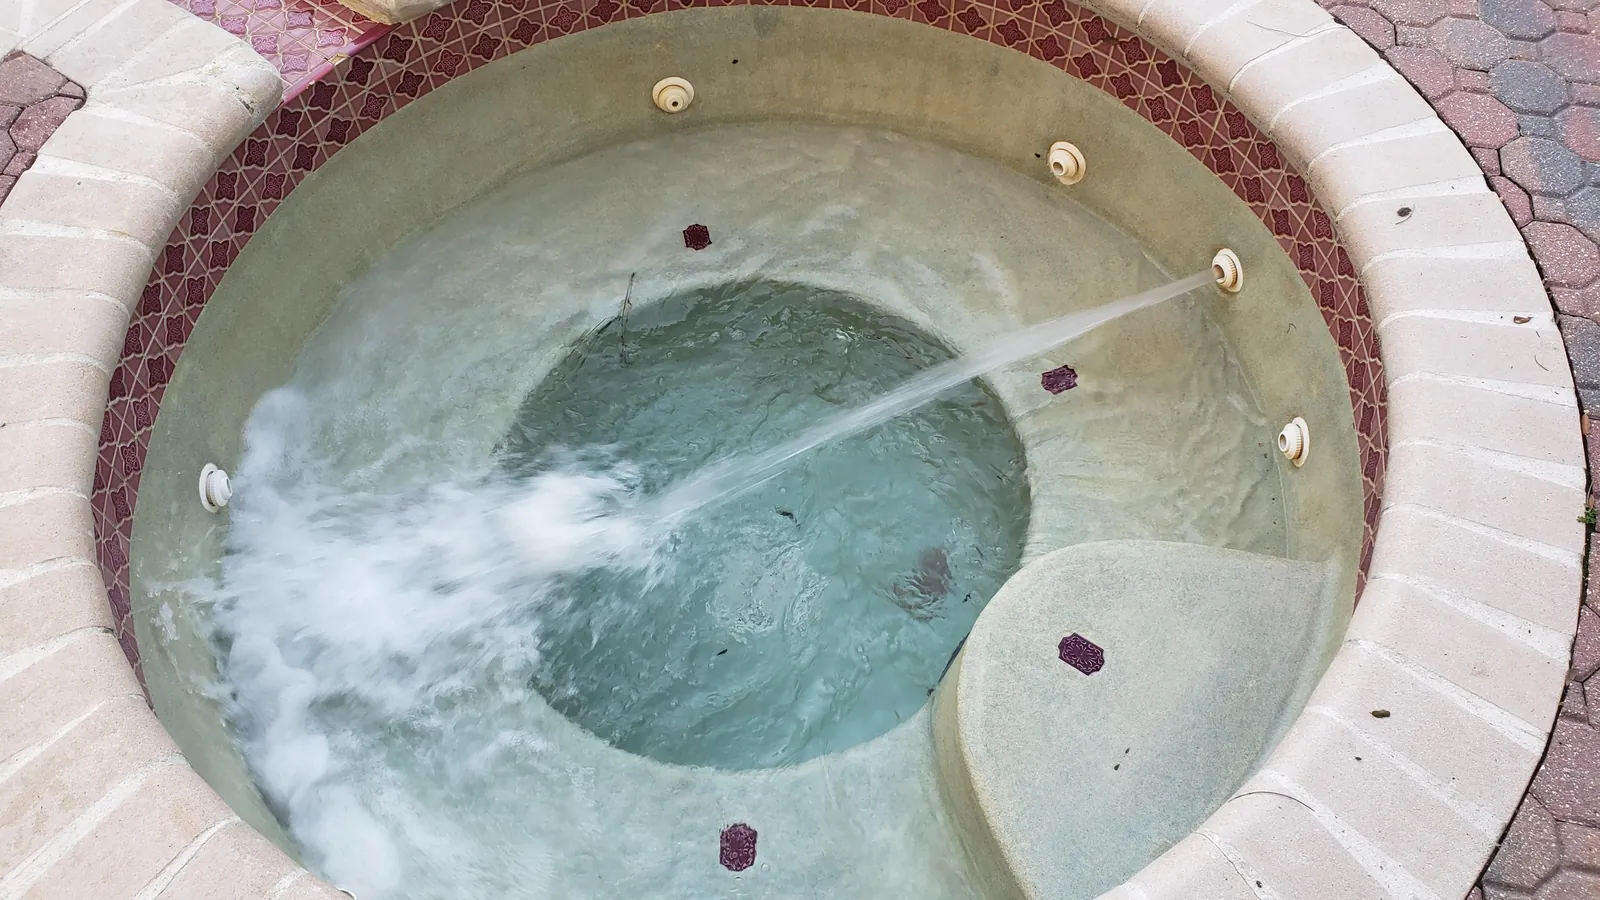
In this scenario, you must replace the entire jet array with models rated for higher flow rates. If your spa has a very unique shape, such as a circular or kidney bean design, standard linear spacing will leave gaps. For these irregular shapes, you need a custom layout plan that accounts for the curvature of the seats.
Related guides
- Best Computer Desk for Dual Monitors: Our Top Layout Picks
- How to Arrange Two Desks in a Small Office: Layout Solutions
- 8 Best Above Ground Pool Slides for Your Backyard Setup in 2026
Frequently asked questions
How many jets should I have for a 4-person spa?
A 4-person spa works best with 12 to 16 jets on a 2-3 HP pump. Smaller 1.5 HP pumps should be limited to 8-10 jets to maintain strong flow.
Can I move jets after the spa is built?
No, you can’t easily move jets once the shell is cured and plumbing connected. Adjust the faceplate angle or install a deflector instead of costly shell repairs.
Why do my spa jets make a loud noise?
Loud noises usually stem from trapped air or low water levels causing the pump to run dry. Check the water level and bleed air from the pump union if needed.
Is it safe to have jets near the headrest?
Yes, headrest jets are safe if angled away from the face and placed below the waterline. Use gentle “neck pillow” styles and test intensity before inviting others.
What happens if I put too many jets on one pump?
Too many jets on one pump split the flow, creating weak pressure and risking motor overheating. Reduce active jets or upgrade to a larger pump with higher GPM output.
How deep should the water be for the jets to work?
Water must sit at least 2 inches above the highest jet to prevent air suction and pump damage. Maintain proper depth manually or use an automatic fill system.
Can I use different types of jets in the same spa?
Yes, you can mix jet types like rotary and pinpoint jets in the same spa. Ensure plumbing is balanced or zoned so high-flow jets don’t starve smaller ones.
Conclusion
Good planning ensures your spa delivers the relaxation you expect every time you use it. Focus on the relationship between your pump power and the number of jets, and don’t rush the installation process. With the right layout and regular care, your in-ground spa will provide years of comfort and health benefits.