
Are you struggling to get that perfect, smooth finish when applying caulk? You’re not alone.
Uneven caulk lines can make even the best renovation look sloppy. But here’s the good news: you don’t need special tools or expensive gadgets to fix it. With just your finger and a little know-how, you can achieve a clean, professional look that lasts.
Keep reading, and you’ll learn simple, step-by-step tips to smooth caulk with your finger like a pro—making your home projects easier and more satisfying than ever.
Choosing The Right Caulk
Choosing the right caulk is key to a smooth and lasting finish. Not all caulks work the same on every surface. Picking the right type and consistency helps you apply it easily and get a clean, professional look.
Types Of Caulk For Different Surfaces
Different surfaces need different caulks. Silicone caulk works well on glass and metal. It is waterproof and flexible. Acrylic latex caulk suits painted surfaces and drywall. It is easy to clean and paint over. For bathrooms, use mildew-resistant caulk. It stops mold and stays fresh. Outdoor projects need weatherproof caulk. It resists rain and temperature changes.
Selecting Caulk With Proper Consistency
Caulk consistency affects how well it spreads and smooths. Thick caulk is good for wide gaps. It stays in place and fills spaces well. Thin caulk works best for small cracks. It flows smoothly and is easier to tool with your finger. Choose caulk that feels soft but firm. It should not be too runny or too stiff. Proper consistency helps you get an even bead and smooth finish quickly.

Credit: www.amazon.com
Preparing The Surface
Preparing the surface is the first step to smooth caulk with your finger. A clean and dry area helps the caulk stick well. It also makes the finish look neat and even. Taking time to prepare the surface avoids problems later on.
Cleaning And Drying The Area
Start by wiping the area with a damp cloth. Remove dust, dirt, and grease. These can stop the caulk from sticking properly. Use mild soap if the area is very dirty. Rinse the soap off completely with clean water.
Let the area dry fully before applying caulk. Moisture can cause the caulk to peel or crack. Use a dry cloth or let it air dry. A dry surface ensures better adhesion and a smooth finish.
Removing Old Caulk Residue
Old caulk can cause lumps and bumps under the new layer. Use a utility knife or scraper to cut away the old caulk. Be careful not to damage the surface below. Remove all bits of old caulk until the area is clean.
After scraping, wipe the area again to clear small debris. Check for any remaining residue and remove it. A clean surface helps the new caulk spread evenly and stick well.
Applying Caulk Correctly
Applying caulk correctly is key to a neat and lasting seal. It prevents gaps and keeps water out. Proper technique makes smoothing easier and results look professional. Follow simple steps to apply caulk cleanly and evenly.
Cutting The Caulk Tube Nozzle
Cut the nozzle at a 45-degree angle. Make the opening size match the gap width. A small cut gives better control and less mess. Use a utility knife or scissors for a clean cut. Avoid cutting too large; it wastes caulk and makes smoothing hard.
Steady Caulk Application Techniques
Hold the caulk gun at a consistent angle, about 45 degrees. Apply steady pressure on the trigger for an even bead. Move the gun slowly along the joint, keeping the bead uniform. Pause briefly at corners for extra coverage. Avoid stopping and starting mid-line to keep the bead smooth.
Smoothing Caulk With Finger
Smoothing caulk with your finger is a simple and effective way to finish sealing projects. This method helps create clean, neat seams that look professional. Using your finger gives you better control than tools like brushes or spatulas. It also helps the caulk stick well to surfaces.
Before you start, make sure the caulk is fresh and not dried out. A smooth finish improves the seal and stops water or air from leaking. Here are some easy tips to smooth caulk using your finger.
Best Finger Techniques For Smooth Seams
Press your finger gently along the caulk line. Use a steady, even pressure to spread the caulk smoothly. Move your finger in one direction rather than back and forth. This avoids pulling the caulk away from the surface.
Keep your finger slightly curved like a spoon. This shape helps guide the caulk into the gap. Start from one end and glide your finger to the other end in one smooth motion. Repeat lightly if needed to fix uneven spots.
Wipe off excess caulk from your finger with a cloth after each pass. This keeps the line clean and prevents lumps. Work quickly but carefully before the caulk starts to skin over.
Using Water Or Soap For Easier Smoothing
Dipping your finger in water makes smoothing easier. Wet fingers stop the caulk from sticking to your skin. You can also add a little dish soap to the water for a slicker surface.
Lightly moisten your finger before running it along the caulk line. This helps create a smooth, even bead with no tears. Keep dipping your finger in water or soapy water as you work.
Be careful not to add too much water. Excess water can thin the caulk and weaken the seal. Use just enough moisture to keep your finger from sticking.
Common Mistakes To Avoid
Smoothing caulk with your finger can be simple. Yet, many make mistakes that affect the final look. Avoid these common errors to get a clean, neat finish. Small details matter a lot.
Over-applying Caulk
Applying too much caulk causes mess and waste. It creates thick, uneven lines that are hard to smooth. Excess caulk can drip or smear onto surfaces. Use just enough to fill gaps for best results.
Not Cleaning Finger Between Passes
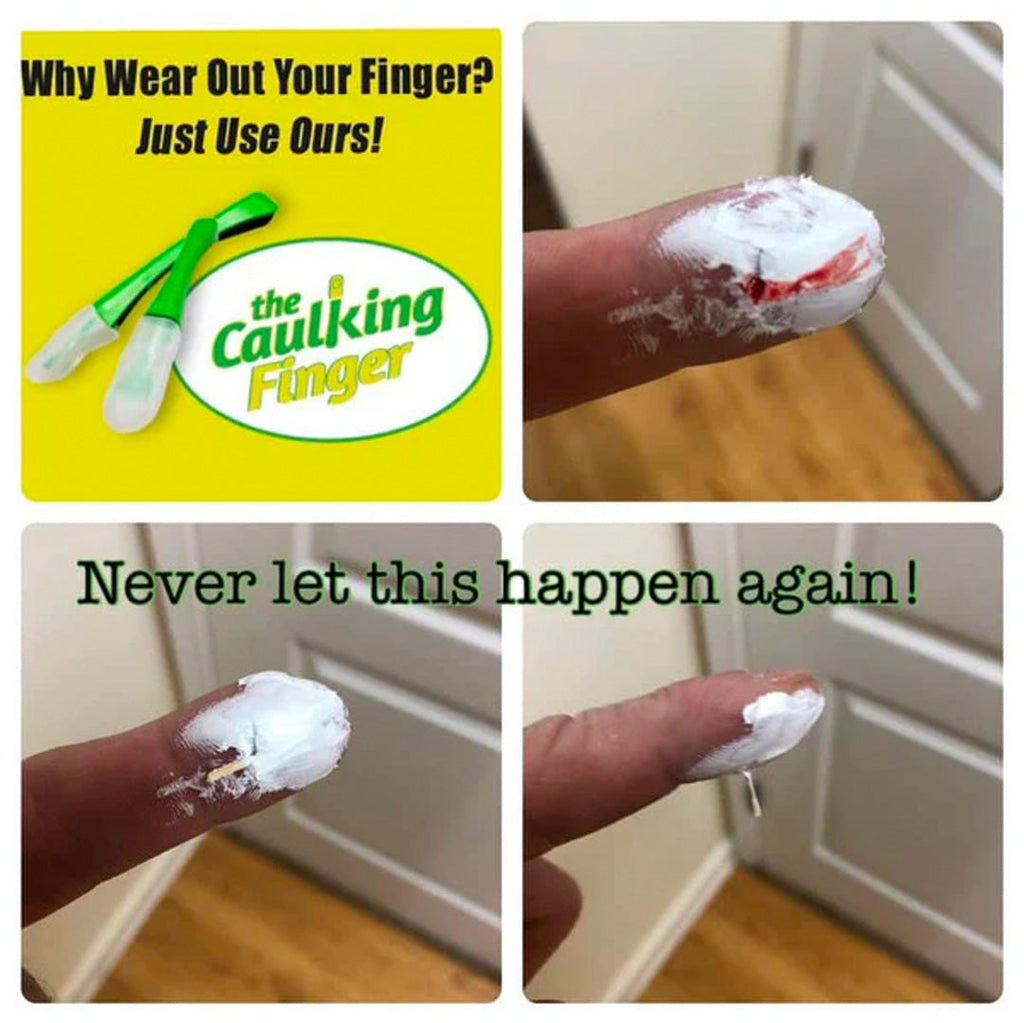
Dirty fingers spread old caulk and make lines rough. Residue builds up and causes uneven edges. Clean your finger with a wet cloth often. This keeps the caulk smooth and neat every time.
Credit: www.paintaccess.com.au
Finishing Touches
Finishing touches make your caulk job look neat and professional. Smooth caulk feels clean and improves the seal. Taking a few extra minutes at the end ensures the best results. This part focuses on cleaning excess caulk and letting it dry right.
Cleaning Excess Caulk
Remove extra caulk before it dries. Use a damp cloth or sponge to wipe the edges gently. Avoid using too much water to keep the caulk from washing away. Clean any smudges or fingerprints for a smooth finish. Clean edges give a sharp, tidy look to the caulk line.
Allowing Proper Drying Time
Let the caulk dry fully before touching it again. Drying time varies by product, usually 24 hours. Avoid heavy moisture or heat to prevent cracking. Proper drying makes the caulk strong and long-lasting. Check the package for exact drying times.
Tools To Help Smooth Caulk
Smoothing caulk with your finger is common, but some tools make the job easier. These tools help create a clean, even finish quickly. They also reduce mess and save time. Many are simple and affordable. Using the right tool depends on the project and your comfort level.
Alternative Smoothing Tools
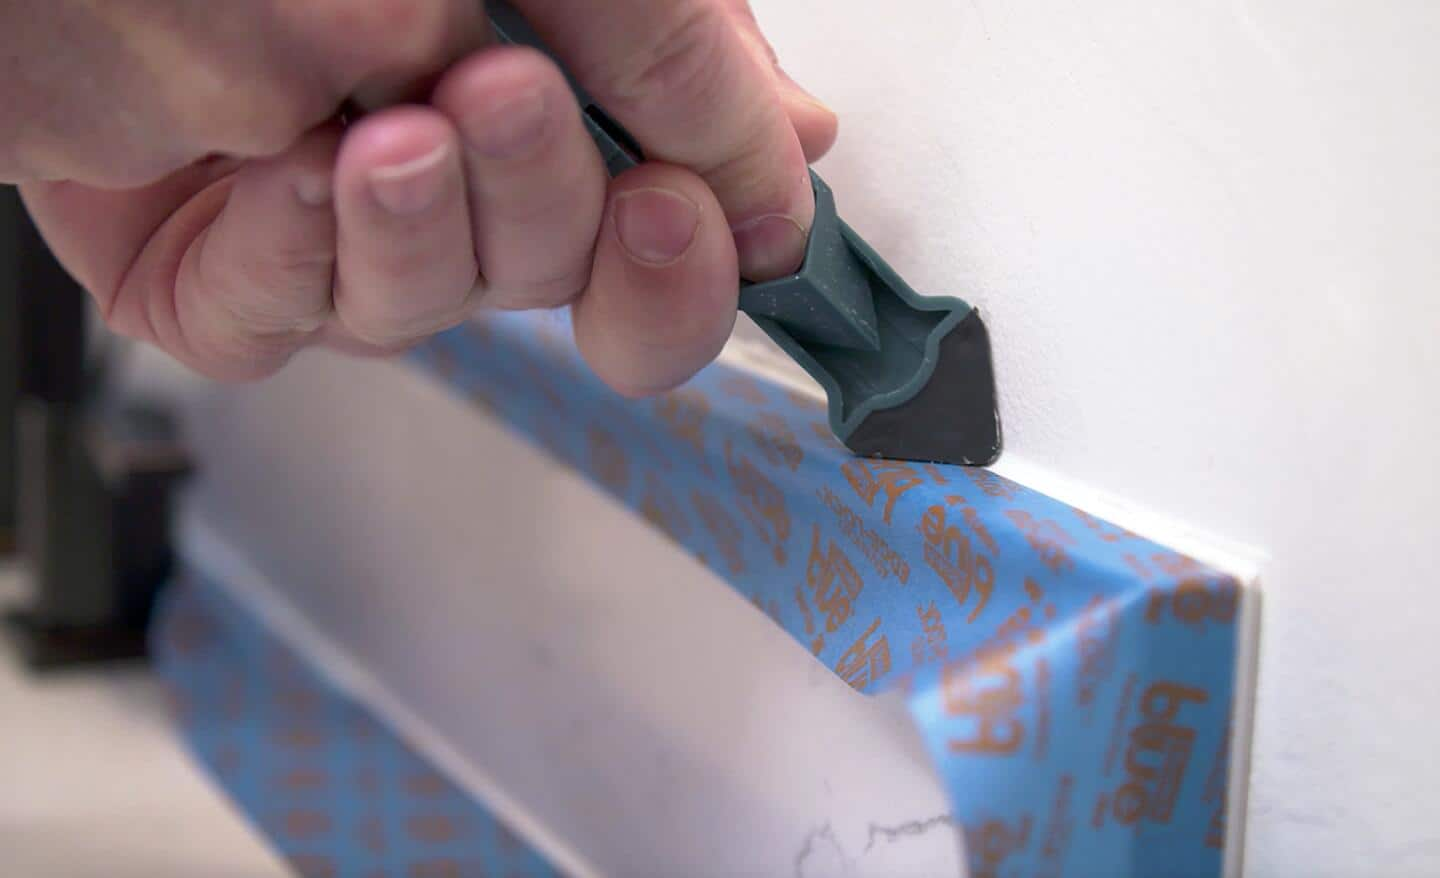
Caulk smoothing tools come in various shapes and sizes. A caulk finishing tool is shaped to fit corners and curves. It helps spread caulk evenly for a neat look. Plastic spoons or old credit cards work well for flat surfaces. Silicone-tipped tools are gentle and easy to clean. Foam brushes can smooth caulk in hard-to-reach areas. These tools often give better control than fingers.
When To Use Tools Instead Of Fingers
Tools are best for larger or detailed jobs. Fingers may leave uneven lines or fingerprints. Tools help when working near delicate surfaces. Use tools when you want a professional finish. They reduce the chance of smudges and gaps. If the caulk is sticky or thick, tools make smoothing easier. Tools also keep your hands clean during long jobs.
Credit: www.homedepot.com
Frequently Asked Questions
How Do You Prepare Your Finger For Smoothing Caulk?
Wet your finger with water or a soapy solution before smoothing. This prevents the caulk from sticking to your skin. It also helps create a neat, even finish.
What Is The Best Way To Smooth Caulk With Your Finger?
Press your wet finger gently along the caulk line and move steadily. Use light pressure to avoid removing too much caulk. Smooth it in one continuous motion for the best look.
How Long Should You Wait Before Smoothing Caulk With A Finger?
Smooth caulk right after applying it, while it is still wet. Waiting too long makes it harder to shape and smooth. Early smoothing gives a clean, professional finish.
Can You Use Gloves When Smoothing Caulk With Your Finger?
Yes, wearing disposable gloves is a good idea for cleanliness and safety. Gloves also help keep caulk off your skin. Just make sure to wet the glove before smoothing.
What Mistakes Should You Avoid When Smoothing Caulk With A Finger?
Avoid pressing too hard or moving too fast, which can ruin the bead. Don’t smooth when caulk is dry, or it will crack. Also, don’t skip wetting your finger or glove.
How Do You Clean Your Finger After Smoothing Caulk?
Clean your finger with warm water and soap immediately after smoothing. This stops caulk from drying on your skin. Use a cloth or paper towel to dry your finger.
Is Smoothing Caulk With A Finger Better Than Using Tools?
Fingers offer better control and a natural curve for small jobs. Tools can leave marks or be too rigid for tight spaces. For quick touch-ups, fingers are often the best choice.
Conclusion
Smoothing caulk with your finger is simple and effective. You only need a little water to keep your finger clean. Gently run your finger along the caulk line for a neat finish. This method saves time and tools. Practice makes perfect, so don’t worry if it’s not perfect the first time.
Clean edges help protect your surfaces from water damage. Try this easy technique on your next project. You’ll see the difference a smooth caulk line makes.