
Is your fountain not flowing like it used to? Replacing fountain tubing might be the simple fix you need to bring your water feature back to life.
You don’t have to be an expert or spend a fortune on repairs. In this guide, you’ll learn exactly how to replace fountain tubing step-by-step, saving time and money. Keep reading to discover the easy way to get your fountain running smoothly again—your peaceful outdoor oasis is just a few steps away.
Credit: oneisall.com
Tools And Materials Needed
Replacing fountain tubing needs the right tools and materials for success. Proper supplies help avoid leaks and keep the fountain working well. Gathering everything before starting saves time and effort.
Selecting The Right Tubing
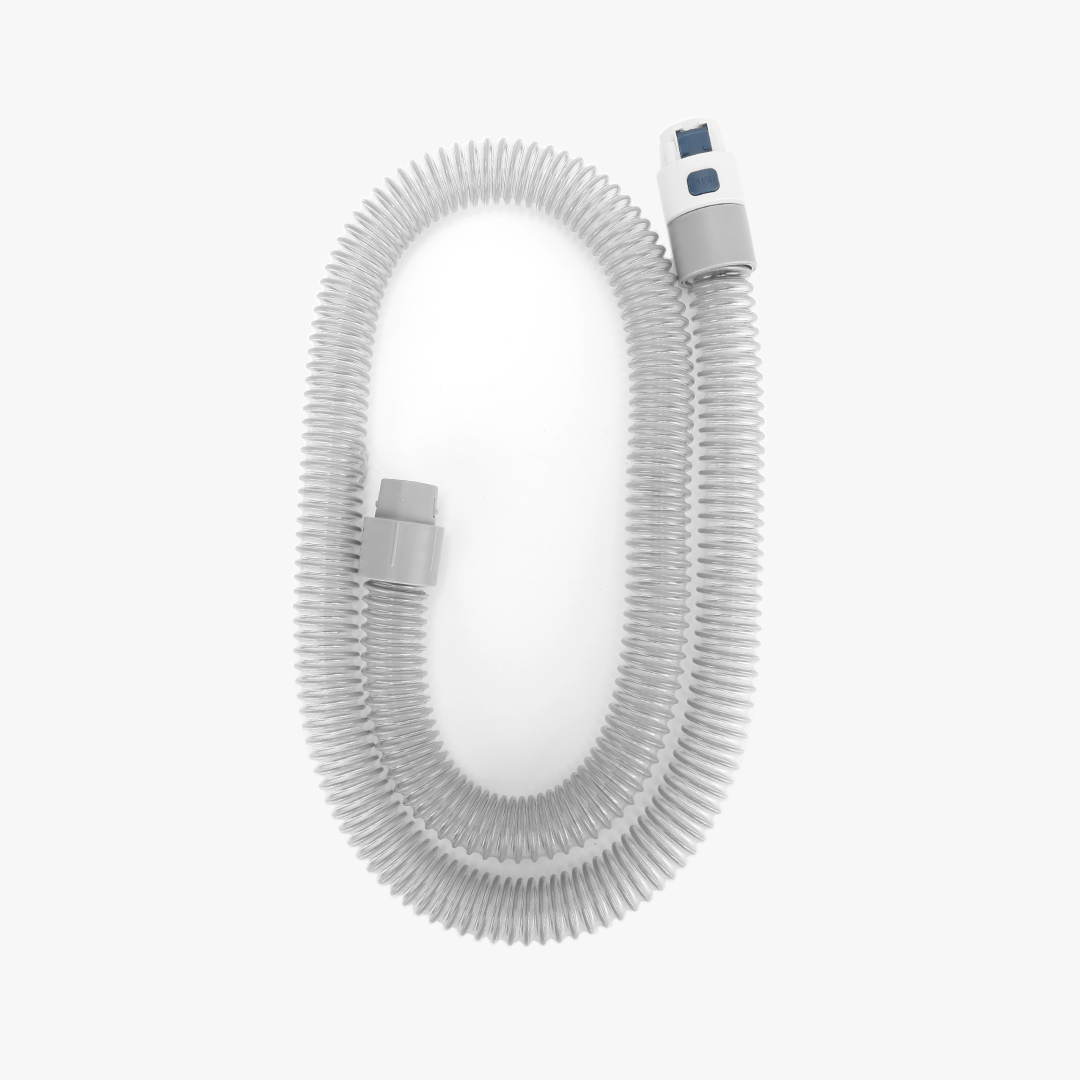
Choose tubing made for outdoor water fountains. It should be flexible and strong to handle water pressure. Look for tubing that resists sun damage and weather changes. Measure the diameter of your old tubing to find a perfect match. Clear tubing lets you see water flow and dirt build-up. Avoid cheap plastic that cracks or breaks easily.
Essential Repair Tools
Have a sharp utility knife or tubing cutter to trim tubing cleanly. Use pliers to remove clamps and old tubing. Hose clamps or zip ties secure the new tubing tightly. Keep a bucket or towel handy to catch water spills. Gloves protect your hands during the replacement process. A flashlight helps if you work in low light or tight spaces.

Credit: www.youtube.com
Preparing The Fountain
Preparing the fountain is the first step in replacing the tubing. It ensures safety and prevents mess. Taking time here makes the job easier and smoother.
Start by making sure the fountain is ready for maintenance. This means stopping the water flow and emptying the basin. These steps protect the pump and help you work cleanly.
Turning Off The Pump
Locate the pump power source. Unplug the pump from the outlet to stop the water flow. This prevents water movement and reduces the risk of electric shock. Wait a few minutes to let the pump stop completely.
Draining The Water
Remove any fountain covers or decorative stones. Use a small container or cup to scoop out the water. Pour the water into a bucket or drain. For larger fountains, use a pump or drain valve if available. Ensure the basin is as empty as possible before starting tubing replacement.
Removing Old Tubing
Removing old tubing is the first step in replacing fountain tubing. It helps prepare the fountain for fresh, clean tubing. This process keeps water flowing smoothly and prevents blockages. Take your time to remove the tubing carefully. Avoid damaging the pump or fountain parts. Follow simple steps to detach and clear the tubing.
Detaching The Tubing From The Pump
Start by turning off the fountain pump. Unplug the pump from the power source to avoid accidents. Look for the tubing connected to the pump outlet. Gently pull the tubing to detach it. If the tubing is tight, twist it slightly while pulling. Use pliers carefully if needed, but avoid squeezing too hard. Keep the pump steady to prevent damage.
Clearing The Tubing Path
After removing the tubing from the pump, check the tubing path. Remove any clips or holders that keep the tubing in place. Follow the tubing along the fountain to find all attachment points. Slowly pull the tubing out of the fountain. Watch for dirt or debris inside the tubing. Dispose of the old tubing properly. Cleaning the tubing path prepares the fountain for new tubing installation.
Installing New Tubing
Installing new tubing in your fountain is a simple process. It requires careful steps to ensure water flows smoothly. Proper installation helps maintain your fountain’s performance and prevents leaks. Follow these clear instructions for a successful tubing replacement.
Cutting Tubing To Size
Measure the length of tubing needed for your fountain. Use a sharp scissors or tubing cutter for a clean cut. Cutting tubing too long or short can cause problems. Cut slowly and straight for the best fit. Double-check the length before proceeding.
Connecting Tubing To The Pump
Attach one end of the tubing to the pump outlet. Push the tubing firmly to avoid leaks. Make sure the tubing fits tightly on the pump nozzle. If tubing is loose, use a small clamp for extra hold. Check the connection before moving to the next step.
Securing Tubing In Place
Route the tubing through the fountain structure carefully. Avoid sharp bends that can block water flow. Use clips or zip ties to hold tubing in position. Secure tubing near the pump and fountain edges. Proper securing prevents tubing from moving or disconnecting.
Testing The Repair
Testing the repair is an important step after replacing fountain tubing. It ensures the fountain works properly and avoids water damage. This part covers how to refill, check for leaks, and adjust water flow. Take your time. Careful testing keeps your fountain running smoothly.
Refilling The Fountain
Start by adding water back into the fountain basin. Use clean water for the best results. Fill slowly to avoid splashing or overflowing. Watch the water level closely. Stop once it reaches the recommended mark. This step prepares your fountain for proper testing.
Checking For Leaks
Turn on the fountain pump and observe the tubing connections. Look carefully for any drips or wet spots. Pay special attention to the areas where you replaced the tubing. Leaks can cause damage and waste water. Fix any leaks by tightening connections or resealing tubing. This prevents future problems.
Adjusting Water Flow
Next, check the water flow from the fountain. It should be steady and smooth. If the flow is weak or uneven, adjust the tubing or pump settings. Make small changes and watch how water moves. Proper flow ensures your fountain looks and sounds great. Keep adjusting until the water runs just right.
Maintenance Tips
Proper maintenance keeps fountain tubing working well for a long time. Small care steps prevent bigger problems later. Regular attention helps spot issues early and keeps water flowing smoothly. Follow these tips to maintain your fountain tubing effectively.
Regular Tubing Inspections
Check tubing at least once a month. Look for cracks, leaks, or blockages. Feel the tubing for soft or weak spots. Clean any dirt or algae buildup. Clear tubing ensures good water flow and prevents damage.
Preventing Future Damage
Avoid sharp bends or kinks in tubing. Keep tubing away from direct sunlight to reduce wear. Use tubing made from durable materials for longer life. Store extra tubing in a cool, dry place. Proper handling and storage protect tubing from early failure.

Credit: www.amazon.com
Frequently Asked Questions
What Tools Do I Need To Replace Fountain Tubing?
You need scissors or a sharp knife, replacement tubing, and a connector. A cloth helps to clean the tubing area before installation.
How Do I Disconnect Old Tubing From The Fountain?
Turn off the fountain and unplug it. Gently pull the tubing from the pump or nozzle to remove it.
How Do I Measure The Right Length Of New Tubing?
Measure the old tubing or the distance from the pump to the fountain nozzle. Add a little extra length for easy fitting.
Can I Use Any Type Of Tubing For My Fountain?
Use tubing made for water features or fountains. It should be flexible, waterproof, and fit the pump and nozzle size.
How Do I Attach New Tubing Securely To The Pump?
Push the tubing firmly onto the pump outlet. Use a small clamp if needed to keep it tight and prevent leaks.
How Often Should Fountain Tubing Be Replaced?
Replace tubing every 1 to 2 years or if it shows cracks and leaks. Regular checks help keep your fountain working well.
What Should I Do If My Fountain Tubing Leaks After Replacement?
Check if the tubing is tight and fits correctly. Replace damaged sections or use waterproof tape to seal small leaks.
Conclusion
Replacing fountain tubing is a simple task anyone can do. Just follow the steps carefully and take your time. Using the right tools makes the job easier and faster. Clean tubing helps your fountain work better and last longer. Regular checks keep your fountain flowing smoothly without problems.
Enjoy your fountain’s beauty with fresh, clean tubing. It feels good to fix things yourself. Keep your fountain happy and running well all year.