
Are you ready to give your gazebo a perfect finishing touch? Making a gazebo roof cap might sound tricky, but it’s easier than you think.
A well-crafted roof cap not only protects your gazebo from the weather but also adds charm and style. In this guide, you’ll discover simple steps to create a sturdy, attractive roof cap that fits your gazebo just right. Keep reading, and you’ll learn how to turn your outdoor space into a cozy, weatherproof retreat you’ll love all year long.
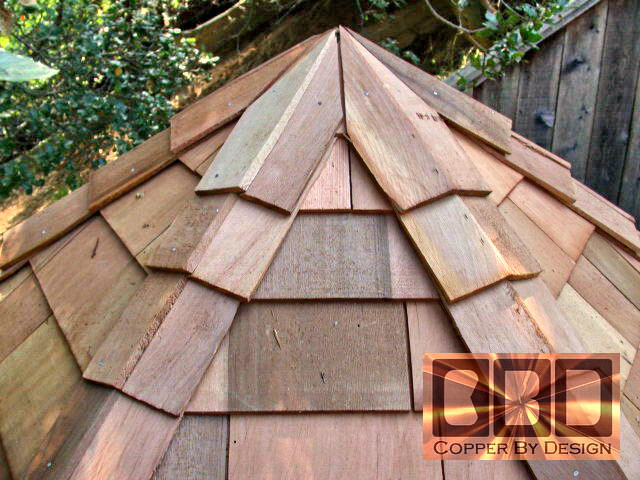
Credit: www.copper-by-design.com
Choosing Materials For The Roof Cap
Choosing the right materials for your gazebo roof cap is important. It affects how long the roof will last and how well it protects your gazebo. Good materials keep the roof strong and safe from weather damage. This section guides you through picking the best materials for your roof cap.
Selecting Durable Wood Types
Wood is a popular choice for gazebo roof caps. Select wood that resists decay and insects. Cedar and redwood are top picks because they last long outdoors. Pine is cheaper but needs treatment to avoid rot. Make sure the wood is thick enough to hold the roof structure firmly.
Considering Weather-resistant Materials
Weather resistance is key for a roof cap. Materials should handle rain, sun, and wind well. Metal caps, like aluminum or steel, can protect the roof and last many years. Waterproof paints and sealants add extra defense against moisture. Choose materials that suit your local climate for best results.
Tools And Supplies Needed
Gather the right tools before starting. You will need a saw, drill, screws, measuring tape, and sandpaper. Use a paintbrush or sprayer for sealants. Safety gear like gloves and goggles protects you during work. Preparing tools first makes the process easier and faster.
Measuring And Cutting The Roof Cap
Measuring and cutting the roof cap is a key step in building your gazebo. It ensures the roof fits perfectly and looks great. Taking time to measure well and cut precisely helps avoid mistakes. This part sets the base for a strong and neat roof cap.
Taking Accurate Measurements
Start by measuring the top of your gazebo frame carefully. Use a tape measure and write down all dimensions. Measure twice to be sure. Check the length and width of each side. Don’t forget the angles if your roof is not square. Accurate measurements make cutting easier and reduce waste.
Cutting Wood Pieces Precisely
Use a saw that fits your wood type. Mark the wood clearly with a pencil before cutting. Follow your measurements exactly. Cut slowly to keep edges straight. If possible, use a guide or clamp to steady the wood. Precise cuts help the pieces fit well during assembly. Take your time for cleaner cuts.
Preparing Edges For Assembly
Smooth all cut edges using sandpaper. Remove splinters and rough spots. This makes the roof cap safer to handle. Check each piece fits with others before assembling. Adjust edges slightly if needed for a tight fit. Well-prepared edges make your roof cap strong and tidy.
Assembling The Roof Cap Frame
Assembling the roof cap frame is a key step in building a gazebo roof cap. It creates the basic shape and strength needed. This part requires careful work to fit all pieces well. Follow clear steps to avoid mistakes and ensure a solid roof cap.
Joining The Wood Sections
Start by cutting wood sections to the right size. Arrange them in the shape of the roof cap frame. Use simple joints like butt joints or lap joints. Make sure edges meet tightly for a clean fit. Check alignment often to keep the frame even.
Using Fasteners And Adhesives
Apply wood glue on the joining surfaces for extra hold. Use screws or nails to keep the pieces together firmly. Pre-drill holes to prevent the wood from splitting. Use rust-resistant fasteners to avoid damage over time. Let the glue dry before moving to the next step.
Ensuring Structural Stability
Add braces or corner supports inside the frame. These parts stop the frame from wobbling or bending. Check for any loose joints and fix them right away. Use a level to confirm the frame sits flat and balanced. A strong frame makes the roof cap last longer and withstand weather.
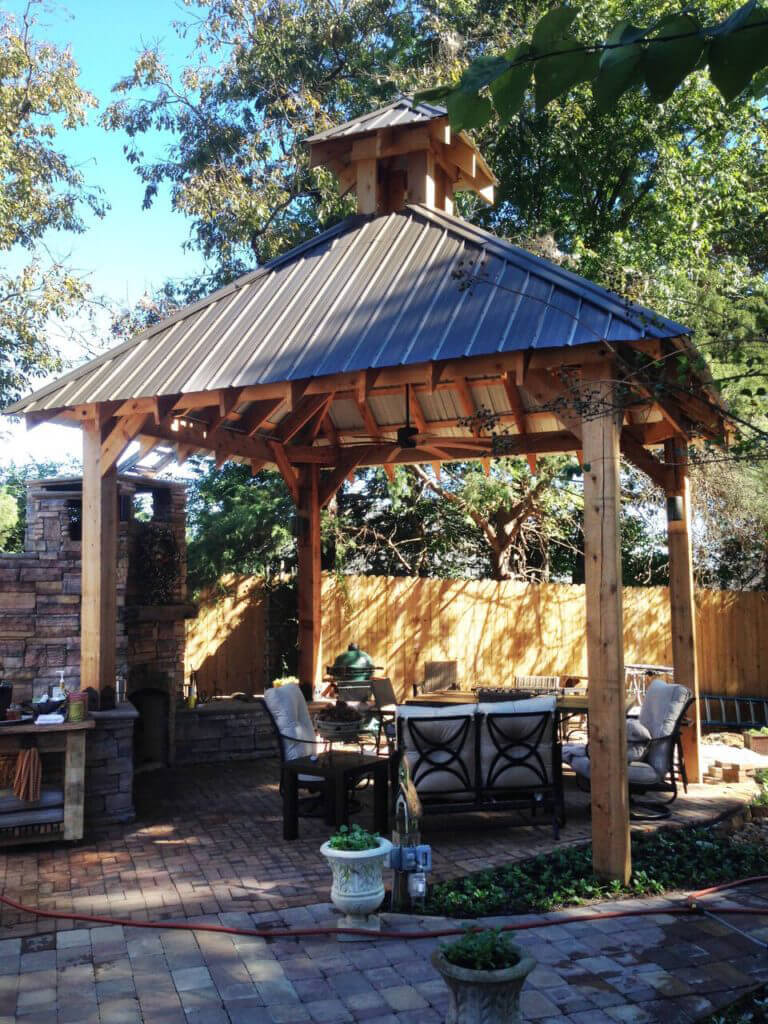
Credit: ozcobp.com
Adding Waterproofing And Finishing Touches
Adding waterproofing and finishing touches is essential for a durable gazebo roof cap. These steps protect the structure from rain and sun damage. They also improve the overall look of your gazebo. Proper finishing ensures your roof cap lasts for many years.
Applying Sealants And Paints
Start by applying a waterproof sealant to all wooden surfaces. This prevents water from soaking into the wood. Use a brush or roller for even coverage. Let the sealant dry completely before moving to the next step.
After sealing, apply a coat of outdoor paint or stain. Choose a product designed for exterior use. Paint protects against UV rays and adds color. Use light, even coats to avoid drips and uneven spots.
Installing Roof Shingles Or Coverings
Select roof shingles or coverings that match your gazebo style. Asphalt shingles are common and easy to install. Lay them starting from the bottom edge of the roof. Overlap each row to guide water off the roof.
Alternatively, use metal sheets or waterproof fabric for a modern look. Secure all materials tightly with nails or screws. Make sure edges are sealed to stop water leaks. A well-covered roof keeps your gazebo dry and comfy.
Final Inspection And Maintenance Tips
Check all sealants and coverings for gaps or weak spots. Fix any areas where water might get in. Tighten loose nails or screws to hold the roof firmly.
Plan regular inspections, especially after storms. Clean debris like leaves or twigs from the roof. This helps prevent water pooling and damage. Small fixes now avoid costly repairs later.
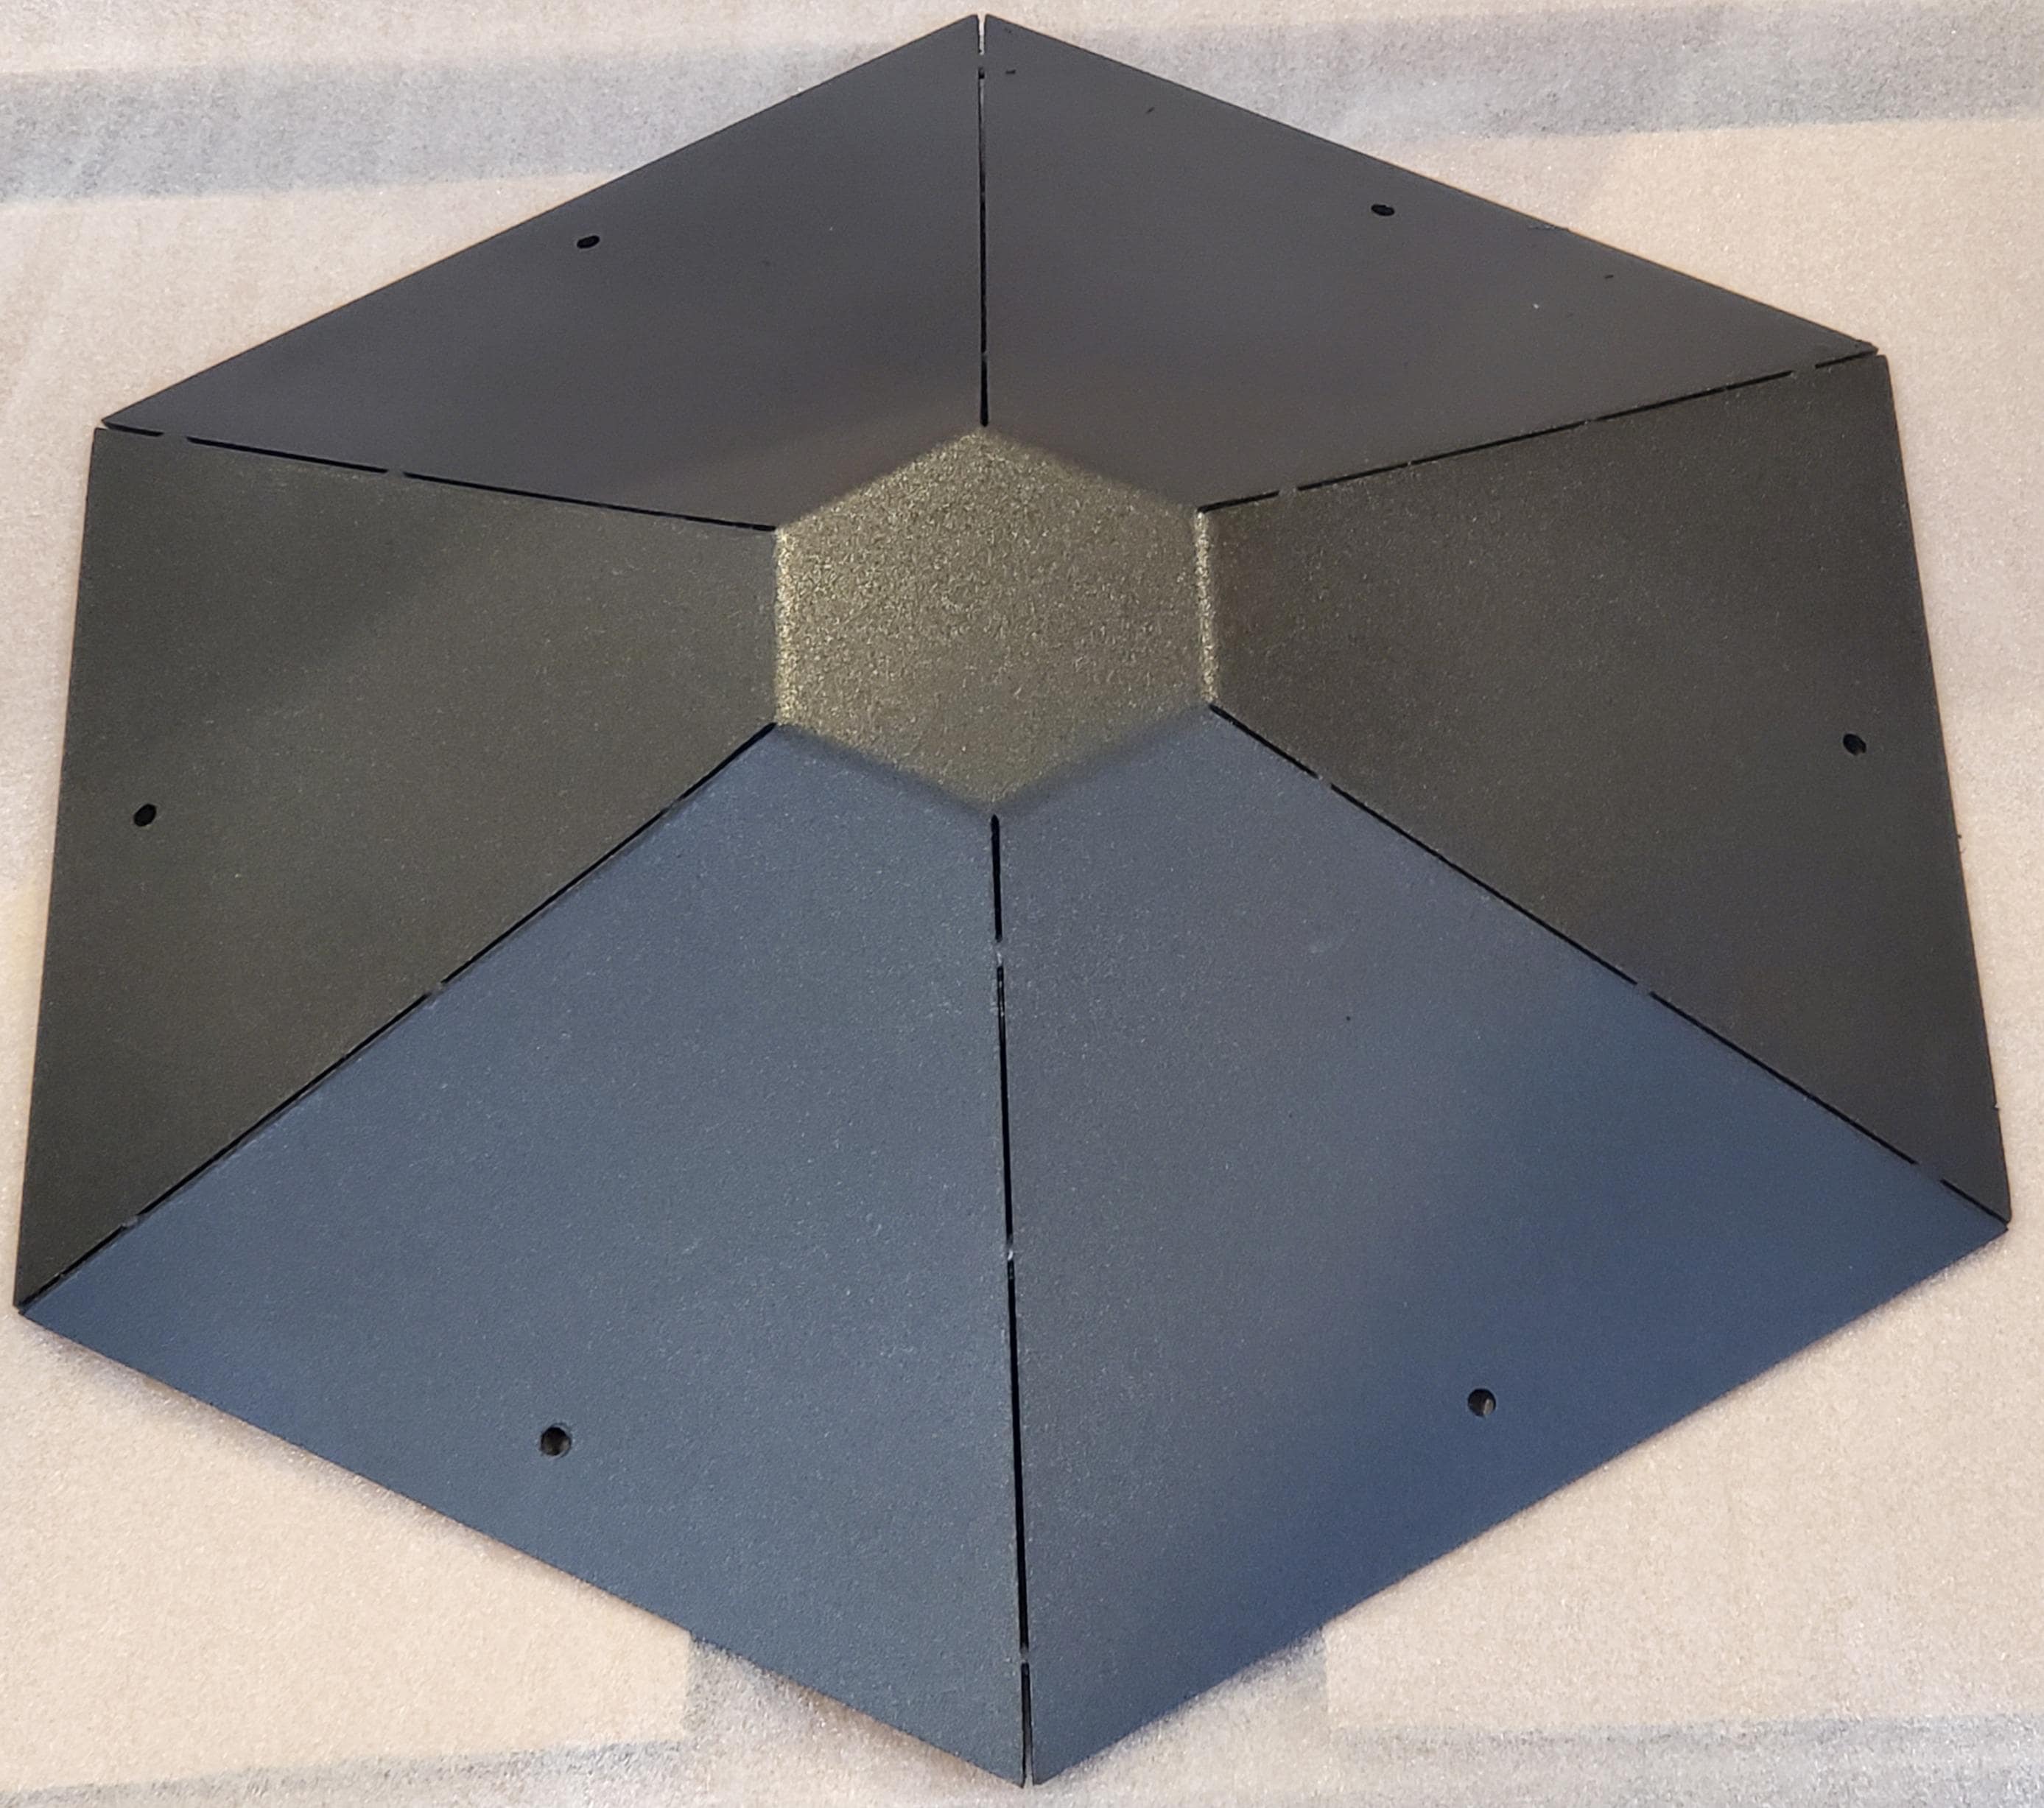
Credit: www.etsy.com
Frequently Asked Questions
What Materials Do I Need To Make A Gazebo Roof Cap?
You need wood, nails, waterproof roofing felt, and shingles or metal sheets. Tools like a saw, hammer, and measuring tape are essential. These materials ensure a sturdy and weatherproof roof cap.
How Long Does It Take To Build A Gazebo Roof Cap?
Building a roof cap usually takes one to two days. Time depends on your skill level and roof size. Planning and preparation can help speed up the process.
Can I Make A Gazebo Roof Cap Without Professional Help?
Yes, many DIYers build roof caps with basic carpentry skills. Clear instructions and proper tools make it easier. Safety precautions are important during construction.
What Is The Best Wood Type For A Gazebo Roof Cap?
Cedar and redwood are popular for their durability and resistance to rot. Pressure-treated pine is a budget-friendly option. Choose wood that withstands outdoor weather well.
How Do I Waterproof A Gazebo Roof Cap Properly?
Start by covering the wood with roofing felt or tar paper. Then install shingles or metal sheets carefully. Seal all edges to prevent water leaks.
Can I Customize The Shape Of My Gazebo Roof Cap?
Yes, you can design roof caps in different shapes like hip, gable, or pyramid. Your choice depends on the gazebo style and personal preference. Custom shapes may need extra planning.
How Often Should I Maintain My Gazebo Roof Cap?
Inspect your roof cap at least once a year for damage or wear. Clean debris and replace damaged shingles promptly. Regular maintenance extends the roof’s life.
Conclusion
Building a gazebo roof cap does not have to be hard. Follow each step carefully for best results. Using the right tools makes the process easier. Take your time to measure and cut precisely. A well-made roof cap protects your gazebo from weather.
It also adds a neat, finished look. Your effort will show in the final product. Enjoy your cozy outdoor space with pride. Keep practicing to improve your skills. Small projects like this build confidence and knowledge.