
Learning how to fix a squeaky toilet seat is simple, as the noise usually stems from loose mounting bolts or plastic hinges rubbing against porcelain. You can often resolve this by tightening the hardware or applying silicone-based lubricant. If the sound persists, the hinge mechanism may be damaged. This guide helps you identify the source of the friction and perform the necessary adjustments to stop the movement.
Who needs to fix a squeaky toilet seat
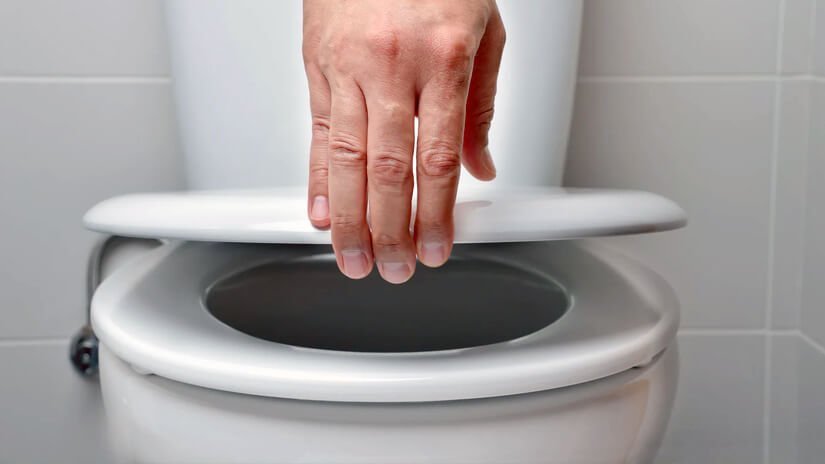
This page serves homeowners who notice a sharp, plastic-on-plastic, or plastic-on-ceramic noise whenever they sit down or stand up. You likely have a standard plastic or wood-composite seat attached to a ceramic bowl. You need to know if the noise is a simple matter of loose hardware or a sign that the hinge is failing.
This guide isn’t for people dealing with internal plumbing sounds, like water running or pipes knocking inside the wall. It also doesn’t cover repairs for smart toilets with electronic bidet features, as those involve electrical components and proprietary sensors that require specialized service. The assumption here is that your toilet is a standard gravity-flush model with a manual seat. If you have a seat with a soft-close feature, be aware that these hinges are sealed units; if they’re broken, they usually need a full replacement rather than a repair. If you’re uncertain about the type of hinge you have, check the underside of the mounting plate for a brand name or a model number, which you can then look up on the manufacturer’s official support site.
Factors that influence the noise
The most common reason for a squeak is simple movement between the seat hinge and the ceramic bowl. When the bolts aren’t perfectly tight, the entire assembly shifts slightly every time you apply weight, causing the friction that creates the sound. You can check this by trying to wiggle the seat side-to-side with your hands; if it moves even a few millimeters, the hardware is loose.
Another frequent cause is dirt or mineral buildup trapped inside the hinge mechanism. Over time, residue from cleaning products or hard water minerals can get into the small gaps of the hinge, acting like sandpaper. This creates a grinding noise when the seat moves. If you see white, crusty deposits around the base of the hinge, this is likely the cause.
The material of the hinge also matters. Plastic hinges are more prone to squeaking because they create more friction against the ceramic surface than metal ones. If your hinges are plastic, they may also warp slightly over time due to heat or humidity in the bathroom. This changes the angle at which the seat sits, putting uneven pressure on the attachment points.
People often mistake a loose bolt for a broken hinge. They assume the seat is failing and go out to buy a new one, when simply tightening the plastic wingnuts under the bowl would have solved the problem. The Consumer Product Safety Commission provides guidance on maintaining household fixtures to ensure they remain stable and safe for daily use.
Step by step
- Lift the covers on the hinge bases to expose the mounting bolts. If there are no covers, look at the back of the bowl to find the wingnuts.
- Check if the bolt is loose by trying to turn it with your fingers or a screwdriver. If it spins freely, it’s definitely loose.
- Tighten the wingnuts under the rim of the toilet bowl by hand. Don’t use pliers or a wrench, as plastic bolts break easily under too much force.
- Clean the hinge area with a damp cloth and mild soap to remove any dust or mineral deposits. Dry the area completely before moving on to the next step.
- Apply a tiny drop of silicone-based lubricant to the hinge pin if the squeak is coming from the internal pivot point. Avoid oil-based lubricants like WD-40, as they can degrade plastic over time.
- Wipe away any excess lubricant with a paper towel. Oil left on the seat or bowl creates a slipping hazard.
- Sit on the seat carefully to test for sound. If the squeak is gone, you have finished the job.
- If the noise persists, check the underside of the hinge for cracks. A cracked plastic hinge can’t be repaired and must be replaced.
The judgement call is knowing when to stop tightening. If the seat feels firm and doesn’t move when you push it, it’s secure. Forcing the bolts further after they stop turning will snap the plastic threads or crack the ceramic bowl. If you can’t stop the movement by tightening the existing hardware, the hinge is likely stripped or warped, and it’s time to buy a replacement seat.
The variations at a glance
| Situation | What to do | Effort | Watch for |
|---|---|---|---|
| Loose seat | Tighten wingnuts | Low | Overtightening bolts |
| Gritty hinge | Clean with water | Low | Mineral buildup |
| Squeaky pivot | Use silicone lubricant | Low | Slippery surfaces |
| Cracked hinge | Buy new seat | Medium | Proper fit |
| Warped plastic | Replace hinges | Medium | Model compatibility |
If your seat shifts after tightening, check the rubber washers beneath the bolts. If they’re flattened or brittle, the hardware can’t grip the porcelain. Replace these washers for under five dollars instead of buying a new seat.
When choosing a lubricant, avoid petroleum-based products like WD-40. These degrade plastic components over time, leading to brittle hinges that snap under pressure. Stick to silicone-based sprays.
Distinguishing between a cracked hinge and a warped seat is simple. Place a level across the seat surface. If the level rocks, the plastic is warped and requires a full replacement. If the seat remains flat but the lid shifts, focus exclusively on the hinge tension. Never force a bolt that resists turning; you risk cracking the ceramic base, which is an expensive, permanent repair.
What separates a good result from a poor one
Preparation and cleaning
Successful repairs start with a clean surface. Many people try to tighten bolts while the area is still covered in dust or grime. This trapped grit prevents the hardware from sitting flush against the porcelain, which means the seat will loosen again within a few days. Always wipe down the area with warm water and a mild soap before you touch the hardware. This allows you to inspect the hinge for hairline cracks that you might miss if the surface is dirty.
Checking the hardware integrity
The difference between a lasting fix and a temporary one is identifying if the material is actually damaged. A good repair involves checking the threads of the plastic bolts. If the threads are worn down or stripped, no amount of tightening will hold the seat in place for more than a few hours. Experienced users look for the tell-tale sign of “stripped threads,” where the bolt keeps spinning without gripping. If you encounter this, don’t waste time trying to force it; the plastic is compromised, and the only safe way forward is to install a new hinge kit.
What goes wrong, and what to do
| What you notice | What it usually means | What to do first | How to stop it |
|---|---|---|---|
| Seat slides | Loose wingnuts | Tighten by hand | Check monthly |
| Grinding sound | Dirt in hinge | Clean thoroughly | Regular wiping |
| Sharp clicking | Cracked plastic | Inspect hinge | Replace seat |
| Bolt won’t turn | Stripped threads | Replace bolts | Use hand force |
| Seat feels uneven | Warped hinge | Check alignment | Replace hinges |
Most users ignore these signs until the hardware fails completely. If you hear a grinding noise, don’t apply lubricant. Oil attracts dust and creates a paste that accelerates wear on the plastic components. Instead, use a damp cloth to clear debris.
If your seat shifts during use, check the underside for a plastic washer. If it’s missing, the nut will never stay tight. You can buy a universal replacement kit for a low price.
When a bolt resists turning, stop immediately. Applying extra torque with a wrench will strip the porcelain or the bolt head, turning a five-minute fix into a permanent repair. If it remains stuck, cut the bolt from below using a hacksaw.
The rules that apply
The most important rule for bathroom fixtures is to avoid using harsh chemical cleaners on plastic components. The manufacturer’s documentation for your specific toilet seat will list approved cleaning agents; generally, stick to mild soap and water. Using abrasive cleaners or bleach can weaken the structural integrity of plastic hinges, leading to premature cracking. If your toilet seat is part of a rental unit, always check your lease agreement before replacing any hardware. Some landlords require you to use original parts or have a professional perform the work to ensure the warranty of the fixture remains valid. If you’re unsure about the safety of your current installation, look for the official American National Standards Institute guidelines on product safety, which detail how household items should be tested for stability. Never attempt to use metal bolts or screws if your seat was designed for plastic, as metal will quickly crack the ceramic bowl under the pressure of daily use.
What it costs you
The cost of fixing a squeaky toilet seat is usually very low, often requiring only your time and a small amount of household cleaner. If you need to replace the hinge kit, you can expect to pay a modest amount, depending on the brand and material. The main cost is your time—typically fifteen to twenty minutes for a deep clean and tightening. If you have to replace the entire seat, prices vary widely based on the material, such as molded wood versus high-grade plastic. Check the official website of the manufacturer to see if they sell replacement hinges separately; this is almost always cheaper than buying a whole new seat. The effort required is minimal, but the risk of breaking a plastic bolt is real if you use tools instead of your hands. If you find yourself needing to buy specialized tools or heavy-duty adhesives to fix a hinge, you’re likely overcomplicating the repair; a simple replacement is almost always the more cost-effective and reliable choice in the long run.
Keeping it right afterwards
To keep the seat from squeaking again, make it a habit to check the tightness of the bolts every time you perform a deep bathroom cleaning. A good sign that the seat needs attention is a slight wobble when you sit down. If you notice this, tighten the wingnuts immediately before the friction causes further wear on the plastic components. If you live in a high-humidity environment, the plastic may expand and contract, which can cause the bolts to loosen over time. If the squeak returns frequently, consider placing small rubber washers between the hinge base and the ceramic bowl. These washers absorb the vibration and prevent the hard plastic from rubbing against the cold porcelain. If you see white mineral deposits forming around the base again, wipe them away immediately with a soft cloth to prevent them from grinding into the hinge mechanism. By keeping the area clean and the bolts snug, you can prevent the need for a full seat replacement for many years.
When this is the wrong approach
If the squeak is accompanied by a visible crack in the ceramic bowl of the toilet itself, don’t attempt to tighten the seat or use any adhesive. A cracked bowl is a structural failure that can lead to leaks or total breakage, which poses a serious risk of injury. In this situation, stop using the toilet immediately and contact a licensed plumber to assess the damage to the porcelain. Similarly, if the seat is attached to a complex bidet or an integrated smart system, don’t try to disassemble the hinges. These units often contain hidden springs, circuit boards, or pressurized water lines that aren’t meant for home repair. Attempting to force these components open will likely void your warranty and could cause water damage or electrical issues. In these cases, contact the manufacturer’s customer service department to find an authorized repair technician in your area.
Frequently asked questions
Can I use WD-40 to stop the squeak?
No, you shouldn’t use standard WD-40 on plastic toilet seat hinges. The chemicals in traditional oil-based lubricants can break down the plastic over time, making it brittle and prone to cracking. Use a silicone-based lubricant instead, as it’s safe for plastic and won’t cause long-term damage.
How long does it take to fix?
About fifteen to twenty minutes is usually enough for a basic cleaning and tightening. If you have to replace the hinges or the seat, allow for an extra ten minutes to remove the old hardware and align the new parts correctly to ensure the seat sits level on the bowl.
Is it safe to tighten the bolts with pliers?
No, you should always tighten toilet seat bolts by hand. Using pliers or a wrench provides too much leverage, which often leads to the plastic threads stripping or the bolt head snapping off entirely. Hand-tightening is sufficient to keep the seat secure without risking damage to the hardware.
What happens if the bolt keeps spinning?
If the bolt spins without tightening, the threads on either the bolt or the wingnut are likely stripped. You can’t fix stripped plastic threads, so you must replace the mounting hardware. Check the manufacturer’s website to order a replacement hinge kit that matches your specific seat model.
Does the seat material matter?
Yes, plastic seats are more likely to squeak than wood-composite or high-end resin seats. Plastic is harder and creates more friction against the ceramic bowl, especially when it becomes slightly warped from heat or moisture. Ensure the seat is properly aligned to minimize the pressure on the hinges.
Why does the squeak come back after a few days?
The squeak likely returns because the bolts are still loose or because dirt has already built up in the hinges again. Re-check the tightness of the wingnuts and ensure the area is perfectly clean. If the seat still moves, the hinges are probably worn out and need to be replaced.
What to do next
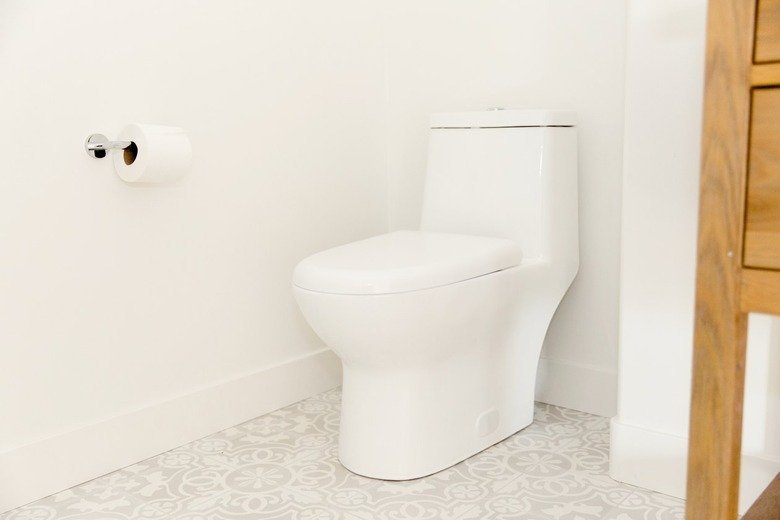
Start by checking if the seat moves when you push it side-to-side, as this confirms the bolts are loose. If you find movement, tighten the wingnuts by hand and clean the hinges with warm, soapy water to remove any grit.
Most people mistakenly reach for a wrench to overtighten these plastic bolts. This often cracks the housing, costing you a full replacement instead of a simple adjustment. If the seat remains stable but the squeaking persists, apply a tiny drop of silicone-based lubricant to the pivot point.
If the noise continues after cleaning and lubricating, the hinge mechanism is likely internally damaged. In this case, stop trying to fix it and replace the hinges entirely to prevent porcelain scratching.
Final Thoughts
If the noise persists despite your best efforts, it’s likely time to replace the hardware entirely. You’ll find that a fresh set of hinges makes a world of difference for your bathroom’s comfort. Don’t worry if you can’t silence it; a new seat is an affordable upgrade that’s well worth the investment.
Related guides