
To stop a dirt bike safely, close the throttle, press both brakes smoothly, pull the clutch lever, and shift your weight backward. Uncontrolled stopping almost always happens because a rider grabs the front brake lever too hard, which locks the front wheel immediately on loose dirt and causes a sudden slide.
Understanding why your dirt bike stops
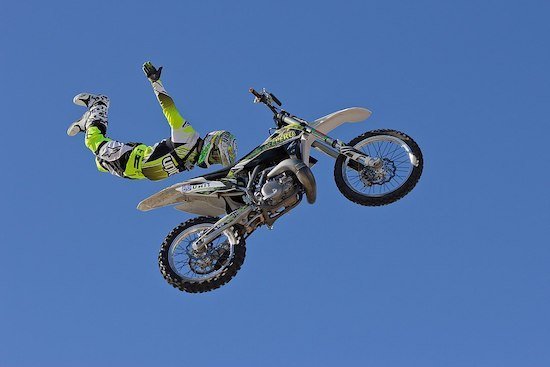
Two main forces control every stop on the trail: front wheel traction and rider body position. When you slow down, the bike’s momentum shifts forward onto the front tire. This weight transfer gives the front tire more grip, but slamming the hand lever overwhelms the dirt surface before that grip develops.
A locked front wheel washes out sideways within a split second because loose gravel can’t resist sudden sideways force. Meanwhile, staying seated pushes your upper body toward the handlebars during deceleration. That bad posture takes weight off the rear tire, making the rear brake lock up early and fish-tail across the track.
Squeeze both brakes smoothly
This method is for normal riding on flat, dry dirt trails. Close the throttle completely, slide your hips back toward the rear of the seat, and squeeze the right hand brake lever using 1 or 2 fingers. At the exact same time, press your right foot pedal downward with light to medium pressure.
As the bike slows down, pull the left clutch lever all the way to the grip so the engine doesn’t stall. The front brake provides about 70 percent of your stopping force on dry, level ground, while the rear brake supplies the remaining 30 percent. You’ll know it worked when the bike stops in a straight line without the wheels skidding or digging trenches into the soil.
Use engine braking on steep descents
This technique controls speed when rolling down steep, rocky hills where grabbing friction brakes might break tire grip. Keep the throttle closed, leave the bike in first or second gear, and let the engine’s internal compression slow the rear wheel naturally.
Apply gentle, intermittent taps on the rear foot brake to steady your speed. Avoid heavy front brake pressure here; if the front tire skids down a steep angle, you’ll lose your steering path instantly. You’ll know it worked when the engine produces a steady, low hum and your speed stays manageable without constant sliding. The trade-off is higher engine heat, but it preserves wheel traction when loose rocks make regular braking dangerous.
Apply the rear brake slide for tight corners
This approach is for sharp dirt corners or deep berms, not for straight-line emergency stops. Press the rear brake pedal hard enough to break rear wheel traction on purpose while keeping your front brake pressure light. Lean the motorcycle slightly into the turn while keeping your torso upright, then pull the clutch in so the engine keeps running.
This swings the rear end around quickly to point the bike into the exit path. This isn’t for pavement or hard-packed gravel, where tires grip unpredictably and can flip the bike. If your brake pads wear thin or the hydraulic fluid leaks, this maneuver will fail; check your service manual for the manufacturer’s minimum service limit for pad thickness.
What not to do
- Grabbing a full four-finger handful of the front brake lever, which tucks the front wheel and throws you over the handlebars.
- Stomping the rear brake pedal without pulling the clutch lever, which stalls the engine and locks the rear wheel completely.
- Putting your feet on the ground while the bike is moving faster than a slow walking pace, which risks twisting your knee or breaking an ankle on rocks.
- Sitting on the front of the gas tank while stopping hard, which unweights the back end and causes uncontrolled side-to-side fishtailing.
How to stop it happening again
To stop smoothly every ride, match your control inputs to trail conditions rather than reacting with panic. The MSF dirt bike safety guidelines explain that proper body position and head-eye placement keep the motorcycle stable across changing trail surfaces.
| If you’re doing this | Do this instead | Why |
|---|---|---|
| Squeezing the front lever with all four fingers | Use 1 or 2 fingers on the lever | Prevents panic grabs and keeps a firm grip on the throttle |
| Stalling the engine at every sudden stop | Pull the clutch lever before you reach 0 mph | Separates the engine from the rear wheel to prevent stalls |
| Sliding sideways on steep downhills | Use 2nd gear engine compression and light rear brake | Keeps the wheels rolling so you maintain full steering control |
| Locking up on wet mud or deep sand | Rely mostly on the rear brake and keep the front light | A locked front wheel falls instantly on slick surfaces |
Frequently asked questions
Can you stop a dirt bike with just the back brake?
Yes, but your stopping distance will double compared to using both brakes. The rear tire loses traction quickly when weight shifts forward under deceleration. Use both brakes together for straight stops, reserving rear-only braking for slick mud, loose rock downhills, or slow trail navigation.
Why does my dirt bike stall when I stop?
Your bike stalls because the rear wheel stopped turning while the engine was still connected through the transmission. When you press the rear brake to zero speed without pulling the clutch lever, the stopped wheel forces the engine’s crankshaft to stop rotating immediately.
What happens if you brake while turning a dirt bike?
If you brake hard while turning, the front tire loses cornering traction and washes out, causing an instant fall. If you must slow down mid-turn, use gentle rear brake pressure or straighten the motorcycle upright for a brief second before applying firm braking power.
Is it safe to put your feet down to stop?
No, never use your boots as friction brakes while the motorcycle is moving. Dirt surfaces contain hidden rocks, roots, and ruts that can catch your boot sole, violently twisting your knee or fracturing your foot. Keep your feet on the footpegs until the bike comes to a complete halt.
How long do dirt bike brake pads last?
Dirt bike brake pads generally last between 20 and 60 riding hours, but this varies by model — check the service manual for your specific minimum pad thickness. Muddy, sandy, or wet trail conditions wear down friction material much faster than dry, clean conditions.
Final Thoughts
Practice these movements on flat, packed ground until they feel natural. Once you’re comfortable with your braking control, you’ll find it’s much easier to handle tricky trails or steep hills. Don’t rush the process; you’ll gain confidence quickly if you keep your focus on smooth, steady inputs every single time you ride.