
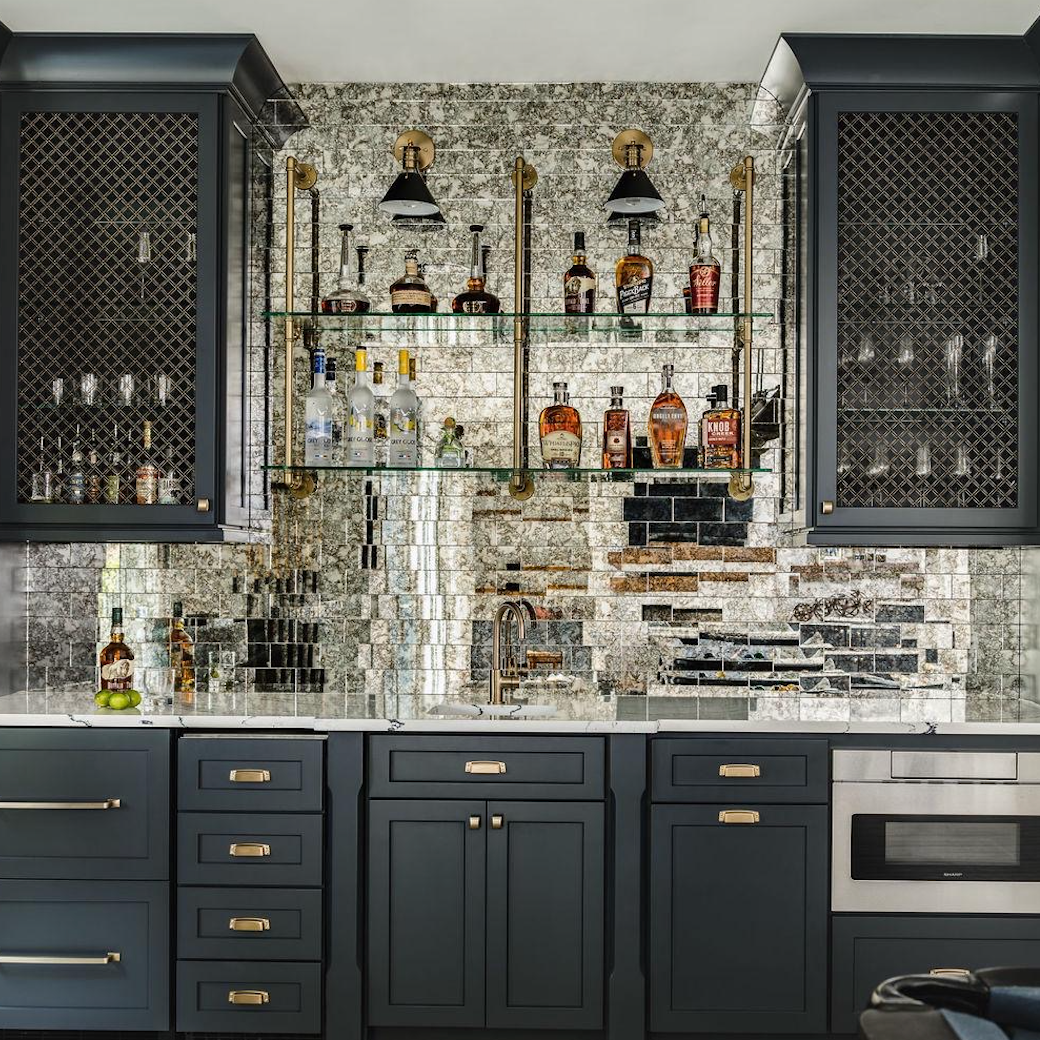
Are you looking to add a touch of elegance and depth to your kitchen without a full renovation? Installing mirrors on your kitchen backsplash might be the perfect solution.
Not only do mirrors make your space look bigger and brighter, but they also add a modern, stylish vibe that can transform your kitchen instantly. If you’re wondering how to do this yourself, you’re in the right place. This guide will walk you through simple, step-by-step instructions to help you install mirrors safely and beautifully.
Keep reading to discover how easy it can be to upgrade your kitchen with this stunning design trick.
Credit: soilandoak.com
Choosing The Right Mirror
Choosing the right mirror for your kitchen backsplash is key to enhancing your space. The right mirror adds light and depth, making your kitchen feel bigger and brighter. It also blends with your kitchen style and meets practical needs like heat resistance. Consider mirror types, size, shape, and thickness before installing.
Types Of Mirrors For Backsplash
There are several mirror types suitable for kitchen backsplashes. Clear mirrors offer a classic look and reflect light well. Frosted mirrors give a softer, diffused reflection and hide smudges. Tinted mirrors add color and style but reduce brightness. Tempered mirrors are strong and safe, perfect for kitchens. Choose a type that fits your kitchen’s look and use.
Size And Shape Considerations
Choose a mirror size that fits your backsplash area. Large mirrors can cover the entire wall for a seamless look. Smaller mirrors work well as accents or behind the stove. Rectangular and square shapes suit most kitchens, offering clean lines. Round or oval mirrors add softness and style. Match the shape to your kitchen design for balance.
Selecting Mirror Thickness
Mirror thickness affects durability and appearance. Thicker mirrors are more durable but heavier and costlier. Thin mirrors are lighter and easier to install but may break easier. For kitchen backsplashes, 1/4 inch thickness is common and practical. Consider thickness based on your wall type and mounting method. Safety and longevity matter in a kitchen environment.
Preparing The Kitchen Wall
Preparing the kitchen wall is the first step before installing mirrors on your backsplash. This stage ensures the mirrors will stick well and look great. Taking time to prepare the surface helps avoid problems later. Follow simple steps to get the wall ready for a smooth installation.
Cleaning And Smoothing The Surface
Start by cleaning the kitchen wall thoroughly. Use a mild detergent and warm water to remove grease and dirt. Make sure the surface is dry before moving on. Check for bumps or rough patches. Sand these areas gently until the wall feels smooth. A clean, flat surface helps the mirror glue stick better.
Measuring And Marking Placement
Measure the area where you want to place the mirrors. Use a tape measure for accuracy. Mark the edges lightly with a pencil. Double-check all measurements before making permanent marks. Proper placement avoids mistakes and keeps your backsplash looking neat. Plan the layout carefully to fit your kitchen style.
Protecting Surrounding Areas
Cover nearby countertops and appliances with drop cloths or plastic sheets. Use painter’s tape to protect edges and cabinets. This prevents damage from glue or dust during installation. Keep the workspace clean and organized. Protecting these areas saves time on cleanup and avoids accidental harm.
Tools And Materials Needed
Installing mirrors on a kitchen backsplash needs the right tools and materials. Preparing these items before starting makes the process smooth and safe. This section lists everything needed to complete the task effectively.
Essential Tools
Gather a tape measure to check mirror size and wall space. Use a level to keep the mirror straight. A pencil helps mark where the mirror will go. Have a glass cutter on hand if you need to trim the mirror. A caulking gun is useful for applying adhesive evenly. Use a clean cloth to wipe the surface before installation.
Recommended Adhesives
Choose a strong, clear adhesive designed for mirrors and tiles. Silicone adhesive works well because it holds tightly and resists moisture. Mirror mastic is another option made specifically for mirror installation. Avoid regular glue or tape; they won’t hold mirrors safely in kitchens.
Safety Gear
Wear safety glasses to protect your eyes from glass shards. Use gloves to keep your hands safe from cuts. Consider knee pads if you work low on the wall. A dust mask can protect your lungs if you cut glass. Safety ensures you finish the job without injury.

Credit: cheshammuseum.org.uk
Step-by-step Installation Process
Installing mirrors on a kitchen backsplash can brighten the space and create a stylish look. This step-by-step process helps you install the mirror safely and correctly. Follow each step carefully for the best results.
Applying Adhesive To The Mirror
Choose a strong, waterproof adhesive made for mirrors. Apply the adhesive in small dots or thin lines on the back of the mirror. Spread it evenly but avoid too much to prevent squeezing out. Focus on edges and the center for strong hold.
Positioning The Mirror On The Wall
Clean the backsplash surface well before placing the mirror. Hold the mirror close to the wall and align it carefully. Use a level to check if it is straight. Mark the position lightly with a pencil if needed for guidance.
Securing And Aligning The Mirror
Press the mirror firmly against the wall. Hold it in place for a few minutes to let the adhesive stick. Use painter’s tape to secure the mirror if it needs extra support. Check the alignment again to make sure it is perfect.
Allowing Proper Drying Time
Let the adhesive dry fully before touching the mirror. Drying time varies but usually takes 24 to 48 hours. Avoid using the backsplash area during this time. This ensures the mirror stays secure and lasts longer.
Finishing Touches
Finishing touches make your kitchen backsplash mirror look complete and polished. These small steps protect your work and enhance its beauty. Pay close attention to details for the best result.
Sealing The Edges
Seal the edges of the mirror with clear silicone caulk. This prevents water and dirt from getting behind the mirror. Use a caulking gun for smooth application. Smooth the caulk with a wet finger or tool. Let it dry for 24 hours before cleaning.
Cleaning The Mirror Surface
Clean the mirror surface carefully to remove fingerprints and dust. Use a soft, lint-free cloth and glass cleaner. Spray cleaner on the cloth, not directly on the mirror. Wipe gently in a circular motion. Avoid abrasive materials that can scratch the glass.
Adding Decorative Elements
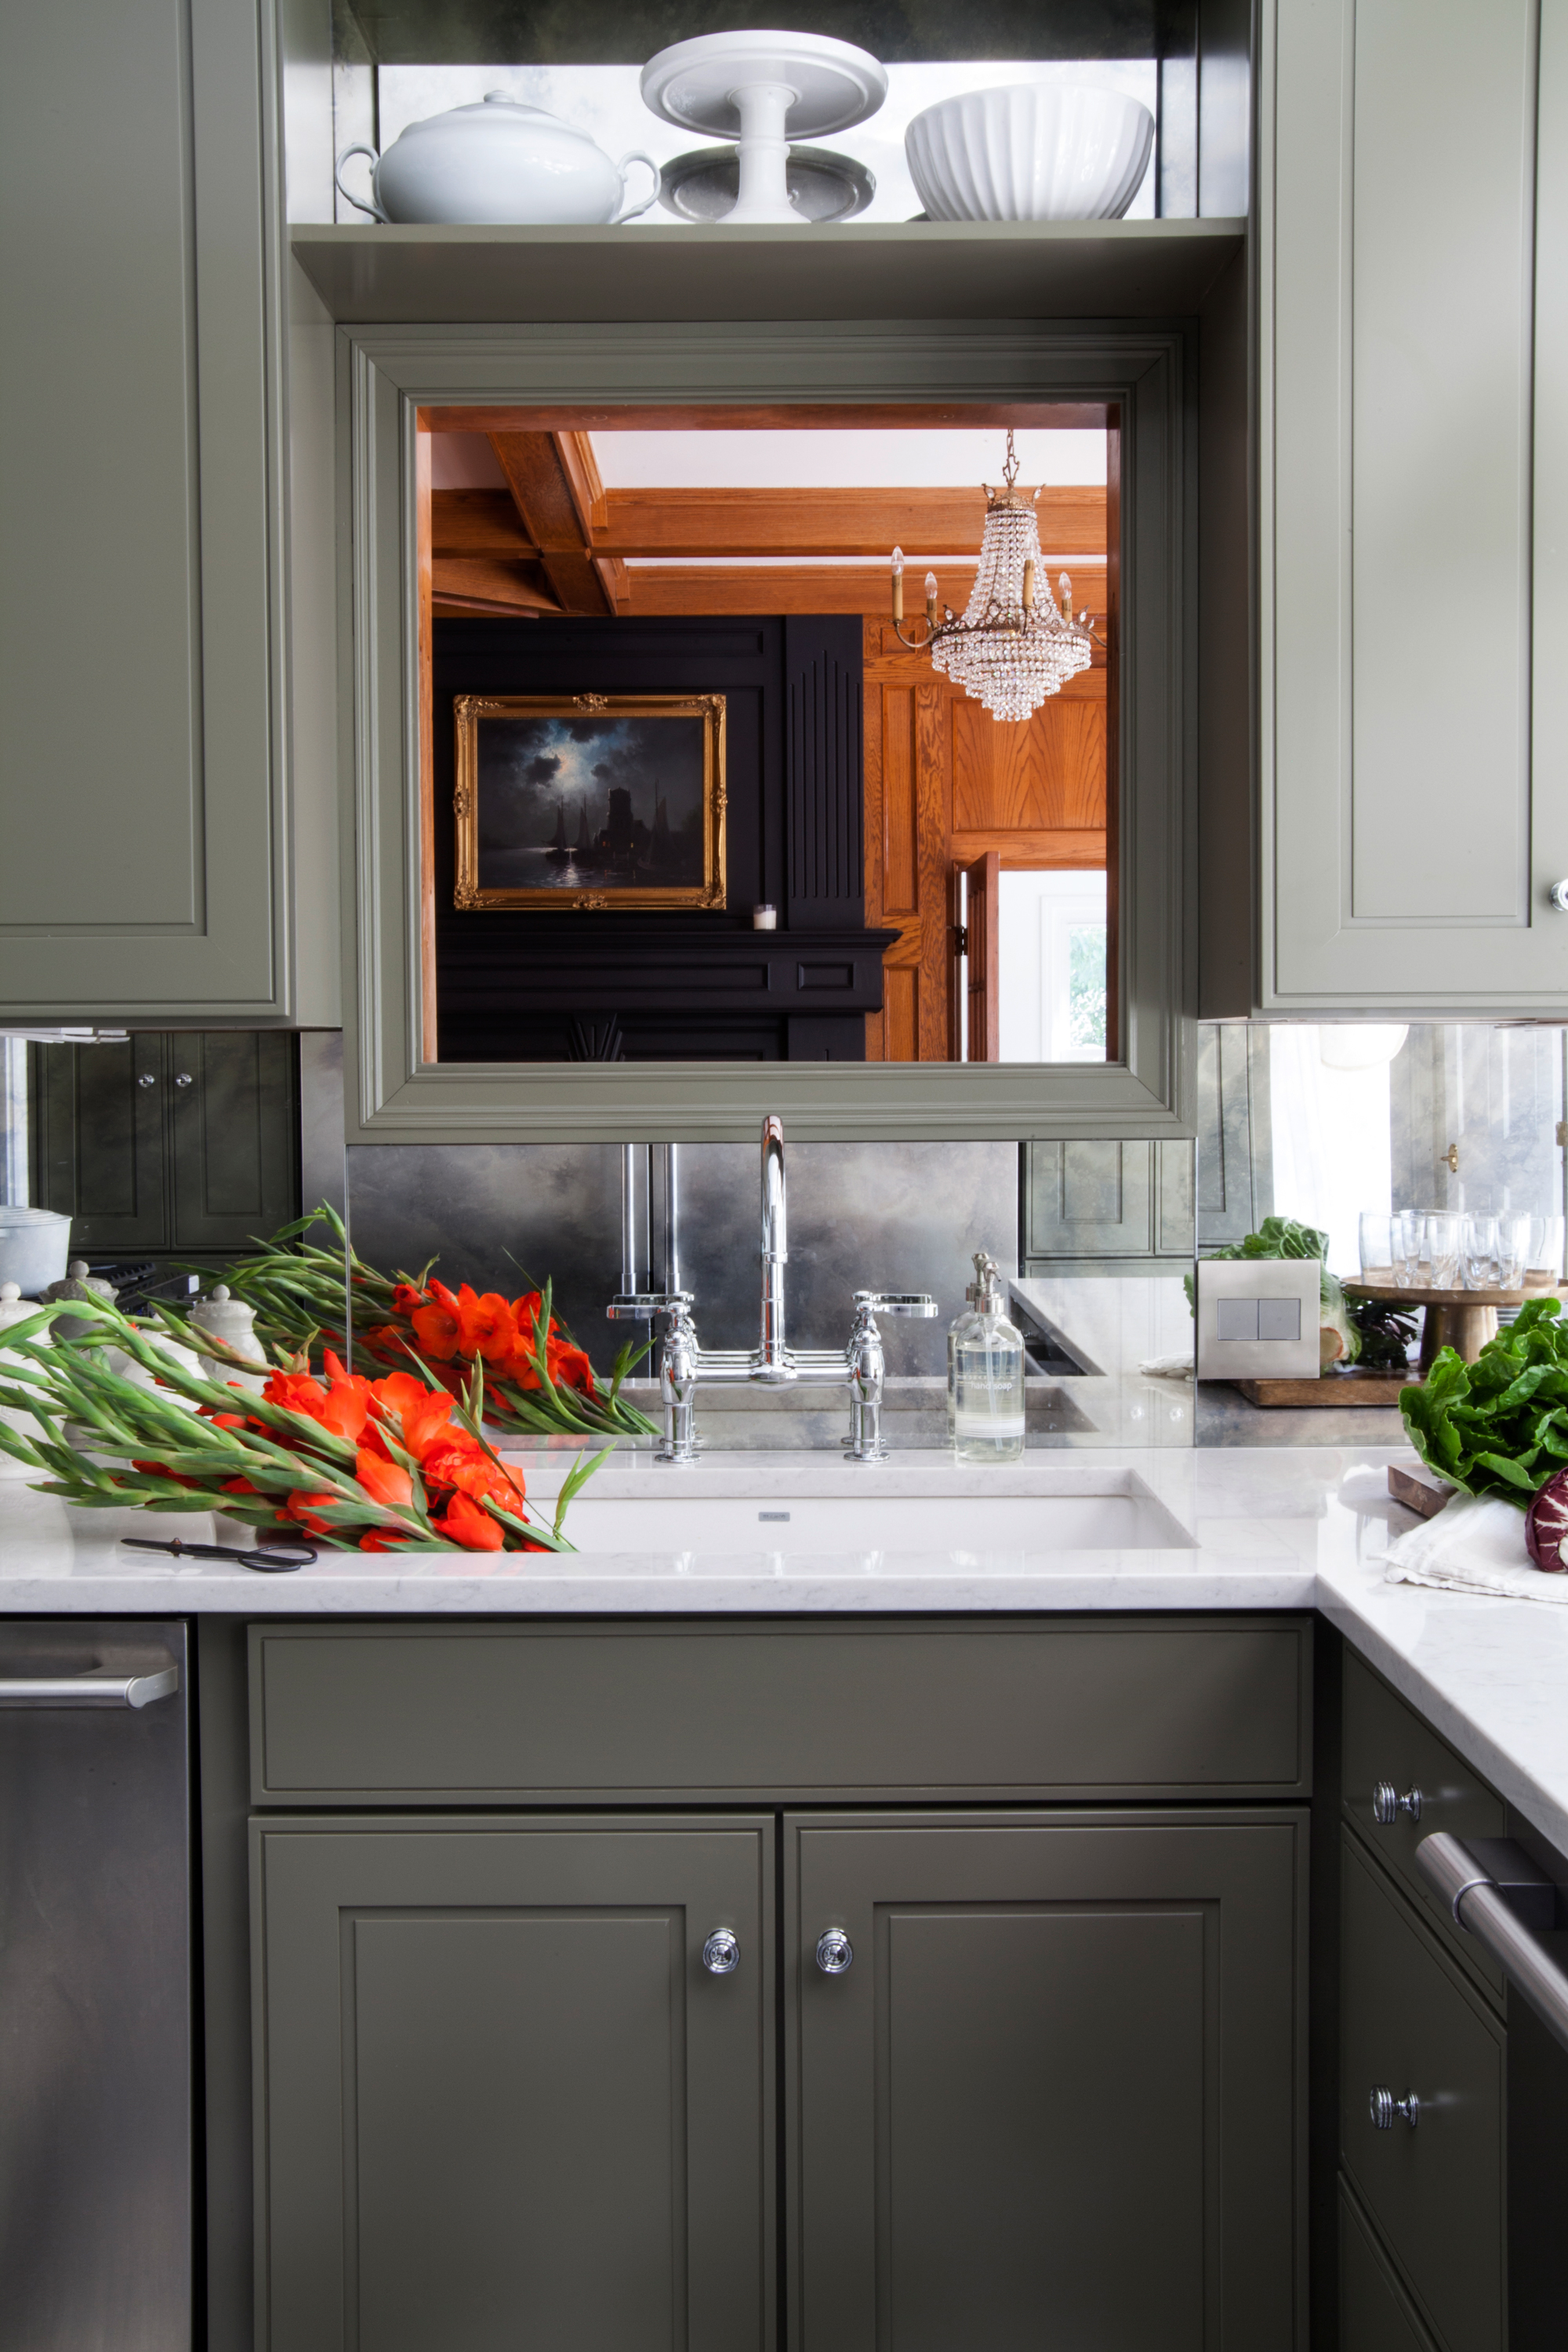
Add decorative elements to match your kitchen style. Consider small LED strip lights for a modern look. Use decorative trim or molding around the mirror edges. Choose colors that complement your kitchen walls and cabinets. These touches add style and personality.
Credit: www.themakerista.com
Common Mistakes To Avoid
Installing mirrors on a kitchen backsplash can brighten your space and add style. Avoid common mistakes to get the best result. These errors often cause poor fit, damage, or unsafe installation.
Incorrect Measurements
Measuring wrong leads to mirrors that don’t fit or look uneven. Always measure twice and mark clearly. Use a level to keep the lines straight. Small errors can cause big problems later.
Using The Wrong Adhesive
Choosing the wrong glue can make mirrors fall or damage walls. Use adhesive made for mirrors and wet areas. Regular glue may not hold weight or resist moisture. Check product labels carefully before buying.
Neglecting Wall Preparation
Skipping wall prep weakens mirror attachment. Clean the surface to remove grease and dust. Dry the wall completely before applying adhesive. Rough or damp walls reduce glue strength and cause mirrors to slip.
Maintenance And Care Tips
Keeping your kitchen backsplash mirror clean and well-maintained helps it stay shiny and beautiful. Regular care prevents stains and damage. It also extends the mirror’s life. Follow these simple tips to keep your mirror looking fresh every day.
Cleaning Techniques
Use a soft cloth to wipe the mirror surface gently. Avoid abrasive materials that can scratch the glass. Spray a glass cleaner or a mixture of water and vinegar on the cloth, not directly on the mirror. Wipe in circular motions to remove smudges and fingerprints. Dry with a clean, dry cloth for a streak-free shine.
Preventing Damage
Keep sharp or heavy objects away from the mirror. Avoid using harsh chemicals that can damage the backing. Use a protective sealant if the kitchen gets very humid. Check the edges regularly for signs of wear or lifting. Fix any loose parts immediately to prevent further damage.
When To Replace The Mirror
Look for cracks, deep scratches, or discoloration that cleaning can’t fix. If the mirror starts to peel or fog from behind, replacement is best. A damaged mirror can reduce your kitchen’s appeal and safety. Replace it promptly to maintain a fresh and safe space.
Frequently Asked Questions
How Do I Prepare The Kitchen Backsplash For Mirror Installation?
Clean the backsplash thoroughly and remove grease or dust. Ensure the surface is dry and smooth before applying adhesive. This preparation helps the mirror stick firmly and prevents bubbles or gaps.
What Type Of Adhesive Is Best For Kitchen Mirror Backsplashes?
Use a strong, waterproof mirror adhesive designed for kitchen use. Silicone-based adhesives work well as they resist moisture and heat. Avoid regular glue as it may weaken over time.
Can I Install Mirrors On Tiled Kitchen Backsplashes?
Yes, mirrors can be installed on tiled backsplashes. Clean and dry tiles thoroughly, then use a strong adhesive suitable for both tile and glass. Ensure the tiles are securely fixed to avoid mirror damage.
How Do I Avoid Damaging Walls When Installing Backsplash Mirrors?
Use a level and measure carefully before installation. Apply adhesive gently to avoid excess spillover. Support the mirror properly during mounting to prevent dropping or cracking the wall surface.
Conclusion
Installing mirrors on your kitchen backsplash adds style and light. Take your time to measure and prepare the surface well. Use the right adhesive and tools for a secure fit. Clean the mirrors carefully to avoid smudges and dust. Enjoy the bright, open feel that mirrors bring to your kitchen.
Small changes like this can make a big difference. Now, your kitchen looks fresh and modern. Simple steps lead to great results. Try this easy project to refresh your space today.