
Are you planning a bathroom remodel or building a new shower? Understanding shower drain rough-in plumbing is key to a smooth project.
If you get this step wrong, you could face leaks, slow drainage, or costly repairs later. But don’t worry—this guide will help you grasp the basics in simple terms. By the end, you’ll know exactly what to look for and how to prepare, saving you time and stress.
Ready to make your shower drain work perfectly? Let’s dive in!
Planning The Shower Drain Placement
Planning the shower drain placement is a key step in rough-in plumbing. It affects water flow and prevents future leaks. Proper planning saves time and money during installation. It also ensures the shower drains quickly and works well for years.
Choosing The Right Location
Select a spot near the shower’s center or where water collects. Avoid placing the drain too close to walls. It helps water flow toward the drain easily. Check the shower size and shape before picking the drain location. The right spot stops standing water and keeps the floor dry.
Considering Drain Slope And Flow
The drain pipe must slope downward for proper water flow. The ideal slope is about 1/4 inch per foot. This angle helps water move fast without pooling. Too little slope causes slow drainage and clogs. Too much slope can lead to pipe damage and leaks.
Accounting For Existing Plumbing
Locate current plumbing lines before installing the shower drain. Match the drain position to existing pipes to reduce work. Avoid cutting through support beams or electrical wiring. Plan the drain near the main waste line for better flow. Checking plumbing early prevents costly changes later.
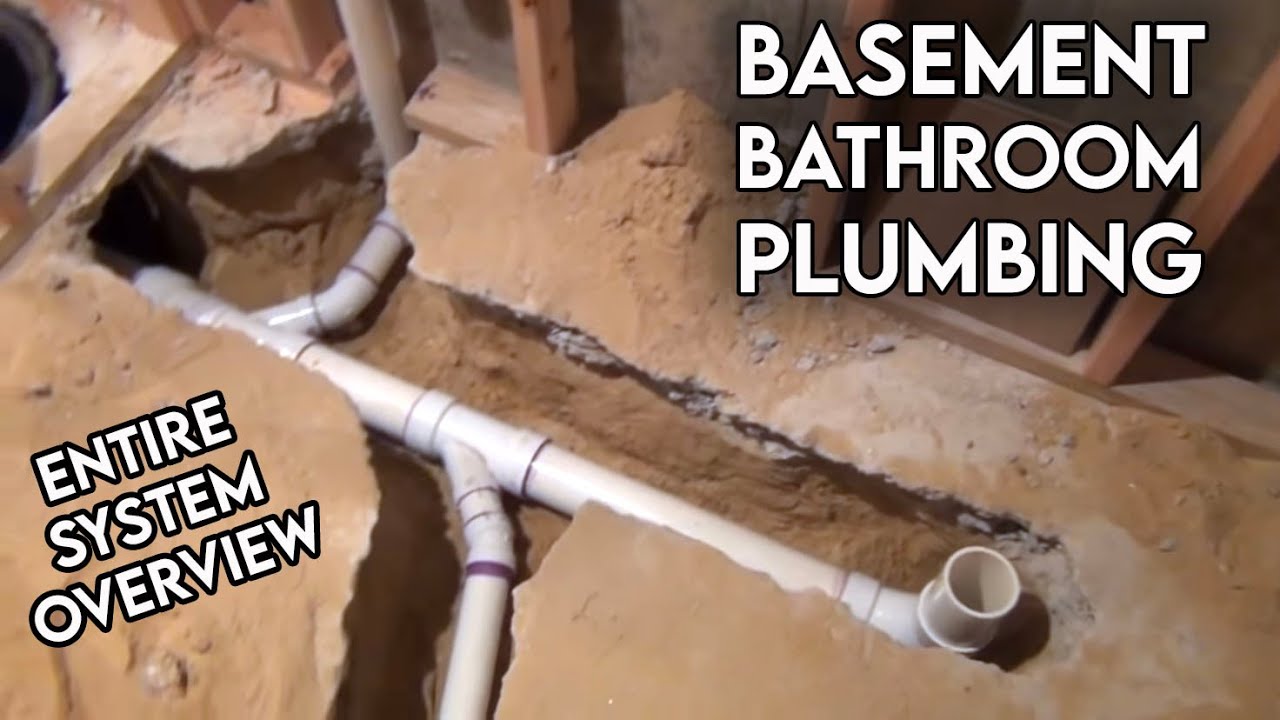
Credit: www.youtube.com
Selecting Drain Components
Selecting the right drain components is key to a smooth shower drain rough-in. The drain parts must fit well and work together. Proper selection prevents leaks and clogging. It also makes installation easier and keeps the shower safe and clean. Knowing the types, materials, and sizes helps you choose the best drain parts.
Types Of Shower Drains
There are several types of shower drains. The most common are center drains, linear drains, and point drains. Center drains sit in the middle of the shower floor. Linear drains are long and narrow, usually placed at the edge. Point drains are small and collect water from a single spot. Choose the type that suits your shower design and water flow.
Materials And Durability
Drain components come in different materials. Stainless steel is strong and resists rust. PVC plastic is cheap and easy to install but less durable. Brass offers good strength and lasts longer than plastic. Pick materials that last long and resist water damage. Durable materials reduce the need for repairs.
Drain Size And Compatibility
Drain size affects water flow and pipe fit. Common sizes are 2 inches and 3 inches in diameter. Check the pipe size before buying a drain. The drain must match the pipe to avoid leaks. Also, confirm the drain fits the shower base shape. Correct size and compatibility ensure smooth drainage and easy installation.
Tools And Materials Needed
Setting up a shower drain rough-in requires specific tools and materials. Using the right items makes the job easier and safer. This guide covers the basics you need for a successful plumbing project.
Essential Plumbing Tools
Start with a pipe cutter to trim pipes accurately. A wrench helps tighten fittings without damage. Use a plumber’s tape to seal threaded joints. A tape measure ensures proper pipe length. A level helps align the drain pipe correctly. A drill may be needed for mounting brackets. A screwdriver is useful for fastening drain components.
Pipe And Fitting Materials
Choose durable pipes like PVC or ABS for the drain line. Select the correct diameter to match the shower drain. Use drain fittings such as elbows, tees, and couplings to connect pipes. A drain flange is necessary to attach the drain to the shower base. Plumber’s putty helps seal around the drain flange. Make sure all parts meet local plumbing codes.
Safety Equipment
Wear safety glasses to protect your eyes from debris. Use gloves to keep your hands clean and safe. A dust mask prevents inhaling particles when cutting pipes. Ensure a clear workspace to avoid tripping or accidents. Always follow safety guidelines for power tools. Safety is a key part of a smooth plumbing job.

Credit: www.lowes.com
Step-by-step Rough-in Installation
Installing a shower drain rough-in is the first step in setting up your bathroom plumbing. This process creates a path for water to flow from your shower to the main waste line. The rough-in must be accurate to avoid leaks and ensure good drainage. Follow these steps for a smooth installation.
Marking And Cutting Pipes
Start by marking the pipes where you need to cut. Use a pencil to make clear marks. Measure twice to avoid mistakes. Cut the pipes using a pipe cutter or saw. Make sure the edges are smooth and even. Rough edges can cause leaks or blockages later.
Connecting Drain To Waste Line
Fit the shower drain pipe to the waste line carefully. Use the right connectors for your pipe type. Apply pipe cement or plumber’s tape to seal the joints. Push the pipes firmly together. Check that the drain slopes downward to help water flow.
Securing And Supporting Pipes
Attach pipe supports to keep the pipes stable. Use brackets or hangers spaced every few feet. Secure pipes near joints and fittings. This prevents movement that can cause damage. Proper support keeps your plumbing safe and working well.
Ensuring Proper Drain Slope
Proper drain slope is key for shower drain rough-in plumbing. It helps water flow smoothly into the drain. Too little slope can cause water to pool. Too much slope may lead to pipe damage or noise. Setting the right slope avoids clogs and keeps drainage efficient.
Recommended Slope Measurements
The standard slope for shower drains is 1/4 inch per foot. This means the pipe drops 1/4 inch for every foot of length. This slope keeps water moving without rushing too fast. Some codes allow slopes between 1/8 inch and 1/2 inch per foot. Stick close to 1/4 inch for best results.
Techniques For Measuring Slope
Use a level tool and a tape measure to check the slope. Place the level on the pipe or surface. Adjust until the bubble shows a slight downward tilt. Measure the vertical drop over a 12-inch section. Mark the pipe to keep the slope consistent along its length.
Common Mistakes To Avoid
Do not make the slope too flat. Water can stay in the pipe and cause clogs. Avoid slopes that are too steep. This may wear out pipes and cause noise. Do not ignore local plumbing codes. They provide rules for safe and effective drainage. Check slope before covering pipes with concrete or flooring.
Testing The Drain System
Testing the shower drain rough-in plumbing is a crucial step before finishing the shower installation. It ensures the drain system works correctly and avoids leaks or blockages later. Proper testing saves time and money by catching problems early.
Drain system testing involves checking for leaks, ensuring water flows smoothly, and fixing any issues found. Each step helps guarantee a safe, effective shower drain.
Leak Detection Methods
Leak detection starts by sealing the drain opening. Plumbers often use a test plug or cap to close the pipe tightly. Then, they fill the drain with water or air to check for leaks.
Water tests show visible leaks easily. Air tests listen for hissing sounds near joints. Both methods help spot cracks or loose fittings that need repair.
Water Flow Testing
Water flow testing checks if water moves freely through the drain. It involves pouring water down the drain and watching how fast it drains away.
Slow drainage can indicate clogs or poor pipe slope. Good flow means the rough-in plumbing slopes correctly and is clear of debris.
Addressing Potential Issues
Problems found during testing must be fixed before shower installation continues. Leaks require tightening or replacing pipe connections. Blockages need clearing with specialized tools.
Sometimes, pipe slope adjustments are necessary for proper drainage. Testing ensures all repairs work well and the drain system is ready for use.
Code Compliance And Permits
Understanding code compliance and permits is crucial for shower drain rough-in plumbing. These rules ensure safety and proper function. Following local codes helps avoid costly fixes and legal issues. Permits and inspections keep the project on track and up to standards.
Local Plumbing Codes
Local plumbing codes set the rules for drain installation. They vary by city and state. These codes cover pipe size, slope, and venting. They also define materials allowed for drains. Knowing these codes prevents mistakes in the rough-in phase.
Permit Requirements
Most areas require a permit before starting plumbing work. Permits confirm the project meets safety and health standards. Applying for a permit involves submitting plans and paying fees. Working without a permit can lead to fines or forced removal of work.
Scheduling Inspections
Inspections verify that plumbing work follows all codes. Inspectors check pipe placement, slope, and connections. Schedule inspections before covering pipes with drywall or concrete. Passing inspections allows the project to move forward smoothly.
Tips For A Smooth Installation
Installing a shower drain rough-in can be a tricky task. Proper planning and execution help avoid leaks and costly repairs. Follow these tips to make the process smooth and efficient.
Working With Professionals
Hiring a licensed plumber ensures the job meets all local codes. Professionals have the right tools and experience. They quickly spot problems that beginners might miss. This saves time and prevents future issues. Trusting experts improves the overall quality of your installation.
Time-saving Techniques
Prepare all materials before starting the work. Measure twice, cut once to reduce mistakes. Use quality parts to avoid replacements. Label pipes clearly for easy identification. Organize your workspace to keep tools within reach. These steps help finish the job faster and cleaner.
Maintaining Safety Standards
Wear protective gear like gloves and goggles. Turn off the water supply before beginning. Check for electrical wires near plumbing areas. Use proper supports to secure pipes and prevent movement. Follow local building codes to stay safe and legal. Safety keeps everyone protected during installation.
Credit: terrylove.com
Frequently Asked Questions
What Is Shower Drain Rough-in Plumbing?
Shower drain rough-in plumbing is the early stage of installing pipes. It sets the position and size of the drain before finishing the shower.
How Deep Should A Shower Drain Rough-in Be?
The drain rough-in should be about 2 to 3 inches below the finished floor. This allows proper water flow and connection to the main drain.
What Pipe Size Is Used For Shower Drain Rough-in?
A 2-inch diameter pipe is standard for shower drain rough-in. It ensures enough drainage capacity and prevents clogs.
Can I Install Shower Drain Rough-in Myself?
Yes, but basic plumbing knowledge is needed. Incorrect installation may cause leaks or poor drainage, so careful planning is key.
When Should Shower Drain Rough-in Plumbing Be Done?
It must be done before the shower base or floor is installed. This allows easy access for pipe fitting and inspection.
What Tools Are Needed For Shower Drain Rough-in Plumbing?
Common tools include a pipe cutter, wrench, measuring tape, and PVC cement. These help cut, join, and secure the pipes properly.
How Do I Check Shower Drain Rough-in Plumbing?
Check for proper slope, secure joints, and no leaks in pipes. A water test can confirm correct drainage before closing walls or floors.
Conclusion
Proper shower drain rough-in plumbing ensures good water flow and avoids leaks. It saves time and money during final installation. Planning the drain location and pipe size helps prevent future problems. Always check local codes before starting work. Taking these steps makes your shower safe and functional.
Good plumbing sets the foundation for a comfortable bathroom. Simple care now avoids costly repairs later. Keep these tips in mind for a smooth project and lasting results.