
The most reliable tub spouts are made from solid brass with a metal diverter, as these resist corrosion and mineral buildup better than plastic. Choose based on your pipe connection type, the necessary reach, and your preferred diverter location. While finishes like chrome or brushed nickel affect appearance, internal materials determine how long the part functions without leaking.
Types of common tub spouts
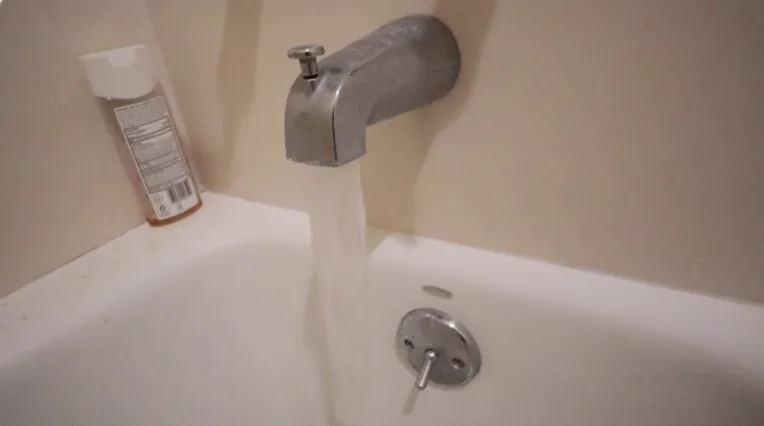
To choose the right replacement, you must first identify how your current spout attaches to the plumbing inside your wall. The following table outlines the main options available for standard residential bathroom setups.
| Spout Type | Best For | Concrete Example |
|---|---|---|
| Threaded | Pipes with male threads | 1/2-inch iron nipple |
| Slip-fit | Smooth copper pipe ends | 1/2-inch copper tubing |
| Wall-mount | Direct wall connection | Flanged brass spout |
| Diverter | Shower and tub combos | Pull-up knob model |
| Non-diverter | Tub-only installations | Stationary fixed spout |
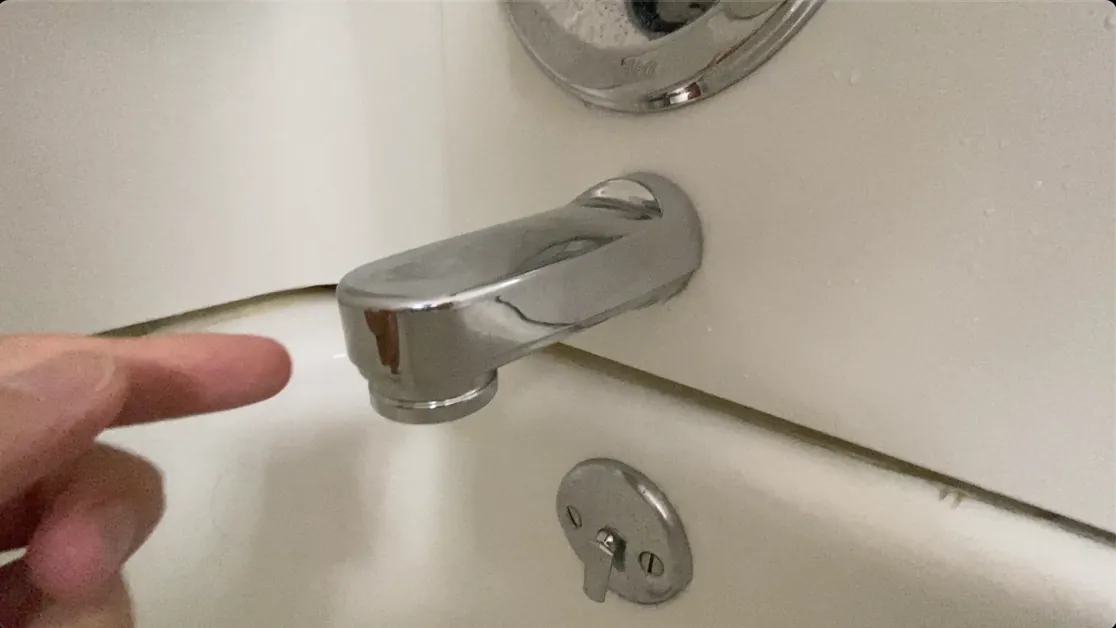
Check for a small set screw on the underside of the spout near the wall. If you find one, you have a slip-fit connection. Use a hex key to loosen it, then pull the spout straight off. If you force a threaded spout by twisting it, you risk snapping the copper pipe hidden behind the tile.
If there’s no screw, try to rotate the entire spout counter-clockwise. If it turns, it’s threaded. Measure the distance from the wall to the end of the pipe. If that distance is less than four inches, you likely need a specific manufacturer-branded spout rather than a universal model.
Many homeowners mistake a slip-fit for a threaded connection and apply heavy pipe wrenches, which crushes the copper tubing. This mistake often forces a simple DIY swap into a costly professional plumbing repair. If the pipe end is jagged or damaged, you must cut it back to smooth metal before installing a new slip-fit model. A clean, burr-free pipe end is the only way to ensure the internal O-ring creates a watertight seal.
Threaded tub spouts
A threaded tub spout is designed to screw directly onto a threaded pipe nipple that extends from your wall. These units are ideal for older homes where iron or brass pipes were used, providing a secure, leak-proof connection when tightened with a wrench. You should always use plumber’s tape on the threads to ensure a watertight seal that prevents water from leaking back into the wall cavity.
- Provides a rigid, permanent connection that won’t wiggle or pull away from the wall.
- Allows for easy replacement if the finish becomes scratched or the diverter fails.
- Fits standard 1/2-inch or 3/4-inch pipe nipples common in most residential plumbing.
If you’re replacing an existing unit, measure the distance from the finished wall to the end of the threaded pipe. If your pipe is too short, the spout won’t reach the wall; if it’s too long, the spout will sit too far out, leaving a visible gap. Most threaded models require a pipe protrusion of 1/2-inch to 1-inch to seat properly against the tile or drywall.
Slip-fit tub spouts
A slip-fit spout is made for smooth, unthreaded copper pipes that extend through the wall. These units use a set screw, usually located on the underside or back of the spout, to clamp onto the pipe and hold the unit firmly in place. This design is common in newer construction because it allows for quick installation without the need for specialized pipe-threading tools.
Eliminates the need to cut or thread pipes when performing a simple bathroom update. Offers a clean, modern look with no visible threads or bulky hardware. Adjusts easily to fit pipes of varying lengths by tightening the set screw at the desired depth.
You must ensure the copper pipe is free of burrs or deep scratches before sliding the spout on. If the pipe surface is damaged, the O-ring inside the spout may not create a tight seal, which causes water to spray out behind the spout when the shower is running. Always clean the pipe with fine sandpaper to ensure a smooth, debris-free surface for the internal gasket.
Measure the length of the pipe protruding from the finished wall before buying a replacement. If your pipe extends less than 1.5 inches, a standard slip-fit spout won’t have enough surface area to grip securely. If you have more than 4 inches of pipe, you must trim the copper back with a tubing cutter to prevent the spout from sitting too far away from the tile.
Check the underside of your existing spout for a small hole before you attempt to pull it off. If you see a set screw, use a 1/8-inch hex key to loosen it completely. If you don’t see a screw, the spout is likely a threaded model that requires a pipe wrench to unscrew. Forcing a threaded spout off by pulling will snap the copper pipe inside your wall, turning a fifteen-minute project into a major plumbing repair.
If the spout feels loose after tightening the set screw, the internal O-ring has likely hardened or cracked. You can replace the O-ring for a few dollars rather than buying a new fixture. If the spout still wobbles, apply a small bead of silicone caulk around the base where it meets the wall to provide extra stability and prevent water from seeping into the wall cavity.
Diverter tub spouts
A diverter tub spout is a specific type of fixture that allows you to redirect water flow from the tub faucet up to a showerhead. These come in two primary styles: a pull-up knob located on top of the spout or a pull-down gate on the front. They’re essential for any bathroom that combines a bathing area with a shower, as they control the water path via a simple internal valve.
- Directs the majority of the water flow upward when the diverter is engaged.
- Provides a clear visual indicator of whether the shower or tub is active.
- Works with both threaded and slip-fit connections depending on the model chosen.
If your water pressure is low, you might notice the diverter “pops down” on its own during a shower. This usually happens because mineral deposits or debris have built up inside the diverter gate, preventing it from sealing fully.
According to the Environmental Protection Agency, maintaining your plumbing fixtures by cleaning out mineral buildup can significantly extend the life of your hardware. If cleaning doesn’t fix a loose diverter, the internal spring or seal has likely worn out and the unit needs to be replaced entirely.
Non-diverter tub spouts
A non-diverter tub spout is designed for tubs that don’t have an overhead showerhead. Because these units lack a gate or knob to redirect water, they’re simpler to maintain and less prone to internal mechanical failures. They’re usually found in soaking tubs or stand-alone garden tubs where the water supply is meant only to fill the basin.
The primary advantage of this design is the absence of a diverter valve, which is the most frequent point of failure in standard bathtub faucets. When a diverter begins to leak, water often sprays from the spout while you’re trying to shower, resulting in a significant drop in pressure at the showerhead. By removing the moving parts, you eliminate the risk of mineral buildup or O-ring degradation that typically forces a replacement after five to seven years of use.
Measure the distance from the finished wall to the center of the spout opening before purchasing a replacement. Most standard spouts are between five and seven inches long. If your copper pipe protrudes too far, the spout won’t sit flush against the tile, creating a gap where water can seep behind the wall and cause structural rot.
Use a bead of silicone caulk around the base of the spout to seal this gap, but leave a small section at the bottom uncaulked to allow any trapped moisture to escape.
If you try to use a non-diverter spout in a shower setup, you’ll have no way to get water to your showerhead. Always verify that your current system has a separate shower control or that you aren’t intending to add a shower later.
If you plan to add a shower in the future, it’s far easier to install a diverter model now than to replace the spout later. If your plumbing is already behind a finished wall, swapping a spout is a simple task, but replacing the entire valve body to accommodate a diverter later requires opening the wall.
Remaining spout options
Wall-mounted spouts fix directly to the wall structure rather than the pipe, a choice common in designer or custom tubs. They require a dedicated mounting bracket installed behind the finished wall surface. This hidden hardware makes them significantly harder to replace than standard threaded or slip-fit units. If you select this style, verify your wall cavity depth before purchase; a shallow stud bay may prevent the bracket from seating flush.
Long-reach spouts extend 6 to 10 inches from the wall to clear the wide rims of soaking tubs. Because these models create a longer lever arm, they exert more torque on the plumbing than short, standard units. If you choose a long-reach model, ensure the pipe connection is reinforced with a drop-ear elbow secured to a wood block. Without this backing, the spout will eventually sag or loosen, leading to water leaking inside your wall.
If your tub rim is less than 4 inches from the wall, stick to a standard spout. Using a long-reach model in this scenario forces the water stream to hit the front of the tub, causing significant splashing. If your rim exceeds 10 inches, you must transition to a floor-mounted filler instead.
Most homeowners mistake a loose spout for a failed gasket, but the culprit is almost always a lack of structural support behind the drywall. If the spout wiggles when you pull it, stop using it immediately. Check the connection point; if the pipe moves with the spout, you must open the wall to secure the plumbing before the joint snaps.
How to choose between them

Selecting the right spout depends on three factors: your connection type, your pipe length, and your need for a shower. If you have a smooth pipe, you must choose a slip-fit model; if your pipe is threaded, you must use a threaded model. If you have a showerhead, you must choose a diverter spout.
To find your connection type, look for a small set screw on the underside of your existing spout. If you see one, it’s likely a slip-fit model. If you don’t see a screw, try to unscrew the spout by turning it counter-clockwise; if it turns, it’s threaded. These choices are generally exclusive, meaning you should pick the one that matches your existing pipe hardware to avoid behind-the-wall plumbing work.
Measure the distance from the finished wall to the center of the pipe opening. A standard spout requires a pipe length between 3 7/8 and 4 1/4 inches. If your pipe is shorter than 3 inches, you’ll likely need a specialized adapter to prevent water from leaking into the wall cavity.
Many homeowners mistakenly assume all diverter spouts work with any plumbing system. If you have a low-pressure setup, a standard diverter may fail to stay engaged, causing water to spray from both the tub and showerhead simultaneously. In these cases, look for a pull-up diverter that relies on a mechanical lock rather than water pressure.
If you’re unsure whether your pipe is secure, wiggle it gently. If the pipe moves, don’t force a threaded spout onto it, as you risk snapping the supply line. Instead, you must secure the plumbing behind the wall before installing a spout.
Frequently asked questions
How do I know if I need a 1/2-inch or 3/4-inch spout?
Measure the outside diameter of your pipe to determine the correct size. A 1/2-inch pipe measures 5/8-inch, while a 3/4-inch pipe measures 7/8-inch. Ensure you measure accurately, as using the wrong size will prevent the spout from fitting or cause leaks behind your wall.
Can I replace a slip-fit spout with a threaded one?
You can’t replace a slip-fit spout with a threaded one without modifying the pipe. A slip-fit connection requires a smooth pipe, while a threaded one needs spiral grooves. You would need to solder on a threaded adapter, which is a complex task requiring a torch and plumbing experience.
What causes water to leak from the back of the spout?
Leaking from the wall side of the spout usually means the internal O-ring seal has failed or the pipe length is incorrect. Check if the spout is pushed flush against the wall tile. If it is, the O-ring is likely worn out, making a full spout replacement the most reliable fix.
Is it safe to use a plumber’s putty on tub spouts?
Use a small amount of plumber’s putty around the base of the spout where it meets the wall to create a waterproof barrier. Don’t use putty on the pipe threads, as it can harden and complicate future removal. Instead, use plumber’s tape on the threads to prevent internal leaks.
How long should a brass tub spout last?
Lifespan depends on your water quality, as hard water causes mineral buildup that ruins the diverter mechanism. If you have hard water, soak the spout in white vinegar annually to dissolve deposits and prevent sticking.
Why does my tub spout drip when the shower is on?
A dripping tub spout while the shower is running indicates the internal diverter gate isn’t creating a perfect seal. This typically occurs when the rubber gasket wears out or mineral buildup prevents the gate from closing. Because the diverter seal is rarely a separate part, you must replace the entire spout.
Conclusion
Start by measuring the distance from the wall to the pipe end to ensure you buy a spout with the correct reach. Once you have your new spout, screw it on or tighten the set screw, then turn on the water to check for leaks at the wall and through the diverter.