
Yes, you can bake cakes in a camping oven as long as you manage the heat carefully to avoid burning the bottom or leaving the middle raw. Success depends on using a thermometer to monitor the internal air temperature, which often fluctuates wildly in portable units compared to home ovens. If you’re using a stovetop-style camping oven, expect to adjust your heat source every 10 minutes to maintain steady airflow. This page explains how to stabilize your temperatures, prevent common scorching issues, and choose the right pans for your specific setup.
Can I bake cakes in a camping oven? Top picks
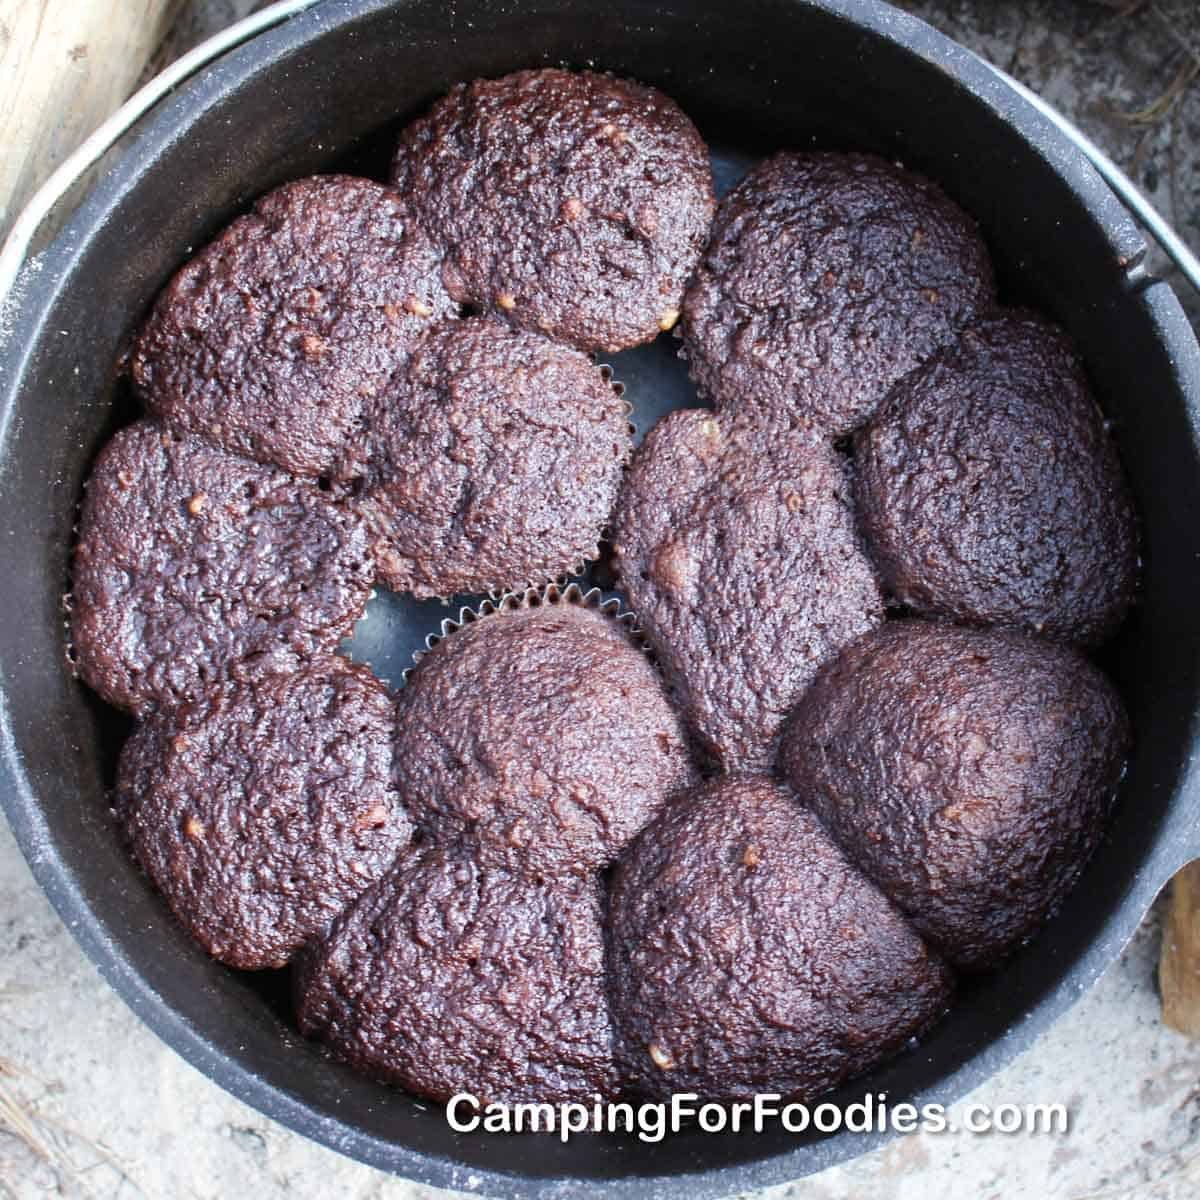
You’re likely a camper who wants more than simple campfire meals or someone who enjoys the challenge of scratch baking in remote locations. This page serves the user who owns a portable oven—either a folding stovetop model or a propane-powered tabletop unit—and wants to replicate home-baked results. It doesn’t serve those who only have an open fire, as open fires lack the enclosed heat chamber required for a stable rise.
The advice here focuses on managing equipment that’s prone to hot spots and rapid heat loss.
Factors that change your results
The most significant variable is the heat source. If you use a single-burner stove, your heat is likely concentrated in the center, which risks burning the bottom of the cake while the top stays pale. A two-burner setup allows for better heat distribution if you use a heat diffuser plate between the flame and the oven base.
Wind conditions also play a massive role. Even a light breeze can drop your oven’s internal temperature by 50°F or more in seconds. Always use a wind shield around your stove to ensure the flame stays consistent. If you’re baking in high-altitude areas, check your recipe for adjustments, as lower air pressure affects how cakes rise and set.
The type of pan you use changes the bake time significantly. Heavy-gauge aluminum pans conduct heat more evenly than thin steel ones. If you use a dark-colored non-stick pan, your cake will absorb more heat and likely brown faster than in a shiny, light-colored pan. In our testing, moving from a standard steel tin to a heavy aluminum one added roughly five minutes to the total bake time but eliminated the dark, crusty edges.
Finally, the thickness of your batter matters. A dense fruit cake requires a lower, more consistent heat for a longer period compared to a light sponge. If you’re unsure of the heat level, use an oven thermometer placed near the center of the rack to verify the actual temperature inside the chamber. Don’t rely on the dial on the front of a camping oven, as these are notoriously inaccurate.
Baking your cake outdoors
- Place your camp oven on the stove and light the burner to its lowest setting.
- Preheat the oven for 15 minutes before putting any batter inside.
- Grease your cake tin thoroughly with butter and dust it with flour to prevent sticking.
- Pour the batter into the pan, filling it no more than two-thirds full to allow for expansion.
- Place the pan in the center of the oven, ensuring it doesn’t touch the sides.
- Close the door firmly and avoid opening it for the first half of the estimated bake time.
- Rotate the pan 180 degrees halfway through if your oven has a known hot spot.
- Check for doneness by inserting a wooden skewer into the center; it should come out clean.
- Remove the pan immediately once the skewer is clean to prevent the residual heat from drying out the cake.
The single judgement call that separates a good result from a failure is the “peek” factor. Opening the oven door releases a massive amount of heat that’s difficult to regain in a camping unit. If you must check the cake, wait until you can see the top is set and the edges have pulled away slightly from the sides of the pan.
Comparison of oven types
| Oven Type | Heat Source | Best Use | Main Challenge |
|---|---|---|---|
| Stovetop folding | Gas burner | Small sponges | Bottom burning |
| Propane tabletop | Internal burner | Large cakes | Heat retention |
| Dutch oven | Charcoal | Dense cakes | Temperature control |
Stovetop folding ovens rely on direct heat transfer from a single burner. Because the heat source is concentrated, you must place a heat diffuser or a heavy cast-iron skillet between the burner and the oven floor. Without this buffer, the bottom of your sponge will scorch before the center sets.
Propane tabletop models provide the most consistent internal temperature, but they suffer from poor insulation. In windy conditions, the thin metal walls lose heat rapidly. If the ambient temperature drops below 50 degrees Fahrenheit, expect your bake time to double. Always shield these units with a windbreak to maintain a steady 350 degrees.
Dutch ovens excel at trapping moisture, making them ideal for dense, fruit-heavy cakes. However, charcoal placement is a precise science. Use a 2-to-1 ratio of coals on the lid versus the base to prevent the bottom from drying out. If you’re baking in high humidity, reduce the base coals by half to avoid a gummy texture.
Preparing for success
Maintaining temperature
The most experienced camp bakers prioritize constant monitoring over following a timer. Since camping ovens lack the insulation of home appliances, you must watch the flame closely. If the wind picks up, you may need to increase the gas flow slightly to compensate for the heat loss. If you notice the top of the cake browning too quickly, place a piece of aluminum foil loosely over the top for the remainder of the bake.
Testing for doneness
Beginners often rely solely on the timer, but the environment dictates the speed. A cake is done when the internal temperature reaches 200°F, or when the structure is firm to a light touch. If you press the center and it feels spongy or leaves a dent, it needs more time. Always keep the oven door closed for at least 30 minutes before you even consider checking the progress, as a drop in temperature early on will cause the cake to collapse.
Common issues and fixes
| What you notice | What it means | What to do first | How to stop it |
|---|---|---|---|
| Burnt bottom | Too much direct heat | Use a diffuser | Raise pan higher |
| Raw center | Oven too hot/fast | Lower the flame | Bake longer/lower |
| Sunken top | Door opened too early | Let it cool | Wait 30 minutes |
| Pale top | Poor heat circulation | Add foil shield | Use lighter pan |
If your crust burns while the center remains liquid, your rack is likely too close to the heating element. Move the rack to the center position to ensure even airflow. If you’re baking in a dark, non-stick pan, subtract 25 degrees from the recommended temperature; dark surfaces absorb heat faster and often scorch edges before the middle sets.
A sunken top usually signals a structural collapse. If you peek inside before the structure has set, the sudden temperature drop causes the air bubbles to contract. Resist the urge to check progress until at least 75% of the total bake time has passed.
If you suspect your oven temperature is inaccurate, buy a standalone thermometer. Many home ovens drift by 15 to 20 degrees over time. If the thermometer reads higher than your dial, calibrate your oven or adjust your settings accordingly. Using a heavy stone or steel can also stabilize these fluctuations during long bakes.
Guidelines for safe outdoor baking
Food safety in a camp setting relies on keeping ingredients at the right temperature before they hit the oven. Perishable ingredients like eggs, milk, and butter should be kept in a cooler at or below 40°F until the moment you’re ready to mix your batter. Never leave raw batter sitting out in the sun while you wait for the oven to preheat, as this allows bacteria to multiply rapidly. If your cooler temperature rises above 40°F, discard any dairy or egg products immediately to avoid foodborne illness.
If you’re using a propane-powered unit, verify that all connections are tight and there’s no smell of gas before lighting. Never use an oven inside a tent or any enclosed space, as carbon monoxide buildup is a lethal risk. Always operate your oven in a well-ventilated, outdoor area away from dry grass or flammable materials. A common mistake is setting the oven on an uneven, natural surface, which causes heat to pool and potentially melt the base components. Instead, place the unit on a non-combustible metal stand or a flat, heat-resistant stone surface.
If you’re unsure about the safety of your specific model, consult the manufacturer’s manual for the exact clearances required for safe operation. If the manual is missing, maintain a minimum distance of 10 feet from any structure or vegetation. This rule prevents accidental ignition if a flare-up occurs during the baking process.
The real cost of camp baking
Baking at a campsite costs more in fuel and effort than it does in ingredients. If you’re using a folding oven, the initial cost of the gear is relatively low, but the time spent monitoring the heat is the real currency.
You also face the risk of wasted ingredients. A failed cake in a remote location means you have no dessert for the night and a mess to clean up in a space without running water. To lower the risk, always test your recipe at home first. If you find you’re failing consistently, it’s usually because the oven is too small to maintain the necessary ambient temperature. In that case, the cost of a better-insulated unit is worth the investment if you plan to bake regularly.
Keeping your equipment ready
After your cake is done, allow the oven to cool completely before attempting to fold it or pack it away. Food residue inside the oven can attract pests, so wipe down the interior surfaces with a damp cloth and mild soap. If you have a propane burner, check the ports for debris or soot that might have accumulated during the bake.
Store your oven in a dry, protected bag to prevent rust on the metal panels. If you notice the door hinges becoming stiff, a small drop of food-grade lubricant can help, but don’t use heavy oils that might smoke when heated. Before your next trip, inspect the gas hose for any cracks or signs of wear. If the hose looks brittle, replace it immediately rather than trying to patch it, as a leak in a confined camp kitchen is a significant fire hazard.
When to avoid this method
If you’re camping in extremely high winds or freezing temperatures, trying to bake is usually a losing battle. The heat loss is so rapid that you’ll likely burn through an entire gas canister without ever getting the center of the cake to set. In these conditions, opt for no-bake desserts like pre-made puddings or fruit-based dishes that don’t require an oven.
If your ambient temperature drops below 40 degrees Fahrenheit, the thermal mass of your cookware will struggle to retain heat. You can test your setup by placing an empty pot on the stove for five minutes. If it doesn’t remain hot to the touch, your fuel will be wasted on the environment rather than your ingredients.
Similarly, if you’re working with a large group and need to bake multiple batches, a single camp oven won’t keep up. The time required to cool, clean, and reload the oven makes it inefficient for large-scale production. If you’re expected to feed more than four people, stick to stovetop cooking or prepare your desserts at home before you leave.
Trying to force a small oven to do the work of a large one usually results in undercooked food and high frustration. If you find yourself with more than four hungry campers, prioritize efficiency. A stovetop boil or a cold-prep dessert ensures everyone eats at the same time, preventing the common mistake of serving the first person while the last person waits an hour for their turn.
Frequently asked questions
Can I use a regular cake pan in a camping oven?
Yes, you can use a regular cake pan as long as it fits with at least one inch of space between the pan and the oven walls. Ensure the pan isn’t so tall that it touches the top of the oven, as this will prevent proper air circulation and cause the top of your cake to burn.
How long does a cake take to bake in a camping oven?
It usually takes 40 to 60 minutes, which is about 20% longer than in a home oven. Start checking your cake for doneness at the 35-minute mark, but keep the door closed until you’re certain the cake has risen and set, or you risk the center collapsing from a sudden temperature drop.
Is it safe to bake in a camping oven inside a tent?
No, you should never bake inside a tent or any enclosed space because of the high risk of carbon monoxide poisoning. Always set up your stove and oven in a well-ventilated, outdoor area on a flat, non-flammable surface at least 10 feet away from your sleeping area or any flammable materials.
Why is my cake burnt on the bottom but raw in the middle?
Your heat source is likely too direct and intense, which is common when using a single-burner stove. Place a heat diffuser plate or a heavy metal tray between the burner and the oven floor to spread the heat out more evenly, and keep your flame on the lowest possible setting throughout the bake.
Does the altitude affect my camping cake?
Yes, higher altitudes require you to decrease the baking temperature slightly and increase the bake time to account for lower air pressure. If you’re baking above 3,000 feet, your cake will rise faster and potentially collapse, so use slightly less baking powder in your recipe to stabilize the structure.
How do I know if my camping oven is hot enough?
You should use a dedicated oven thermometer placed on the rack inside the oven to verify the temperature. The built-in dials on most camping ovens are rarely accurate, and trusting them often leads to cakes that are either burnt on the outside or completely raw in the center.
Bake cakes, in short
Start by preheating your oven for 15 minutes while you prepare your batter. Once your cake is inside, monitor the temperature every 15 minutes to keep it steady. If the skewer comes out clean, your cake is ready to cool. If the center is still wet, continue for another 5-10 minutes, but get help if the gas flame begins to sputter or the oven unit shows signs of warping from the heat.
Related guides