
Are you dealing with a stubborn pool return jet that’s causing trouble in your swimming pool? Knowing how to plug your pool return jet correctly can save you time, money, and frustration.
Whether you want to redirect water flow or fix a leak, this simple task can make a big difference in your pool’s performance. Keep reading, and you’ll discover easy steps to get the job done right—no expert help needed. Your pool will thank you!
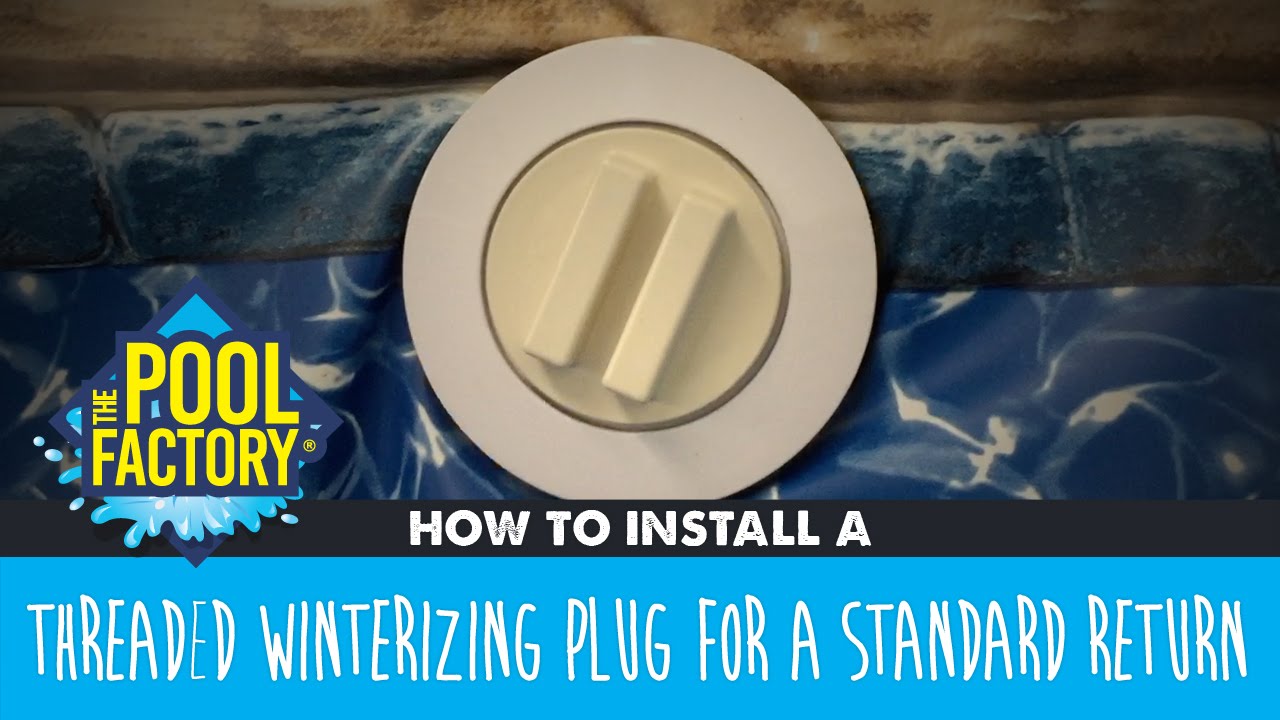
Credit: www.youtube.com
Identify The Return Jet Issue
Finding the problem with your pool return jet is the first step. A blocked or broken return jet affects water flow and cleanliness. It can cause uneven water circulation and reduce pool filter efficiency.
Careful inspection helps spot issues early. This saves time and money on repairs. Knowing what to check makes the process easier and faster.
Common Signs Of Return Jet Problems
Look for weak water flow from the jet. Water may trickle instead of stream out. Sometimes, water sprays unevenly or in the wrong direction.
Listen for strange noises like hissing or gurgling. These sounds often mean air is trapped or a blockage exists. Pool water may also look cloudy or dirty near the jet.
Tools Needed For Inspection
Gather a flashlight to see inside the jet clearly. A screwdriver helps remove jet covers or grates. A small wire or pipe cleaner can clear minor clogs.
Use gloves to protect your hands during inspection. A bucket or towel is useful to catch any water spills. Having these tools ready makes the job smoother.
Prepare The Pool Area
Start by clearing the pool area around the return jet. Remove any debris or obstacles to work safely and easily. Make sure the pool pump is off before you begin.
Turn Off Pool Equipment
Start by turning off all pool equipment. This includes the pump and filter system. Stopping the water flow is essential. It prevents water pressure near the return jet. This step makes the repair safer and easier.
Drain Water Near The Return Jet
Next, drain the water around the return jet area. Use a wet vacuum or a small pump. Lowering the water level helps you see the jet clearly. It also stops water from leaking during the repair. Keep the area dry for better work conditions.
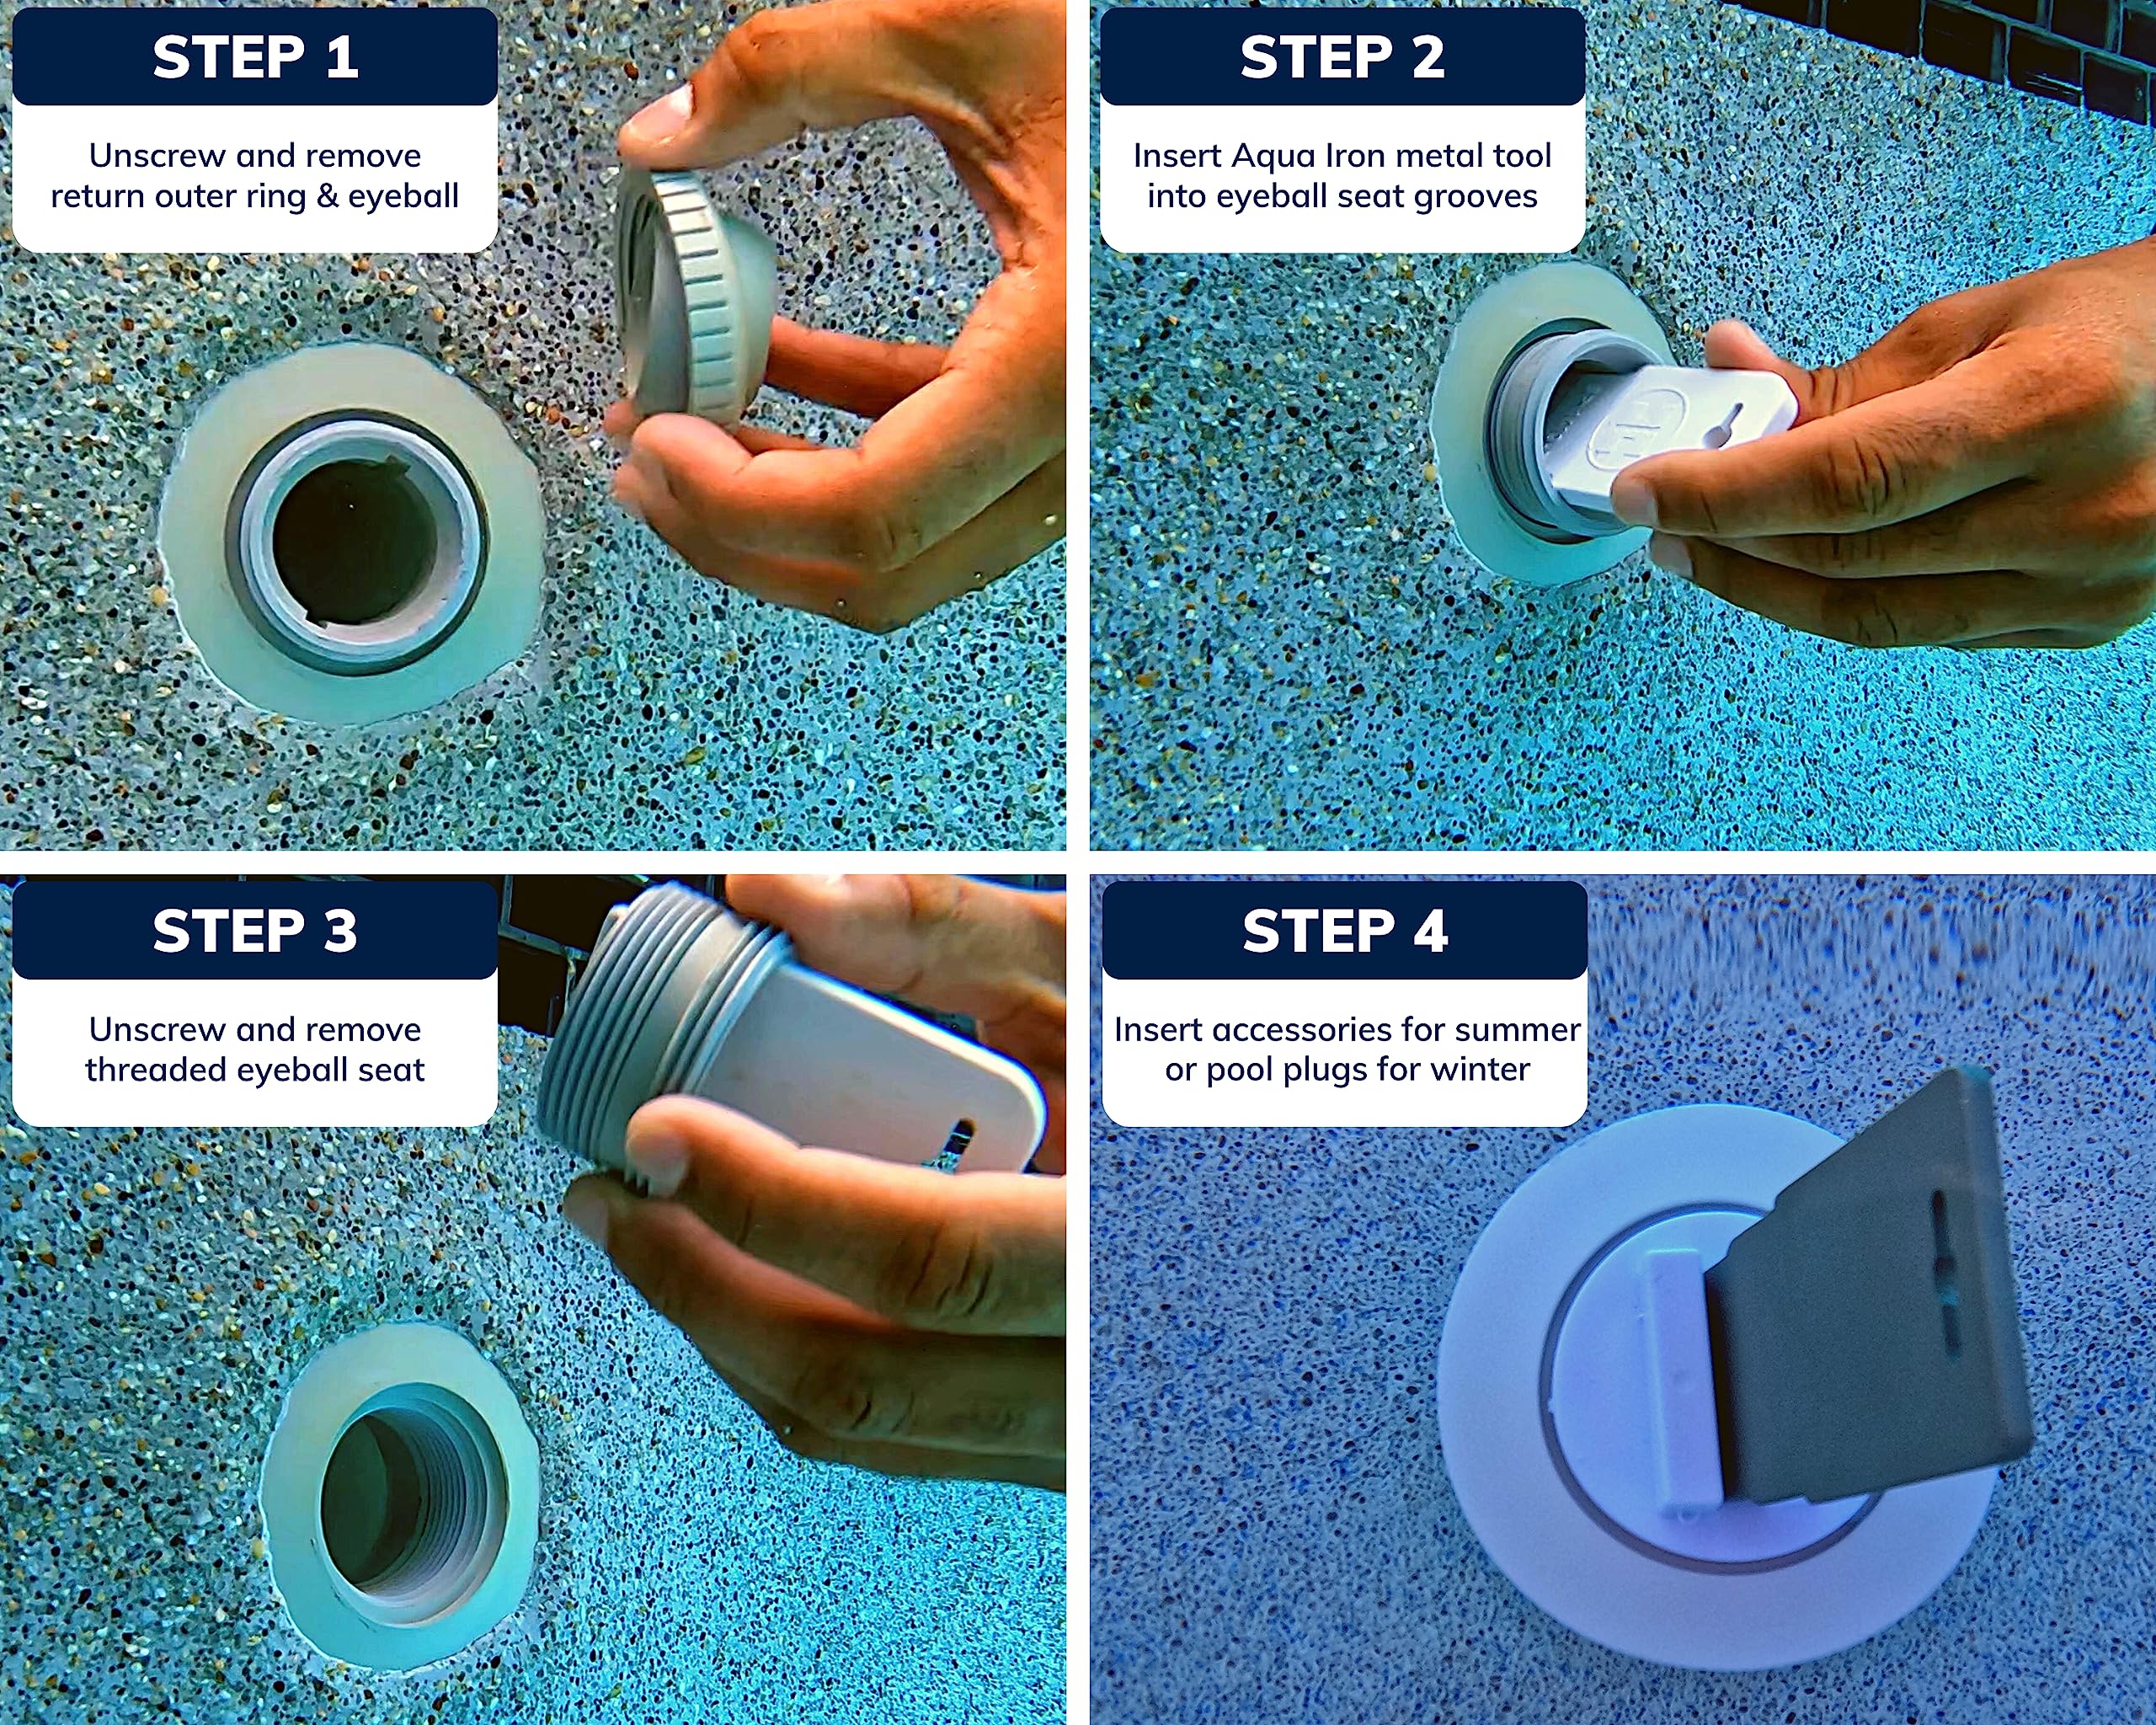
Remove The Return Jet Fitting
Removing the return jet fitting is the first step to plug the pool return jet. This process helps you access the parts that need sealing or replacement. Handle the parts carefully to avoid damage.
Follow these steps to remove the fitting safely and prepare for the next stage of the repair.
Loosen The Jet Faceplate
Start by loosening the jet faceplate gently. Use a screwdriver or a wrench, depending on the fitting type. Turn slowly to avoid stripping the screws or bolts. Keep the screws in a safe place for reassembly. The faceplate covers the jet assembly inside the pool wall.
Extract The Return Jet Assembly
After removing the faceplate, carefully pull out the return jet assembly. Use a flat tool if needed to pry it loose gently. Avoid forcing it, as this can break the parts. Once removed, inspect the assembly for damage or wear. This step lets you access the pipe behind the jet for plugging.
Plugging The Return Jet
Plugging the return jet is a simple way to control water flow in your pool. It helps redirect water or close off sections for maintenance. Doing this task right keeps your pool system running smoothly and prevents leaks.
Use the correct plug and install it carefully. This ensures a tight seal and avoids damage to the pool plumbing.
Choose The Right Plug Type
Select a plug that fits your return jet size. Most plugs come in rubber or plastic. Rubber plugs work well for flexible, tight seals. Plastic plugs are sturdy and last longer.
Measure the jet opening before buying a plug. A proper fit stops water from leaking out. Avoid plugs that are too small or too large.
Install The Plug Correctly
Clean the return jet opening before inserting the plug. Remove dirt and debris for a better seal. Push the plug firmly into the jet. It should fit snugly but not forcefully.
Check the plug for leaks after installation. Turn on the pump and watch for water escaping. If water leaks, adjust the plug or try a different size.
Reassemble And Test
After plugging the pool return jet, reassembling and testing is the next step. This process ensures everything fits correctly and the pool system works well. Careful reassembly prevents leaks and keeps water flowing smoothly.
Secure The Jet Fitting
Place the jet fitting back into its position carefully. Tighten any screws or clips holding the fitting. Make sure the fitting is snug but avoid overtightening. Check the seal to prevent water leaks. A secure jet fitting keeps your pool system safe and efficient.
Restart Equipment And Check Flow
Turn on the pool pump and filtration system. Watch the return jet closely for water flow. Water should flow steadily and without splashing. Listen for unusual sounds from the pump. Confirm there are no leaks around the jet fitting. Proper flow means the job is done correctly.

Credit: www.walmart.com
Maintenance Tips To Prevent Leaks
Preventing leaks in pool return jets saves money and keeps your pool clean. Small leaks can cause big problems over time. Regular maintenance helps catch these issues early. Follow simple steps to keep your pool jets sealed and secure.
Regular Inspection Schedule
Check your pool return jets every few weeks. Look closely for cracks or loose parts. Listen for unusual sounds like hissing or dripping. These signs often mean a leak is present. Tighten any loose fittings you find. Replace worn-out parts quickly to avoid damage.
Sealants And Protective Measures
Use high-quality waterproof sealants around the jet fittings. Apply sealant carefully to cover all gaps. Let the sealant dry fully before using the pool. Consider using protective covers during winter or long breaks. These steps protect the jets from weather damage and wear.
Credit: www.amazon.sa
Frequently Asked Questions
How Do I Safely Plug A Pool Return Jet?
Turn off the pool pump first. Use a proper plug or cap made for jets. Insert it firmly.
What Tools Are Needed To Plug A Pool Return Jet?
You need a pool jet plug or cap, a wrench, and sometimes silicone sealant.
Can I Plug A Pool Return Jet Permanently?
Yes, but ensure it won’t affect water circulation or pool cleaning.
Why Would I Want To Plug A Pool Return Jet?
To stop leaks, control water flow, or close unused jets in your pool.
How Long Does It Take To Plug A Pool Return Jet?
Usually, it takes about 10-15 minutes with the right tools and materials.
Will Plugging A Pool Return Jet Affect Pool Cleaning?
It might reduce water flow to some areas; check if your pool cleaner still works well.
Conclusion
Plugging a pool return jet is simple with the right steps. Take your time and follow each part carefully. Use the correct tools and materials to avoid leaks. A well-sealed jet keeps your pool clean and safe. Check your work to ensure a proper fit.
Doing this job yourself saves money and effort. Keep your pool in good shape all season long. Now, you can enjoy a smooth, well-maintained pool without worry.