
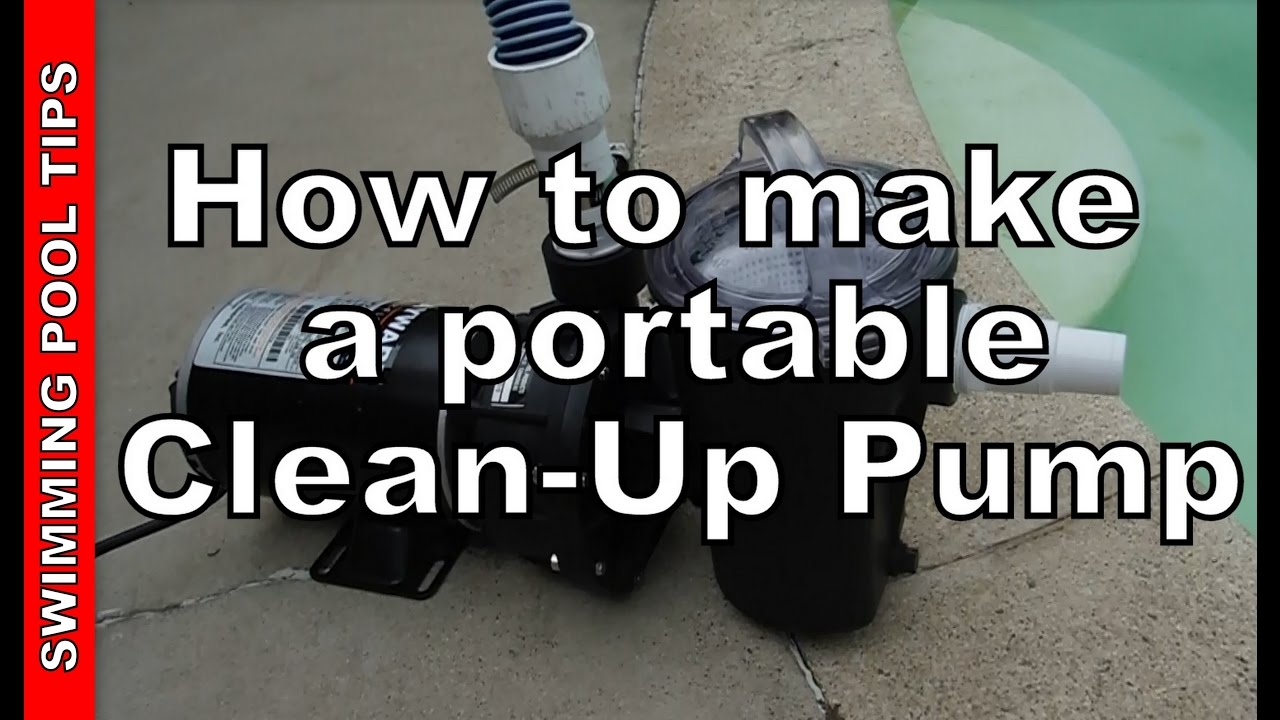
Keeping your pool clean can be a tough and expensive task, especially if debris keeps piling up. What if you could make your own portable pool vacuum that saves you time and money?
Imagine having a simple tool that lets you clean your pool whenever you want, without relying on costly equipment or calling for help. In this guide, you’ll discover easy steps to build your own portable pool vacuum using everyday items.
Ready to take control of your pool cleaning and enjoy crystal-clear water all season? Keep reading, because this solution is easier than you think.
Materials Needed
Gathering the right materials is the first step to make a portable pool vacuum. Proper materials ensure the vacuum works well and lasts long. You need some basic tools, supplies, and safety gear. Each item plays a key role in building a reliable vacuum. This list helps you prepare everything before you start.
Essential Tools
You need a few tools to build the vacuum. A drill helps make holes in plastic parts. A screwdriver tightens screws securely. A utility knife cuts hoses or tubing neatly. Pliers help grip and bend small parts. These tools make assembly easier and faster.
Recommended Supplies
Choose supplies that fit your pool vacuum design. A strong plastic bottle or container acts as the vacuum body. Flexible tubing connects the vacuum to a pump or hose. A small motor or air pump creates suction. Mesh or nylon cloth filters debris. Screws, tape, and glue hold parts tightly together.
Safety Gear
Protect yourself while building the vacuum. Wear safety goggles to guard your eyes from dust and debris. Gloves keep your hands safe from cuts or burns. A dust mask stops you from breathing in small particles. Safety gear reduces risk and keeps the project safe.
Credit: www.youtube.com
Choosing The Right Vacuum Type
Choosing the right vacuum type is key to cleaning your pool easily. A good vacuum saves time and effort. It also keeps your pool water clear and healthy. There are different types of portable pool vacuums. Each has its own benefits and uses. Knowing these helps you pick the best one for your pool.
Manual Vs. Electric
Manual vacuums need you to push or pull them across the pool floor. They are simple and cost less. They work well for small pools or light debris. Electric vacuums do the hard work for you. They clean faster and deeper. These are best for larger pools or heavy dirt. Electric models need power but save your energy.
Battery-powered Options
Battery-powered vacuums are cordless and easy to handle. They let you move freely around the pool. No wires to trip over or get tangled. They are lightweight and quiet. Battery life varies, so check how long it runs. Good for quick clean-ups or pools without nearby power.
Suction Mechanisms
Vacuum suction pulls dirt from the pool floor. Some use strong motors for powerful suction. Others rely on water flow or air pressure. Motorized suction is best for heavy debris. Water flow vacuums connect to your pool pump. Air pressure models use a separate pump or blower. Pick one that fits your pool size and debris type.
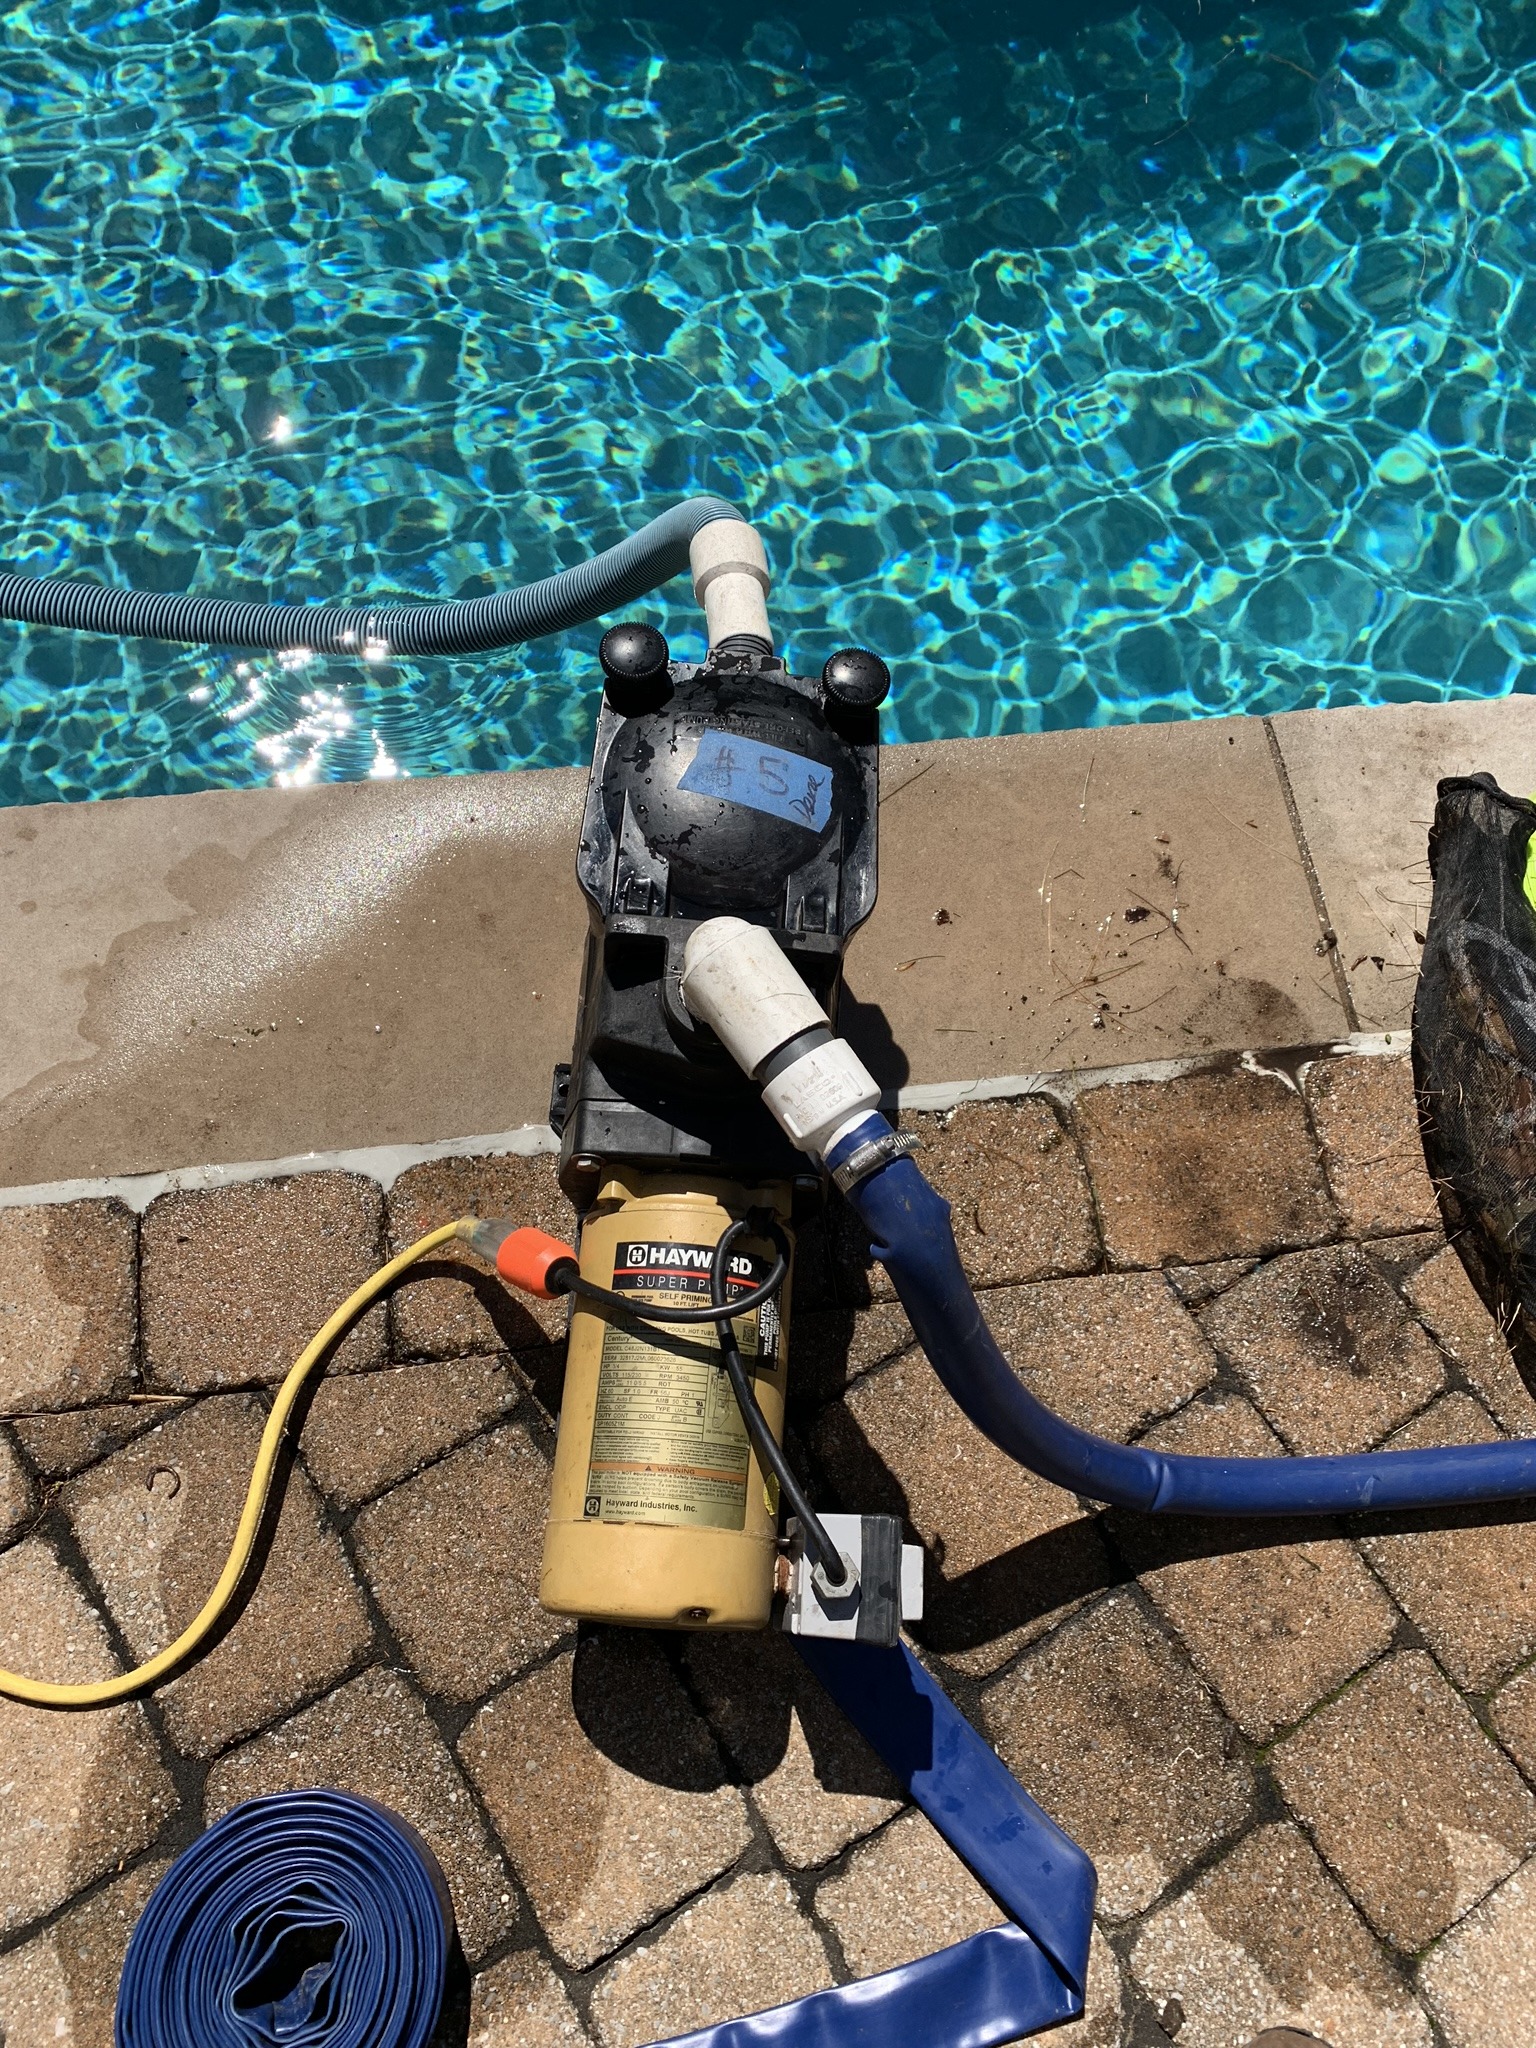
Step-by-step Assembly
Building your portable pool vacuum is easier than you think. This step-by-step guide helps you put all parts together. Follow each step carefully for the best results. Your pool will stay clean and clear in no time.
Preparing The Components
Gather all parts before starting. Check for the vacuum head, hose, and handle. Make sure the hose fits the vacuum and pump. Clean parts to avoid dirt inside the vacuum. Organize everything on a flat surface for easy access.
Connecting The Parts
Attach the vacuum head to the handle first. Push the hose onto the vacuum head firmly. Connect the other end of the hose to the pump or filter system. Use clamps or tape to secure loose connections. Ensure no gaps or leaks appear in the setup.
Testing The Vacuum
Place the vacuum head in the pool water. Turn on the pump or filter system. Watch for suction at the vacuum head. Move the vacuum slowly across the pool floor. Check for any air leaks or weak suction. Fix connections if needed before cleaning fully.
Optimizing Performance
Getting the best from your portable pool vacuum needs a few key steps. Optimizing performance helps clean your pool faster and better. Small fixes make a big difference in suction power and filter health. Keep your vacuum running smoothly with easy maintenance and quick troubleshooting tips. This saves time and effort while keeping water sparkling clean.
Adjusting Suction Power
Check the suction level regularly to match pool dirt types. Too much suction can damage the vacuum or pool surface. Too little suction leaves debris behind. Use the vacuum’s adjustable settings to find the right balance. Start low and increase suction slowly. Make sure hoses and connections are tight and free of leaks.
Maintaining Clean Filters
Filters catch dirt before it reaches the pump. Dirty filters reduce suction and strain the motor. Clean filters after every use. Rinse with water or use mild soap for stubborn dirt. Replace filters if they show damage or wear. Keep spare filters handy for quick swaps.
Troubleshooting Common Issues
Vacuum not picking up dirt? Check for clogs in hoses or brushes. Air bubbles in hoses can lower suction. Tighten all joints and remove air leaks. If the vacuum stops suddenly, inspect the power source or battery. Clean moving parts to avoid jams. Follow the user guide for specific fixes.
Portable Storage Tips
Storing a portable pool vacuum properly keeps it safe and ready for use. Good storage also saves space. It helps the vacuum last longer. Follow simple tips to store and move your vacuum easily.
Compact Design Ideas
Choose parts that fit together neatly. Use foldable handles or detachable hoses. Keep the vacuum lightweight and small. This design saves space in storage boxes or bags. It also makes carrying easier.
Transporting Safely
Use a sturdy bag or case to carry the vacuum. Protect the hose and brush from bending or damage. Secure loose parts with clips or ties. Avoid dropping the vacuum during transport. Handle it with care to prevent breaks.
Storing After Use
Clean the vacuum before storing it. Remove dirt and water to stop mold growth. Dry all parts thoroughly. Store in a dry, cool place away from sunlight. Keep the vacuum off the ground to avoid moisture. Check parts regularly for wear and tear.
Credit: www.troublefreepool.com
Cost-saving Tricks
Building your own portable pool vacuum can save you a lot of money. Simple tricks help cut costs without losing quality. These tips show how to keep expenses low while making an effective vacuum.
Using Recycled Materials
Old parts can become new tools. Use empty plastic bottles for the vacuum body. Broken pool nets or old hoses work well too. Reusing these items lowers your spending and reduces waste.
Look around your home for things you no longer need. These can often replace expensive store-bought parts. This method is good for both your wallet and the environment.
Diy Alternatives
Creating parts yourself saves money. Instead of buying a pump, use a manual siphon or a small hand pump. This keeps the device simple and cheap. You can also make filters from fine mesh cloth or old stockings.
Crafting components lets you customize the vacuum to your pool size. It also teaches new skills and makes the project more fun.
Avoiding Common Expenses
Skip costly extras that are not necessary. Avoid buying branded parts when generic ones work fine. Check if your local hardware store sells cheaper alternatives.
Use tools you already have to assemble the vacuum. Borrow tools instead of buying new ones. Careful planning helps prevent buying parts twice or more.
Safety Precautions
Safety is very important when making a portable pool vacuum. It keeps you and others safe. Following basic rules can stop accidents and injuries. Always think about safety before starting your project.
Electrical Safety
Use tools with dry hands only. Water and electricity do not mix. Check all wires for damage before use. Keep electrical parts away from water. Use a ground-fault circuit interrupter (GFCI) plug for safety. Unplug the device before fixing or cleaning it.
Handling Chemicals
Pool chemicals can be harmful. Wear gloves and eye protection. Store chemicals in a cool, dry place. Keep them away from children and pets. Follow the instructions on chemical labels carefully. Avoid mixing different chemicals together.
Preventing Accidents
Clear the work area of clutter. Keep tools and parts organized. Do not rush the process. Take breaks to avoid tiredness. Keep children and pets away while working. Always have a first aid kit nearby. Check your vacuum for loose parts before use.

Credit: www.youtube.com
Frequently Asked Questions
What Materials Do I Need To Make A Portable Pool Vacuum?
You need a pool vacuum head, a telescopic pole, a hose, and a pump or garden vacuum.
How Long Does It Take To Build A Portable Pool Vacuum?
Building one usually takes about 30 to 60 minutes, depending on skill and tool availability.
Can I Use A Regular Vacuum Cleaner For Pool Cleaning?
No, regular vacuums are not water-safe and can’t handle pool debris effectively.
Is A Portable Pool Vacuum Effective For Small Pools?
Yes, it works well for small pools by removing dirt and leaves easily.
How Do I Connect The Vacuum Hose To The Pool Pump?
Attach the hose firmly to the pump’s suction port for proper water flow and debris removal.
How Often Should I Clean My Pool With A Portable Vacuum?
Cleaning once a week keeps the pool clear and prevents dirt buildup effectively.
Conclusion
Making a portable pool vacuum is simple and saves money. You only need a few basic tools and parts. This DIY project helps keep your pool clean anytime. It works well for small to medium pools. Taking care of your pool becomes easier and faster.
Try building your own vacuum and enjoy the results. Clean water makes swimming more fun and safe. Start today and see the difference yourself.