
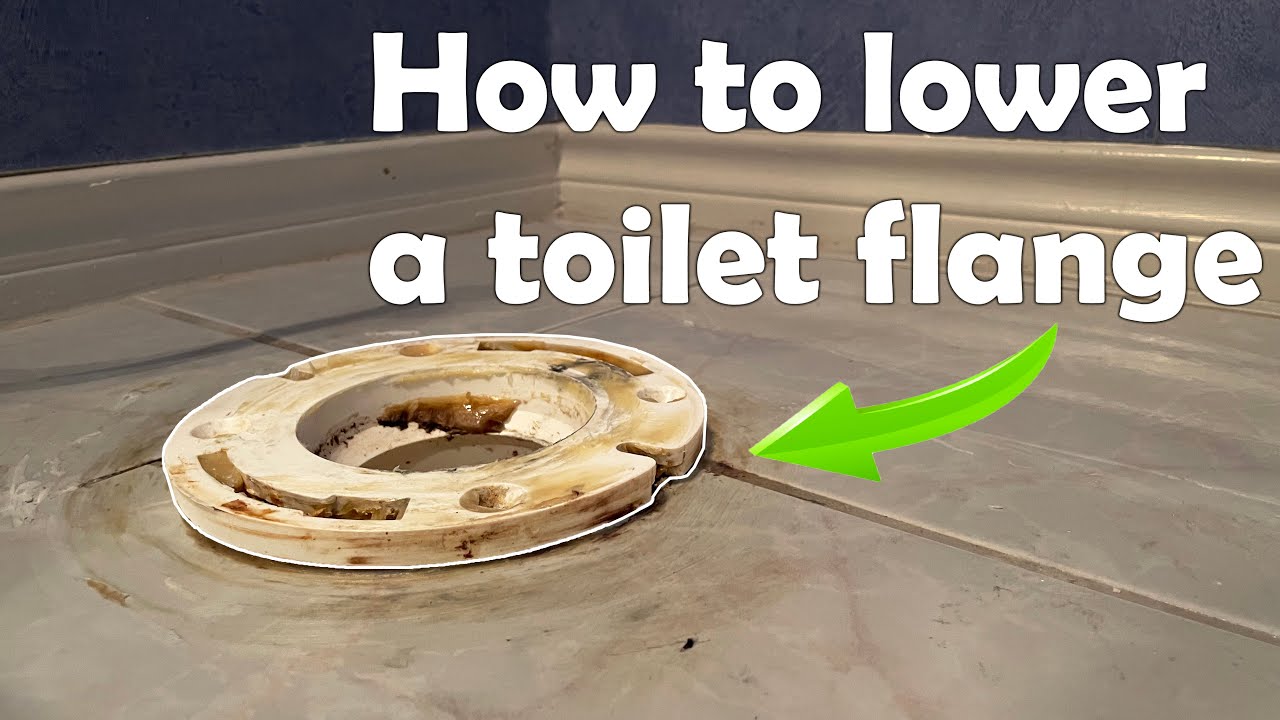
Is your toilet wobbly or uneven? One common cause might be that your toilet flange is too high.
Lowering the toilet flange can fix this problem and make your bathroom more comfortable and stable. If you’ve never tackled this before, it might sound tricky—but don’t worry. You’ll learn simple, step-by-step ways to lower your toilet flange without hiring a pro.
Keep reading, and you’ll discover how a small change can make a big difference in your bathroom’s function and feel.
Signs You Need To Lower A Toilet Flange
Signs you need to lower a toilet flange often appear during installation or repairs. The flange height affects how well the toilet seals and sits on the floor. A flange set too high or too low can cause leaks and wobbling.
Detecting flange height problems early saves time and money. Some signs are easy to spot, even without plumbing experience. Paying attention to these clues helps maintain a secure toilet fit.
Common Toilet Flange Height Issues
A flange sitting above the finished floor is a frequent problem. It can prevent the toilet from sitting flush, causing rocking. A flange below floor level often leads to poor seal and water leaks. Uneven or damaged flanges also create toilet stability issues. These problems often cause loose toilets, bad odors, or slow drains.
Risks Of An Improper Flange Height
Incorrect flange height risks water leaks under the toilet base. These leaks can damage floors and cause mold growth. A toilet that rocks or moves weakens the wax seal, increasing leaks. Improper height may also cause noisy flushing and clogs. Fixing flange height avoids costly repairs and keeps the bathroom safe.
Credit: www.youtube.com
Tools And Materials Required
Lowering a toilet flange requires specific tools and materials. Having the right items makes the job easier and safer. This section lists what you need to prepare before starting the work.
Essential Tools
- Adjustable wrench for loosening bolts
- Flathead screwdriver for prying and adjusting
- Hammer to tap parts into place
- Measuring tape to check flange height
- Level to ensure the flange is even
- Utility knife for cutting old wax rings
- Putty knife to remove debris
- Drill with screwdriver bits for screws
Recommended Materials
- Toilet flange extender or spacer
- New wax ring or rubber gasket
- Flange bolts and washers
- PVC primer and cement (if needed)
- Replacement flange (if damaged)
- Plumber’s putty for sealing
- Cleaning cloths to wipe surfaces
Preparing The Toilet And Work Area
Preparing the toilet and work area is the first step to lowering the toilet flange. This step helps avoid mess and damage. A clean, clear workspace makes the task easier and safer. Safety is important because you will handle water and heavy parts.
Follow these simple steps to get ready. Turn off the water supply to stop any leaks. Remove the toilet carefully to avoid damage. These actions protect your home and make the job smooth.
Turning Off Water Supply
Locate the water shut-off valve near the toilet base. Turn the valve clockwise to stop water flow. Flush the toilet to empty the tank and bowl. Use a sponge or towel to soak up leftover water. This step stops water spills during work.
Removing The Toilet Safely
Disconnect the water supply line from the toilet tank. Unscrew the bolts holding the toilet to the floor. Gently rock the toilet to break the wax seal. Lift the toilet straight up and place it on a protective sheet. Cover the drain pipe to stop sewer gas from escaping. This protects your health and keeps the area clean.
Assessing The Flange Height
Assessing the flange height is a key step before lowering a toilet flange. It helps ensure proper installation and prevents leaks or damage. Knowing the current flange height and the ideal position helps plan the adjustment correctly.
Measuring The Current Flange Position
Start by removing the toilet from the floor. Use a tape measure to check how high the flange sits above the finished floor. Measure from the floor surface to the top edge of the flange. Write down this number for reference.
Check if the flange is level around its edge. Uneven surfaces can cause problems when installing the toilet again. Note any irregularities you find during the measurement process.
Determining The Ideal Flange Height
The flange should sit slightly above the finished floor. Around 1/4 inch to 1/2 inch is the usual range. This height allows the wax ring to seal properly.
Too high or too low flange positions can cause leaks or toilet wobble. Adjust the flange height to meet this guideline. Use flange extenders or lower the subfloor if needed.
Methods To Lower The Toilet Flange
Lowering a toilet flange can fix issues with toilet stability and sealing. The flange must sit at the right height to connect the toilet properly to the drain pipe. Several methods exist to adjust the flange height without replacing the entire pipe or floor.
This section covers two popular ways to lower the toilet flange. Both are practical and can be done with basic tools and materials.
Using Flange Extenders And Reducers
Flange extenders and reducers help adjust the flange height quickly. Extenders add height, but reducers lower the flange by creating a smaller connection point. Reducers fit over the existing flange to reduce its height.
This method avoids cutting the flange or floor. It is less invasive and faster. The reducer seals tightly to prevent leaks. This makes it ideal for small adjustments in flange height.
Cutting And Adjusting The Existing Flange
Cutting the flange can lower it precisely to the needed height. Use a saw or rotary tool to trim the flange edges. This method requires care to avoid damaging the pipe or flange.
After cutting, smooth the edges to ensure a good seal with the toilet. This approach works well for larger height adjustments. It may need additional sealing materials like wax rings or putty.
Installing The Adjusted Flange
Installing the adjusted flange is a key step in lowering your toilet flange. It ensures the toilet sits properly on the floor and creates a strong seal. This part must be done carefully to avoid leaks and damage later.
After adjusting the flange height, placing it correctly on the floor is vital. The flange should align with the finished floor level. This helps the toilet connect firmly and prevents wobbling.
Securing The Flange To The Floor
Start by placing the adjusted flange over the drain pipe. Make sure the bolt slots face the front for easy toilet installation. Use screws to attach the flange to the floor tightly. Use screws that fit your floor type, like wood or concrete screws.
Drive the screws straight and deep to keep the flange secure. Check that the flange does not move after tightening. This prevents leaks and keeps the toilet stable for years.
Ensuring A Level And Stable Fit
Use a level tool to check the flange surface. The flange must be perfectly flat and even with the floor. Adjust the flange or add shims if needed for a level fit.
Make sure the flange sits flush to avoid gaps under the toilet base. A stable flange supports the toilet weight without rocking. This step improves toilet comfort and prevents damage.
Reinstalling The Toilet
Reinstalling the toilet is the final step after lowering the toilet flange. This step ensures the toilet sits properly and functions without leaks. Take your time to avoid common problems like water damage or wobbling.
Positioning The Wax Ring
Place a new wax ring on the lowered flange. The wax ring seals the toilet to the drain pipe. Make sure it is centered perfectly over the flange. Avoid touching the wax with your hands to keep it clean. The ring should fit snugly to prevent leaks.
Mounting And Securing The Toilet
Carefully lower the toilet onto the wax ring. Align the toilet bolts with the holes on the base. Press down firmly to compress the wax ring and create a tight seal. Tighten the nuts evenly on both sides. Do not overtighten to avoid cracking the toilet base. Check for any wobbling and adjust if needed. Attach the water supply line and test for leaks.

Credit: www.reddit.com
Testing And Final Checks
Testing and final checks are key after lowering a toilet flange. These steps confirm the work is done right. They help avoid future problems like leaks or an unstable toilet. Take time to carefully inspect every part before finishing.
Checking For Leaks
Start by flushing the toilet several times. Watch closely around the base for any water. Check the flange area for dampness or water pooling. Use a dry paper towel to spot small leaks. A leak may show as wet spots or a musty smell. Fix leaks immediately to protect your floor and walls.
Ensuring Proper Toilet Stability
Press down gently on the toilet seat and bowl. Wiggle the toilet side to side to test firmness. A stable toilet will not rock or shift. Tighten the bolts if you notice movement. Add shims under the base if needed. Stability prevents damage to the flange and pipes over time.
Maintenance Tips To Prevent Future Issues
Proper maintenance helps keep your toilet flange in good shape. It stops problems before they start. Small checks and quick fixes save time and money later. Follow these tips to avoid common issues with toilet flanges.
Simple care can prevent leaks, wobbly toilets, and bad smells. Knowing when to get help also protects your plumbing system. Keep your bathroom working smoothly with regular attention to the flange.
Regular Inspections
Check the toilet flange every few months. Look for cracks, rust, or loose bolts. Make sure the flange is tightly fixed to the floor. Notice any wobbling toilet or water leaks around the base. These are signs of flange problems. Clean the area to avoid dirt build-up. Dirt can hide damage and cause more wear. Early detection helps fix small issues fast.
When To Call A Professional
Call a plumber if you see major cracks or broken parts. If the toilet moves even after tightening bolts, get help. Persistent water leaks under the toilet need expert care. Replacing or lowering a flange can be tricky. Professionals have the right tools and experience. They ensure the flange fits well and seals correctly. Avoid DIY repairs that may cause more damage.

Credit: www.youtube.com
Frequently Asked Questions
What Is A Toilet Flange And Why Lower It?
A toilet flange connects the toilet to the drain pipe. Lowering it helps fix leaks and ensures a proper seal.
How Do I Know If My Toilet Flange Needs Lowering?
Signs include wobbling toilet, water leaks, or difficulty sealing the wax ring. These indicate flange height issues.
Can I Lower A Toilet Flange Myself Safely?
Yes, with basic tools and care. Make sure to turn off water and follow step-by-step instructions.
What Tools Are Needed To Lower A Toilet Flange?
You need a putty knife, screwdriver, wax ring, flange extender, and a saw for cutting pipes.
How Much Does It Cost To Lower A Toilet Flange?
Cost varies but usually ranges from $50 to $150 for materials. Professional help costs more.
How Long Does It Take To Lower A Toilet Flange?
It typically takes 1 to 2 hours, depending on your experience and the flange condition.
Will Lowering The Flange Fix Toilet Leaks?
Lowering often stops leaks by improving the seal. If leaks continue, check for other plumbing issues.
Conclusion
Lowering a toilet flange can fix many common bathroom problems. It helps create a better seal and stops leaks. Follow the steps carefully to avoid damage. Take your time and use the right tools. This small change can improve your toilet’s performance.
Feel confident handling this simple plumbing task yourself. A well-set flange means fewer repairs later. Keep your bathroom working smoothly and avoid extra costs. Simple fixes like this save time and money. Give your toilet a solid base for better function.