
Struggling to remove your Price Pfister shower handle because you can’t find a set screw? You’re not alone.
Many homeowners face this exact challenge, and it can quickly turn a simple repair into a frustrating puzzle. But don’t worry—there’s a straightforward way to get that handle off without any hidden screws holding you back. Keep reading, and you’ll discover easy steps to remove your shower handle safely and quickly, saving you time and stress.
Your bathroom fix starts here.
Identifying Your Price Pfister Shower Handle
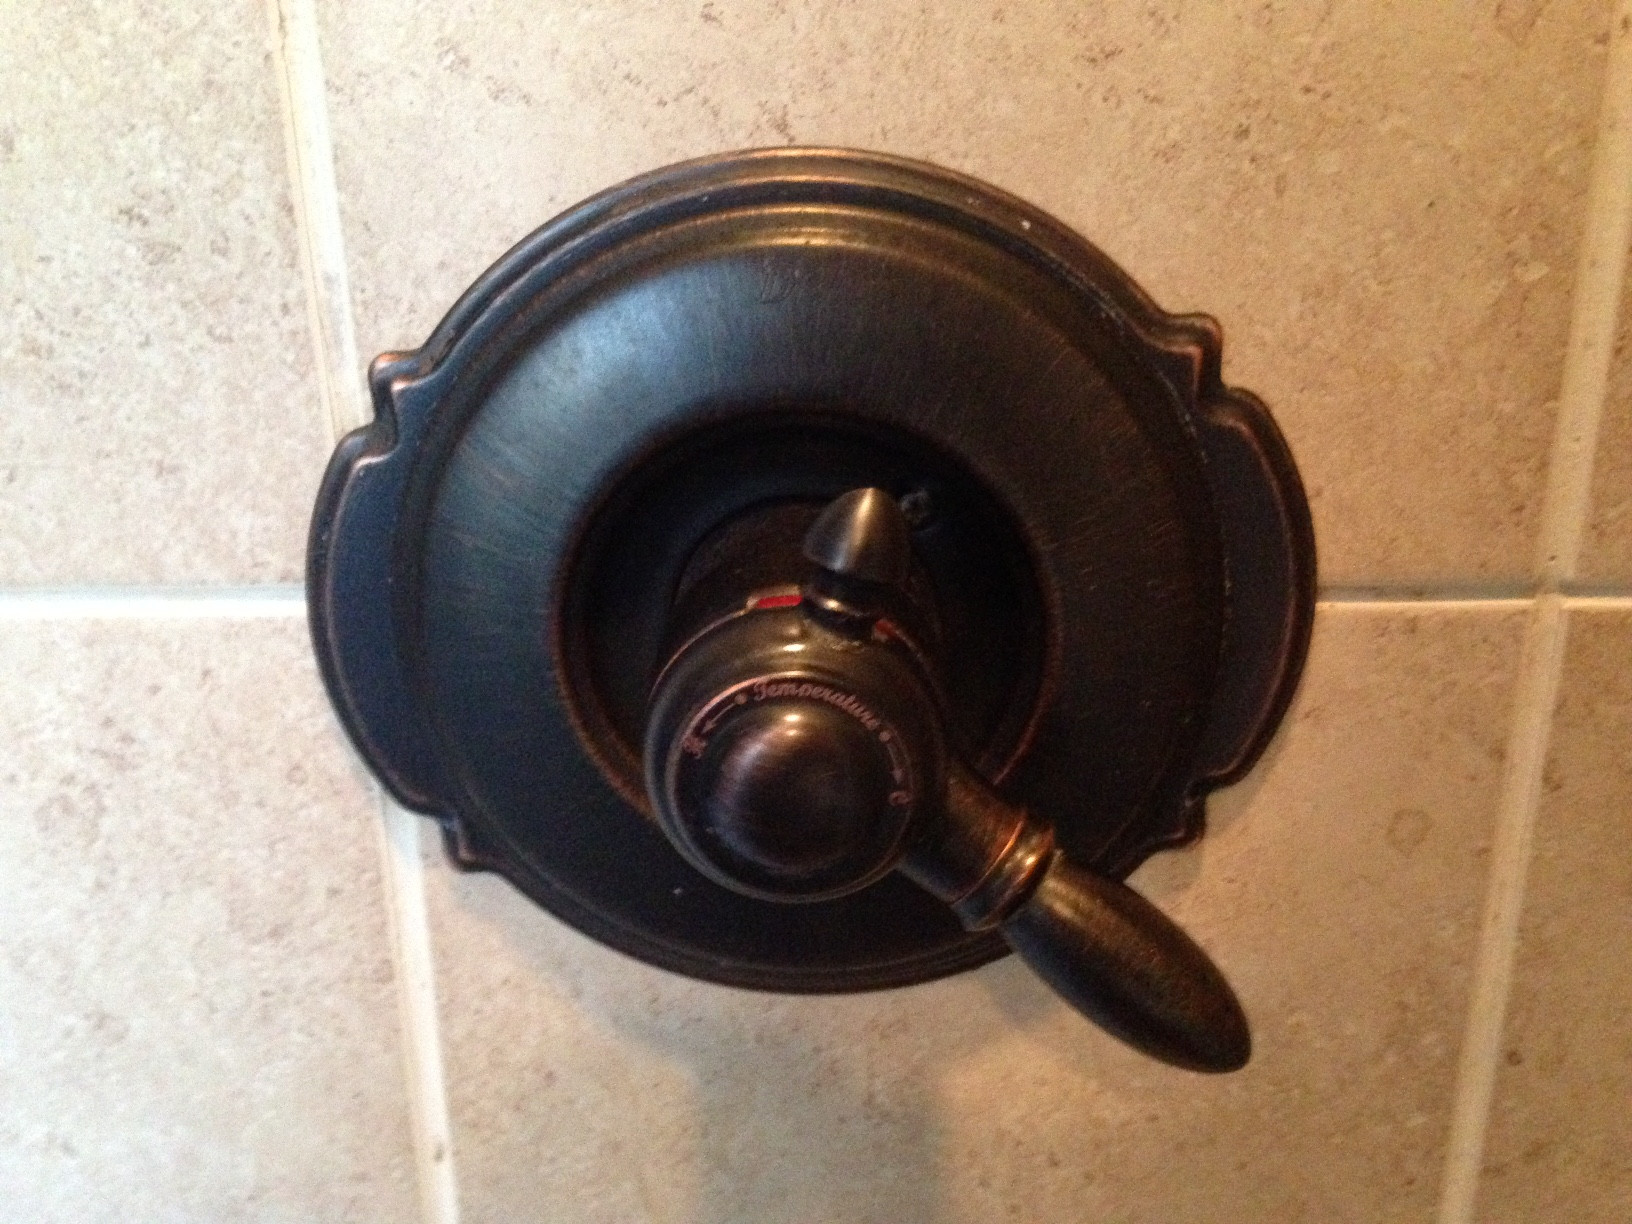
Identifying your Price Pfister shower handle is the first step in removing it. Some models do not have a visible set screw. These handles often use a different attachment method. Knowing the model helps you avoid damage during removal. It also saves time and frustration. Check your handle closely to spot key features. This will guide you on how to proceed safely.
Common Models Without Set Screws
Price Pfister offers several handle models without set screws. The Pfirst Series is one of the popular lines. It often uses a clip or lever to hold the handle in place. Another model is the Velo Series. These handles usually snap on and off easily. Some older models also lack set screws. They rely on hidden clips or pressure fittings instead.
Visual Cues To Look For
Examine your handle for any visible screws first. If none appear, check the base of the handle. Look for small slots or seams where it might pop off. Handles without set screws often have a cap or cover. This cap may hide a clip or lever inside. Sometimes, the handle feels loose when gently pulled. These signs help identify the removal method required.

Credit: diy.stackexchange.com
Tools Needed For Removal
Removing a Price Pfister shower handle without a set screw requires the right tools. Having the proper equipment makes the job easier and safer. You will avoid damage to the handle and plumbing parts. This section lists the tools you need for this task.
Essential Tools Checklist
- Flathead screwdriver – to gently pry off covers or caps
- Phillips screwdriver – for any hidden screws
- Allen wrench set – some models have small Allen screws
- Needle-nose pliers – to grip small parts or pins
- Rubber mallet – for gentle taps without damage
- Cleaning cloth – to wipe dirt and improve grip
Optional Tools For Stubborn Handles
- Handle puller tool – designed to remove tight handles
- WD-40 or penetrating oil – loosens rusted parts
- Heat gun or hairdryer – softens adhesive or paint
- Utility knife – cuts through caulk or sealant
Preparing The Shower Handle For Removal
Preparing the shower handle for removal is a key step. It makes the process safer and easier. Taking simple precautions saves time and avoids damage. Follow these basic steps before starting the handle removal.
Turning Off The Water Supply
First, turn off the main water supply to the shower. This stops water from flowing while you work. Look for the shut-off valve near the shower or the home’s main water valve. Turn it clockwise until it stops. Double-check by turning on the shower handle. No water should come out.
Protecting Surrounding Surfaces
Cover nearby surfaces to prevent scratches or water damage. Use painter’s tape around the shower wall and tub edges. Place a soft cloth or towel under the handle area. This protects the finish and catches any falling tools or parts. Careful protection keeps your bathroom looking good.
Removing The Handle Without A Set Screw
Removing a Price Pfister shower handle without a set screw can be tricky. Many models hide the screw or use a different attachment method. Knowing the right steps helps avoid damage and saves time. Below are simple ways to take off the handle safely.
Using The Pull Method
Start by gently pulling the handle straight out. Use steady, even force to avoid breaking it. Wiggle the handle slightly while pulling. This loosens the grip on the valve stem. If the handle moves, keep pulling until it comes off. Avoid twisting, which can damage the plumbing parts.
Leveraging The Handle Cap
Look for a small cap on the handle’s front or side. Pry the cap off with a flathead screwdriver. This exposes a hidden set screw or clip. If no screw appears, use the gap to lift the handle gently. The cap acts as a lever to release the handle from its base.
Applying Penetrating Oil
Apply a few drops of penetrating oil where the handle meets the valve. Let the oil soak for 10 to 15 minutes. This loosens rust or mineral build-up. After soaking, try the pull method again. Repeat if the handle still feels stuck. Penetrating oil makes removal easier and safer.
Dealing With Stuck Or Stubborn Handles
Removing a Price Pfister shower handle without a set screw can be tricky. Handles often get stuck due to mineral build-up or wear. Trying to pull or twist too hard may damage the handle or valve. Using safe methods helps avoid extra repairs or costs.
Patience and care are key when dealing with stubborn handles. The right approach loosens the handle gently without breaking parts. Two useful techniques include gentle tapping and heat application. Both can help free the handle from its tight position.
Gentle Tapping Techniques
Tap the handle lightly with a small hammer or a wooden block. This helps break up any mineral deposits holding the handle. Avoid hitting too hard to prevent cracks or dents. Focus taps around the base where the handle meets the valve.
Use short, soft taps instead of continuous pounding. The vibrations loosen stuck parts slowly. Test the handle’s movement after a few taps. Repeat if needed, but always keep the force low and controlled.
Heat Application Tips
Heat softens mineral build-up and rust that lock the handle. Use a hairdryer on medium heat directed at the handle’s base. Warm the metal evenly for a few minutes. Avoid using open flames or high heat sources.
After warming, try to twist or pull the handle gently. Heat expands the metal slightly, easing removal. If the handle remains stuck, repeat the heating process. Take breaks to avoid overheating and damaging parts.
Credit: diy.stackexchange.com
Replacing Or Repairing The Handle
Replacing or repairing the Price Pfister shower handle without a set screw may seem tricky. The handle is designed to fit tightly over the valve stem. This design means you must use the right method to remove and reinstall the handle carefully. Proper handling avoids damage to the faucet and ensures smooth operation.
Selecting Compatible Replacement Handles
Choose a handle that matches your Price Pfister valve model. Check the size and shape of the valve stem. Handles come in different styles and finishes. Pick one that fits securely without a set screw. Compatibility ensures easy installation and long-lasting use. Buy from a reliable source to avoid poor quality parts.
Reinstalling The Handle Properly
Align the handle with the valve stem carefully. Push it firmly onto the stem until it fits snugly. Some handles use a friction fit or a hidden clip to stay in place. Test the handle by turning it gently to check for smooth movement. Tighten any hidden fasteners if needed. Avoid forcing the handle to prevent damage.
Maintenance Tips To Prevent Future Issues
Maintaining your Price Pfister shower handle without a set screw helps avoid future problems. Small efforts keep it working well for years. Regular care stops parts from sticking or breaking. Follow these simple tips to keep your shower handle smooth and reliable.
Regular Cleaning Practices
Clean the shower handle often to stop dirt buildup. Use a soft cloth and mild soap. Avoid harsh cleaners that can damage the finish. Wipe away soap scum and grime gently. Dry the handle after cleaning to prevent water spots. Clean the area around the handle to stop mold growth. Regular cleaning keeps the mechanism free from debris.
Lubrication For Smooth Operation
Apply lubricant to the handle parts to reduce friction. Use a plumber-approved silicone grease for best results. Avoid oil-based lubricants that can attract dirt. Remove the handle gently before applying lubricant. Spread a small amount on moving parts. This keeps the handle turning smoothly without sticking. Lubricate every few months or if the handle feels stiff.

Credit: www.youtube.com
Frequently Asked Questions
How To Remove Price Pfister Shower Handle Without A Set Screw?
Look for a small button or clip on the handle’s side or back. Gently press or pry it to release the handle from the valve.
Why Does My Price Pfister Shower Handle Have No Visible Set Screw?
Some models use a hidden clip or a push-on design instead of a set screw. This keeps the handle smooth and easy to clean.
What Tools Do I Need To Remove A Price Pfister Handle?
Usually, a flathead screwdriver or an Allen wrench works well. Sometimes, just your fingers can pop the handle off.
Can I Replace A Price Pfister Handle Without A Set Screw?
Yes, most replacement handles fit onto the valve stem with clips or push-on designs. Check your model for exact fit.
How Do I Avoid Damaging The Handle During Removal?
Use gentle force and avoid twisting too hard. Protect the handle with a cloth to prevent scratches.
What If The Handle Is Stuck And Won’t Come Off?
Try spraying some lubricant around the base. Let it sit a few minutes, then gently wiggle the handle again.
Where Can I Find Instructions For My Specific Price Pfister Model?
Check the Price Pfister website or search using your model number. Many manuals and videos are available online.
Conclusion
Removing a Price Pfister shower handle without a set screw is doable. Start by finding the hidden clip or small notch. Gently pry or pull the handle to release it. Use the right tools and avoid forcing parts. Take your time to prevent damage.
This simple method saves trips to a plumber. You can fix or replace your handle with ease. Practice patience and follow steps carefully. Your shower will look and work great again soon.