
Your Polaris tail not moving sweeping model 3900 280 360 380 is usually caused by a clogged jet, a stuck diverter valve, or a kinked hose that blocks water flow. This guide covers the specific checks you can do yourself to restore movement without calling a technician. It explains how to clear blockages, adjust pressure settings, and identify when a part actually needs replacement. You’ll learn to spot the difference between a simple fix and a broken component that requires new equipment.
How the Polaris tail sweeping moves
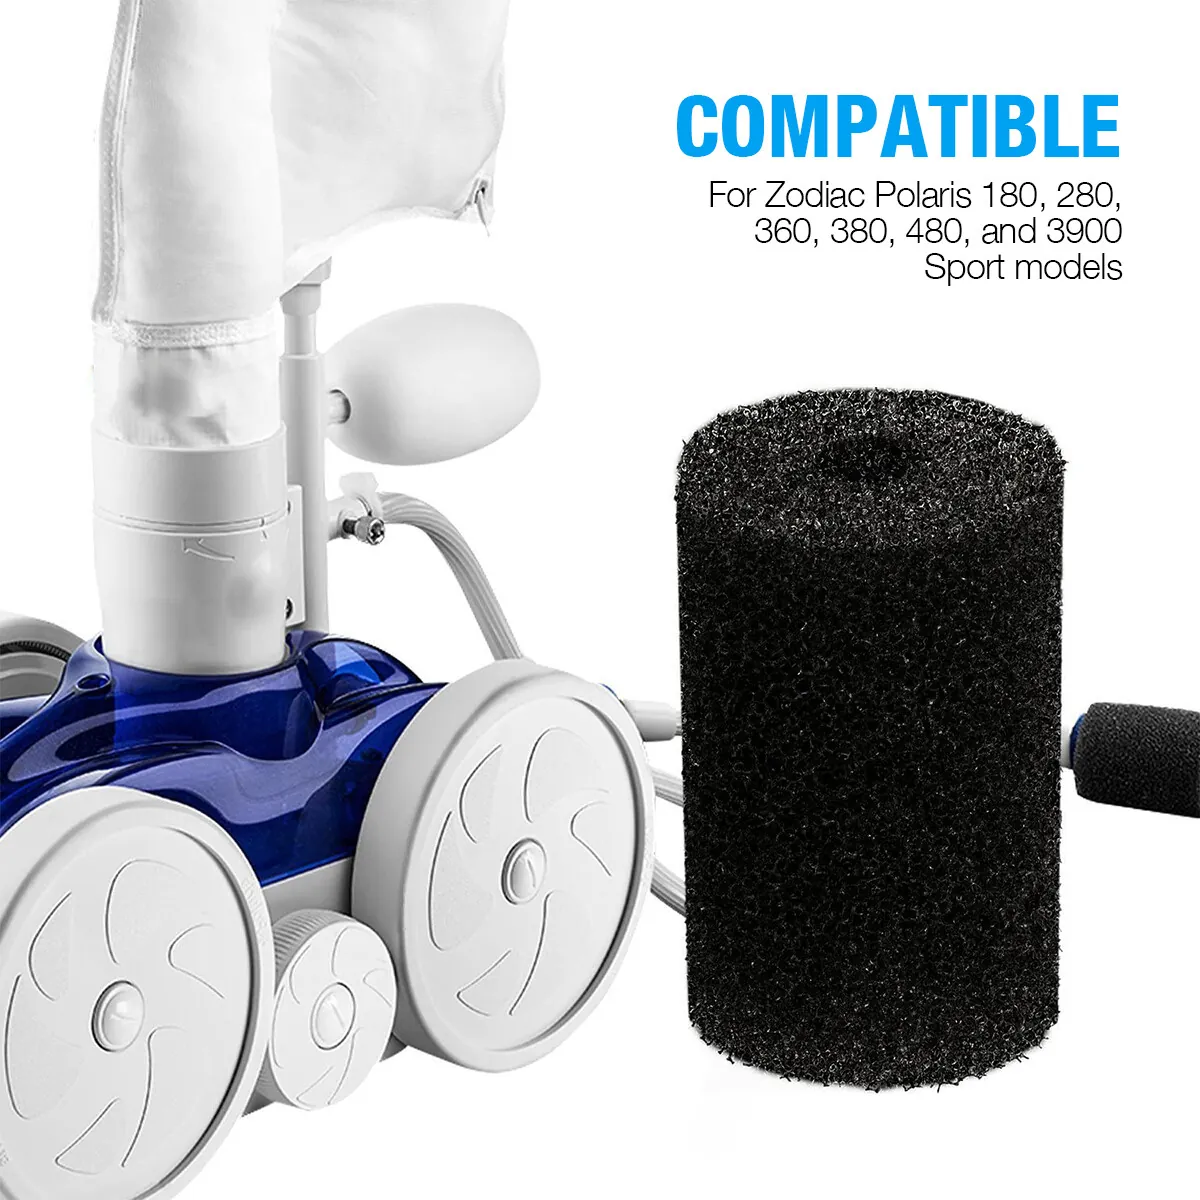
The tail on your pool cleaner relies entirely on water pressure to create its side-to-side motion. Inside the unit, water flows through a small jet that pushes against a vane, forcing the tail to sweep back and forth. This sweeping action helps the cleaner scrub the walls and corners of your pool effectively.
The system is designed so that if the water flow stops or slows down too much, the tail simply stops moving. Many people assume the motor has failed or the gears are stripped when they see this issue. In reality, the problem is almost always a lack of pressure reaching the tail assembly.
Steps to restore tail movement
- Turn off the pool pump completely before touching any hoses or the cleaner head.
- Disconnect the cleaner from the wall fitting and lay it flat on the pool deck.
- Inspect the entire length of the hose for sharp kinks, twists, or crushed sections.
- Locate the tail jet on the rear of the cleaner and remove any debris with a thin wire.
- Check the diverter valve inside the unit; ensure it moves freely and isn’t stuck in one position.
- Reconnect the hose and turn the pump back on, watching the tail for immediate movement.
- If the tail still doesn’t move, check the water pressure gauge on your pump system.
The single most important judgment call here is deciding whether to clean the jet or replace the diverter valve. If you see water spraying out of the jet but the tail remains still, the internal vanes are likely worn or broken. However, if no water comes out of the jet at all, the blockage is upstream in the hose or filter.
Never force the tail by hand while the pump is running, as this can damage the delicate internal seals. If the cleaner has been dropped or hit a hard object, the housing might be cracked, which requires professional repair. Always verify your pool’s pressure readings match the manufacturer’s recommended range before assuming the cleaner is faulty.
Key numbers and settings at a glance
| Situation | What to use | How long | What to watch for |
|---|---|---|---|
| Clogged tail jet | Thin wire or needle | 2 minutes | Ensure the hole is clear but not enlarged |
| Stuck diverter valve | Silicone lubricant | 5 minutes | Valve must snap back into place freely |
| Kinked hose section | Straighten or replace | Immediate | Look for white stress marks on the hose |
| Low pump pressure | Clean filter bag | 10 minutes | |
| Worn tail bearings | Replacement kit | 15 minutes | Tail should spin smoothly by hand when dry |
| Air in the system | Bleed air from pump | 3 minutes | Bubbles in the sight glass indicate a leak |
These figures assume your pool pump is running at standard speed and the filter is relatively clean. If your system uses a variable speed pump, set it to high for testing purposes only.
The pressure reading of 8-12 PSI is typical for Polaris units with a booster pump installed. Without a booster pump, the pressure requirements change significantly and may require a different setup. Always measure the pressure with the cleaner attached to get an accurate reading of the flow it receives.
Details that separate good results from bad ones
Experienced users know that cleaning the tail jet requires precision rather than brute force. They use a specific size wire that fits snugly without scratching the brass nozzle. Scratching the inside of the jet changes the water flow pattern, which can stop the tail from working even after the clog is gone.
Beginners often poke around too much, widening the hole and ruining the spray angle. The order of operations matters greatly: always check the hose and filter before opening the cleaner itself. This prevents you from taking apart a machine that was fine all along.
Another critical detail is checking the condition of the o-rings inside the diverter valve. These small rubber rings can dry out and shrink over time, causing air leaks that kill the suction needed for movement. Experienced technicians apply a drop of silicone lubricant to keep them pliable and sealed. They also inspect the tail hinge for signs of wear, feeling for any play or looseness in the connection.
A loose hinge allows the tail to flop instead of sweep, wasting energy. Finally, they test the cleaner in shallow water first to see the movement clearly before running it in the deep end. This quick visual check confirms the fix works before you put the unit back to work.
Common problems and quick fixes
| What you notice | What it usually means | What to do first |
|---|---|---|
| Tail stays straight up | No water reaching the jet | Check for kinks in the hose line |
| Tail moves slowly | Low water pressure or partial clog | Clean the filter bag and jet |
| Tail jerks irregularly | Debris caught in the diverter | Remove and rinse the valve assembly |
| Water sprays sideways | Cracked or damaged tail nozzle | Replace the tail jet insert |
| Cleaner spins in circles | Diverter valve stuck open | Manually free the valve mechanism |
| Tail makes grinding noise | Worn bearings or internal damage | Inspect and replace the bearing kit |
If the tail moves but the cleaner doesn’t climb walls, the issue is likely the wheel speed, not the tail. Don’t confuse these two symptoms as they require different solutions. A stuck diverter valve is the most frequent cause of total tail failure in older models.
Regular maintenance of this part prevents most sudden stoppages. If you try to force the tail and it breaks, you’ll need to buy a whole new assembly. Prevention is much cheaper than replacement, so check these items monthly during peak season.
Rules that apply to this system
The manufacturer states that a booster pump is required for the 3900 and 380 models to generate enough force for the tail. If your system pressure drops below the minimum threshold, the tail won’t move, and continuing to run the pump could damage the impeller. Local building codes may also dictate how long you can run pool equipment, but there are no federal laws governing cleaner mechanics.
Always follow the safety guidelines regarding electrical components near water. Never attempt to repair the electrical connections on the booster pump unless you’re a licensed electrician. The risk of shock is real and severe if the wrong steps are taken.
If the cleaner is under warranty, opening the sealed housing might void your coverage. Check the terms with your dealer before disassembling any part that looks sealed. If you’re unsure about the pressure settings, consult a certified pool professional who can test the system safely.
A common mistake is assuming a dirty filter causes low pressure when the issue is actually a clogged lateral or a worn seal in the booster pump. Running a booster pump dry for even thirty seconds can warp the internal seals, costing hundreds in repairs.
If your pressure gauge fluctuates wildly while the cleaner moves, check for air leaks at the union fittings rather than replacing the pump immediately. When in doubt between a filter issue and a mechanical failure, isolate the cleaner from the main line and observe the gauge alone. This simple test tells you whether the pool’s circulation is healthy or if the cleaner itself is starving for flow.
Keeping it working afterwards
Once the tail is moving again, you need to maintain the flow to prevent future blockages. Run the cleaner regularly to flush out any new debris, though the frequency depends on use and your owner’s manual. Store the hose in a coiled shape on a reel to avoid kinks that restrict water flow.
Check the tail jet periodically and wipe away any calcium buildup or algae, following the schedule in your owner’s manual based on your specific conditions. If you live in an area with hard water, consider installing a water softener or using a scale inhibitor. These steps extend the life of the internal parts and keep the movement smooth.
The tail mechanism doesn’t have a fixed lifespan, but the bearings typically last for a significant period with regular care. Watch for increased resistance when you push the tail by hand; this is the sign that the bearings are wearing out. Replace the bearing kit as soon as you feel stiffness to avoid damaging the housing.
Keep a log of when you last cleaned the jet and changed the o-rings. This record helps you predict when maintenance is due before a failure occurs. Proper storage during the winter months also protects the plastic parts from cracking in the cold.
Don’t assume a quick rinse is enough if your pool sits idle for more than three days. Stagnant water allows fine sediment to settle deep inside the impeller, creating a sludge that standard weekly runs can’t dislodge. In these cases, run the cleaner for four hours immediately after restarting it to clear the accumulated grit. Many owners make the mistake of waiting until the tail stops completely before acting.
By then, the motor has likely overheated, costing significantly more in repairs instead of a simple bearing swap. If the tail moves freely but the cleaner drifts in circles, the issue is usually a worn drive belt, not the bearings. Swap the belt first before ordering expensive mechanical parts. When changing o-rings, always apply a thin layer of silicone grease; dry installation causes them to twist and leak within weeks. If you notice a grinding noise, stop the unit immediately.
When to use a different approach
This method of fixing the tail doesn’t work if the cleaner has suffered major physical damage. If the main body is cracked or the internal gears are stripped, cleaning the jet won’t help. In this case, you must replace the entire cleaner head or buy a new unit.
Similarly, if your pool pump is too weak to generate the required pressure, no amount of cleaning will fix the tail. You would need to upgrade your pump or install a dedicated booster pump system.
Check your pressure gauge before assuming the cleaner is broken. If the reading drops below 10 PSI while the cleaner runs, the issue is your pump, not the hose. A weak pump can’t push water fast enough to create the suction needed for movement.
Cleaning a clogged jet on an underpowered system wastes time and leaves the pool dirty. You must boost the pressure first, or the cleaner will simply sit at the bottom regardless of how clean the nozzle is.
If the cleaner is very old and parts are no longer available, repairing it might cost more than buying a modern replacement. Newer models often have better efficiency and easier access for maintenance. Consider the age of your unit and the cost of parts before spending hours on repairs.
Sometimes the best solution is to switch to a different type of cleaner that doesn’t rely on water pressure for movement. Electric robotic cleaners operate independently of your pool’s plumbing and don’t have tails that can get stuck.
For pools with complex shapes or multiple levels, a pressure-side cleaner may struggle even when fully functional. These units follow a set path and often miss corners in irregular layouts. If your pool has steps, benches, or tight angles, a robotic model with sensors will navigate those areas more effectively. Don’t force a pressure cleaner to work where its design limits it; the extra labor to guide it manually defeats the purpose of automation.
Frequently asked questions
Why is my Polaris tail not moving?
The most common reason is a blockage in the tail jet or a lack of water pressure reaching the unit. Debris like leaves or sand can clog the small nozzle, stopping the water flow that powers the movement. Another frequent cause is a stuck diverter valve that fails to direct water to the tail. Check your filter and hose for kinks first, as these reduce the pressure needed to push the tail.
Can I fix the tail without removing the cleaner?
No, you can’t properly clean the jet or check the diverter valve without taking the cleaner apart. The jet is located on the back of the unit and requires direct access to clear it. Trying to reach it through the hose or while the unit is in the water won’t work. You must disconnect the cleaner and lay it on a flat surface to perform the repair.
How long does it take to fix a non-moving tail?
Most fixes take between 10 and 20 minutes if you have the right tools and a clean workspace. Clearing a clogged jet takes only a few minutes, while replacing a diverter valve might take longer. If you need to replace bearings or other internal parts, plan for up to 45 minutes. Having spare parts ready beforehand speeds up the process significantly.
Is it safe to run the cleaner if the tail is stuck?
It’s generally safe to run the cleaner for a short time, but it won’t clean the pool walls effectively. Running it for hours with a stuck tail can strain the pump and waste electricity. The cleaner might also spin in circles or get stuck in one spot, missing large areas of the pool. Turn it off immediately if you notice it isn’t moving properly to save energy.
What happens if I force the tail to move?
Forcing the tail can break the internal plastic vanes or damage the metal shaft. Once these parts are bent or cracked, the tail will never move correctly again. You might also tear the seal around the hinge, causing water leaks inside the unit. Always let the water pressure do the work and never push the tail manually while the pump is on.
Does a dirty filter affect the tail movement?
Yes, a dirty filter reduces the overall water pressure in your system, which directly impacts the tail. If the filter is clogged, less water reaches the cleaner, and the tail may stop moving entirely. Cleaning or backwashing the filter is often the first step in troubleshooting this problem. Always check the filter pressure gauge before assuming the cleaner itself is broken.
Can I use vinegar to clean the tail jet?
You can soak the tail jet in vinegar to dissolve calcium deposits, but don’t pour vinegar into the cleaner. Vinegar is acidic and can damage the rubber seals and plastic parts inside the unit. Only remove the jet nozzle and soak that small piece in a cup of vinegar for an hour. Rinse it thoroughly with fresh water before reinstalling it to prevent any residue from entering the system.
Conclusion
With your tail sweeping freely again, you can get back to enjoying the ride without worrying about water flow. If problems return soon, check for hidden leaks or worn seals before they cause bigger issues. Keep a spare hose handy just in case, and don’t hesitate to reach out if you need help finding the right parts.